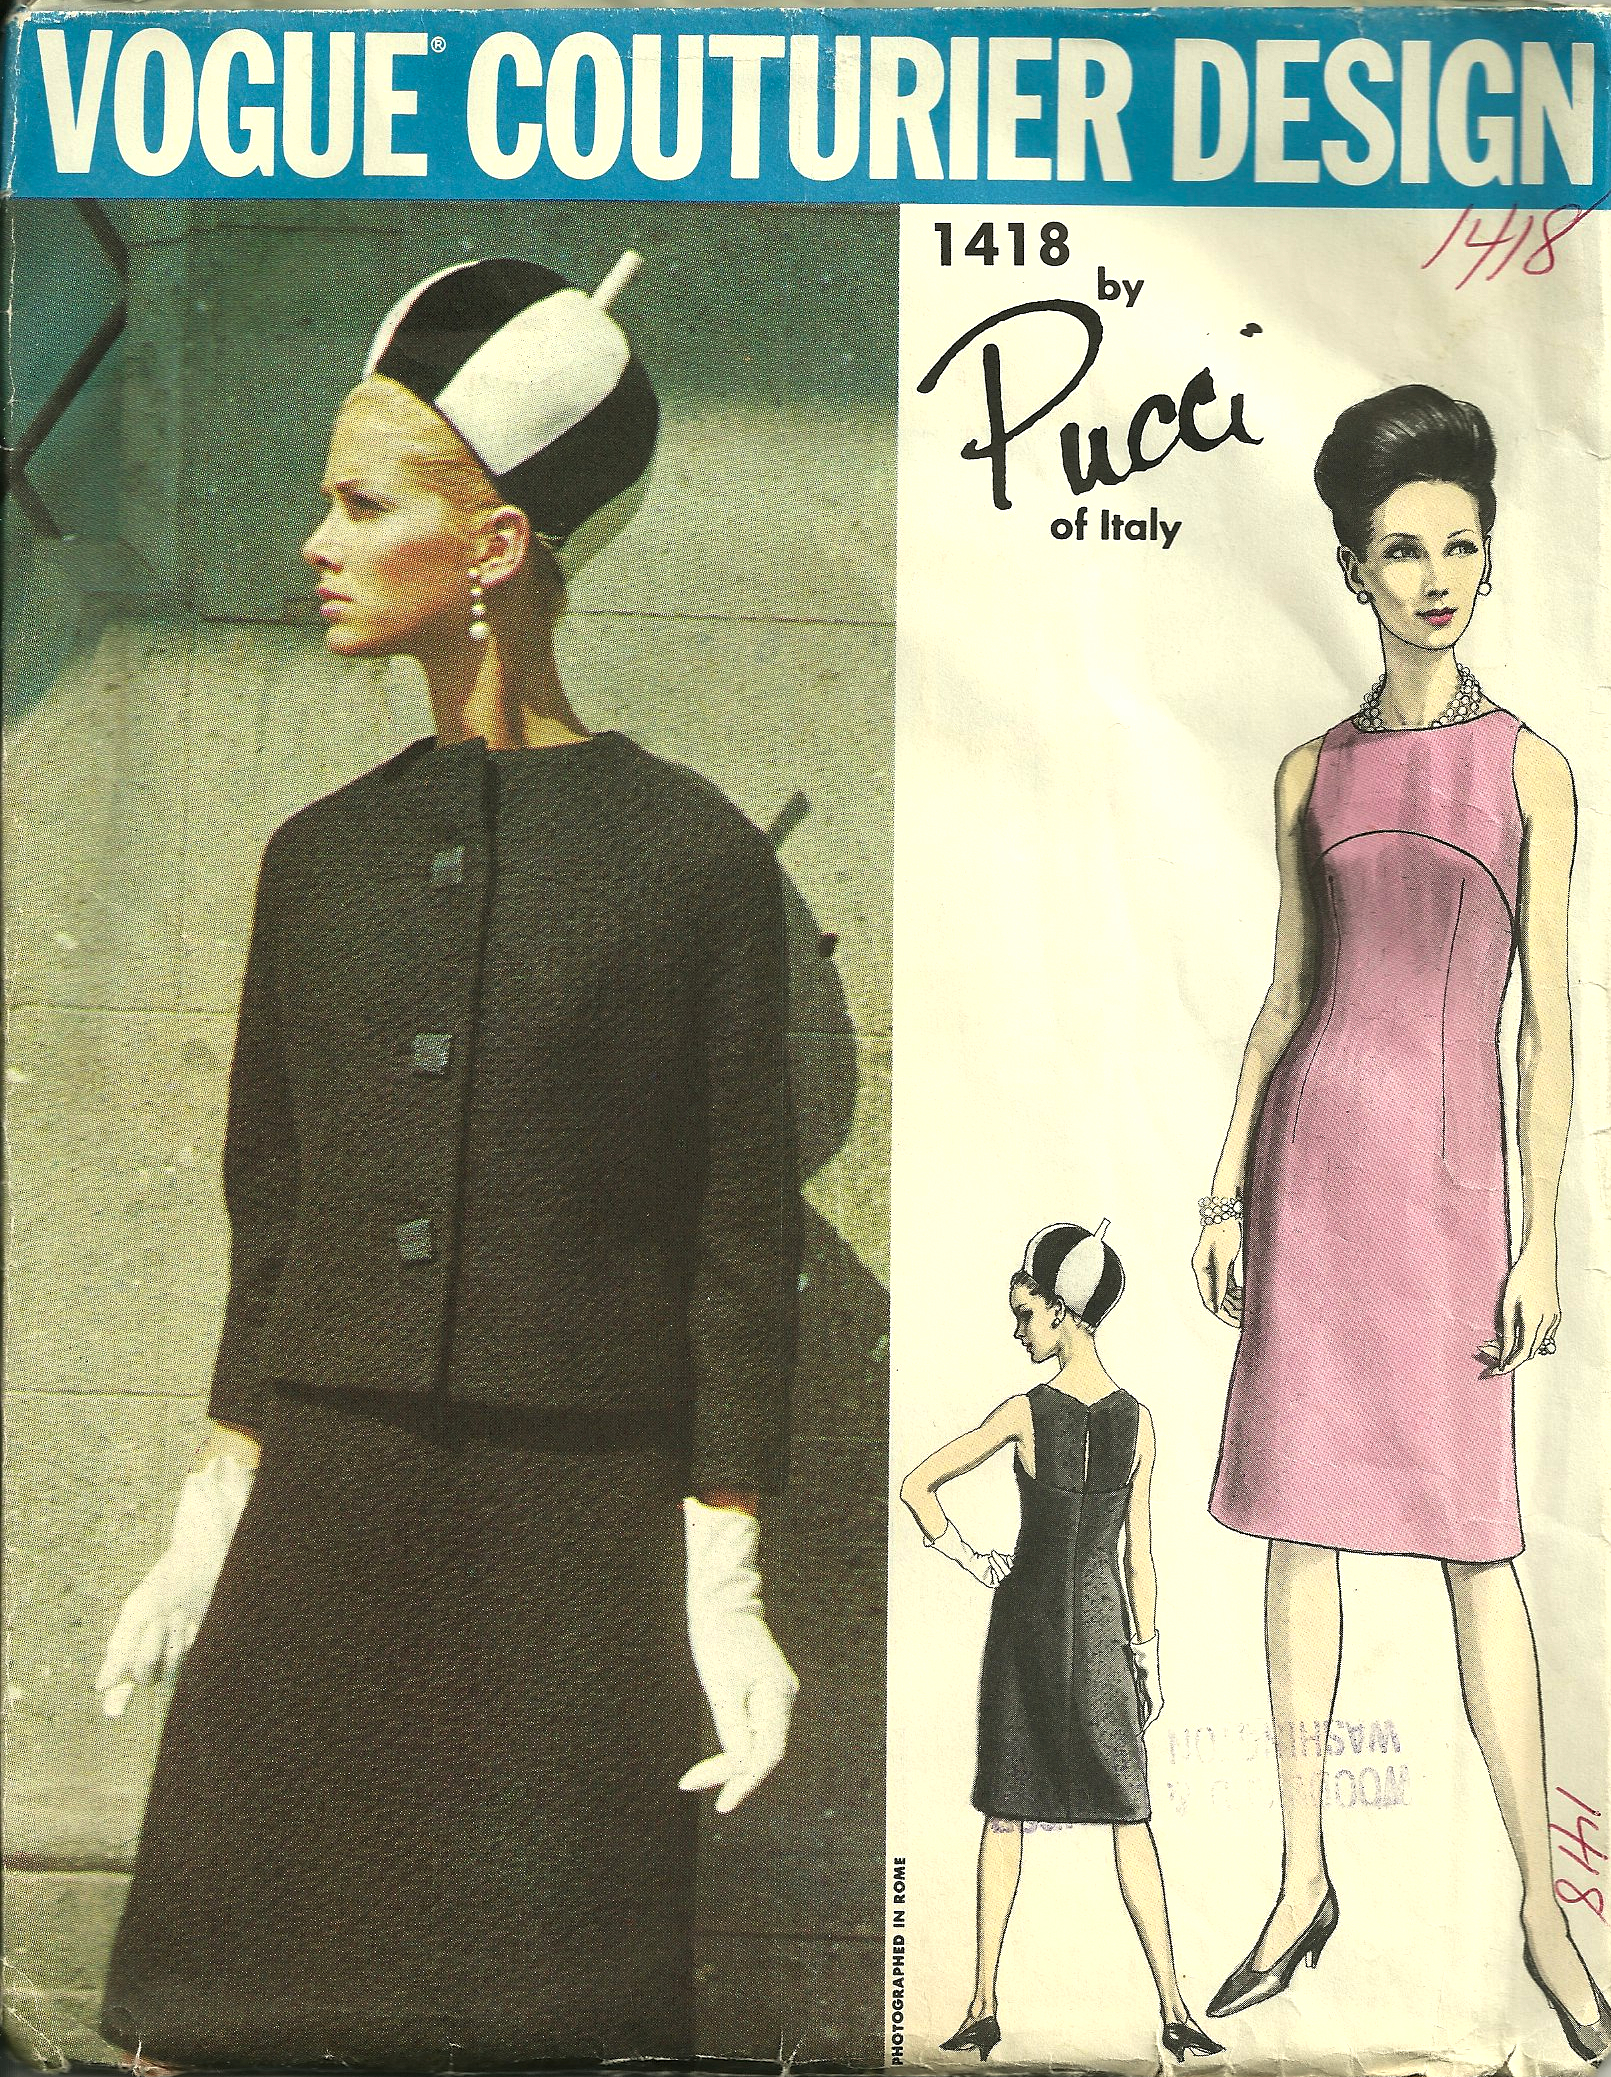
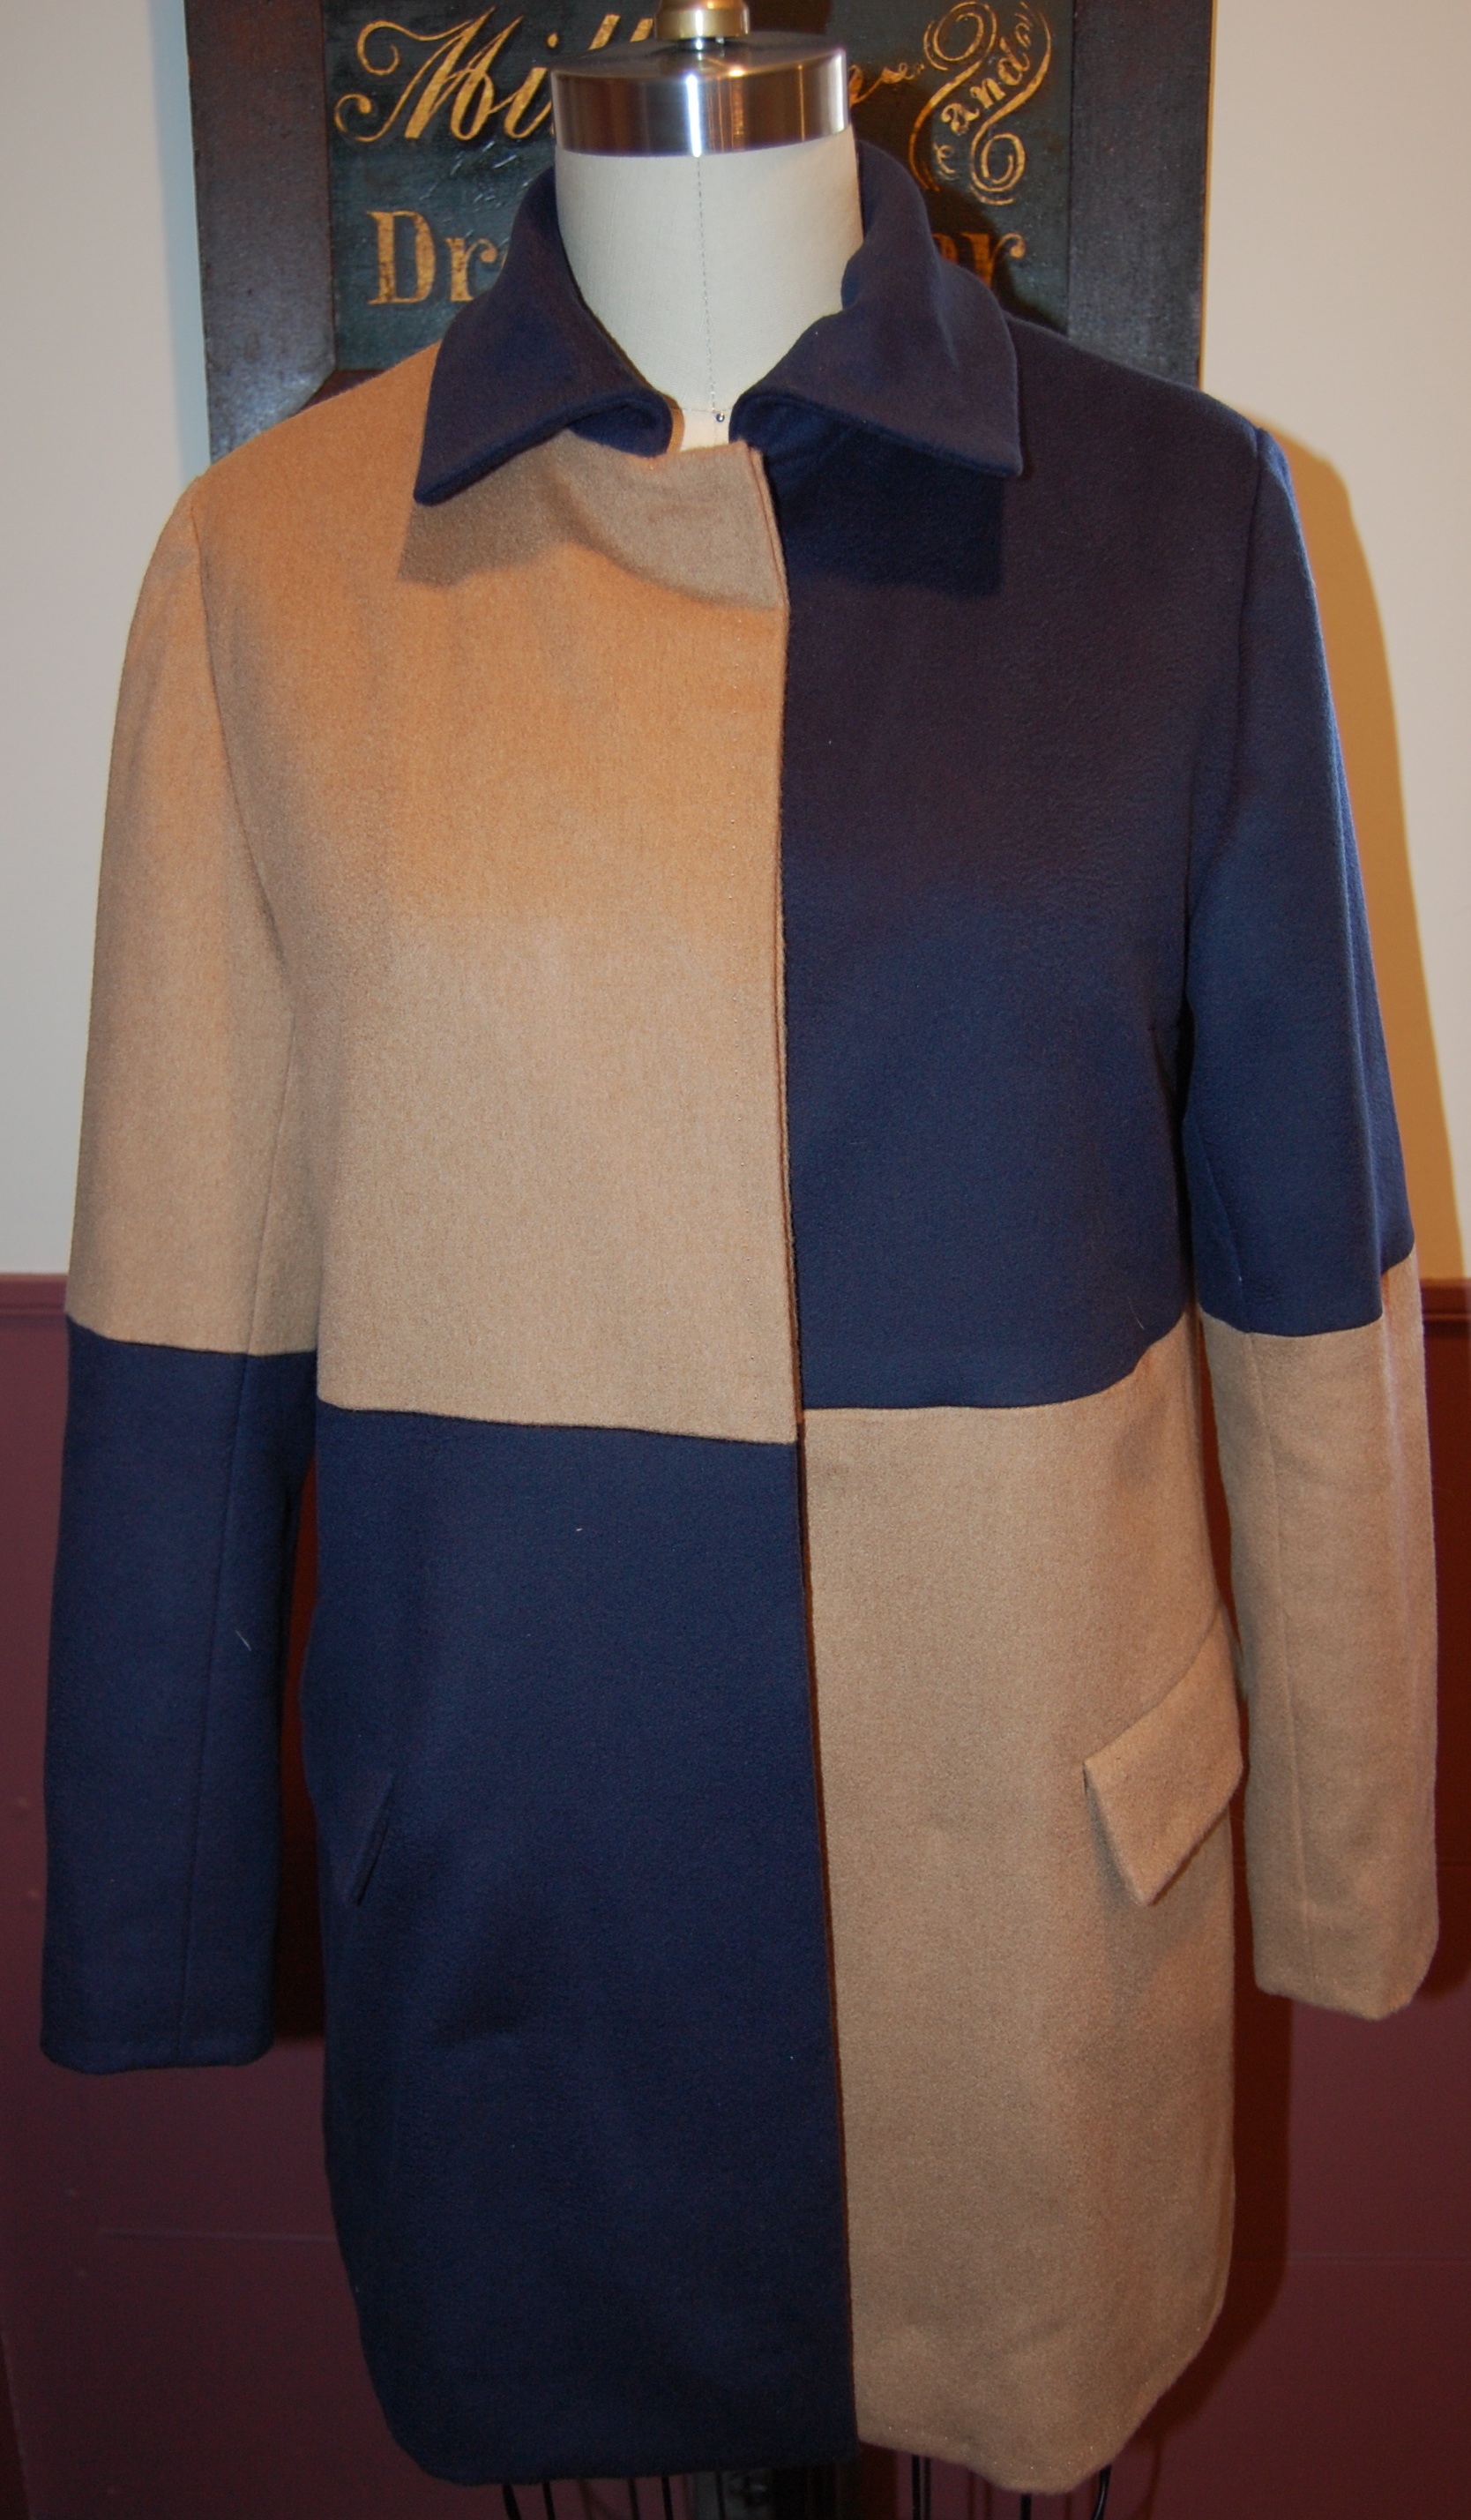
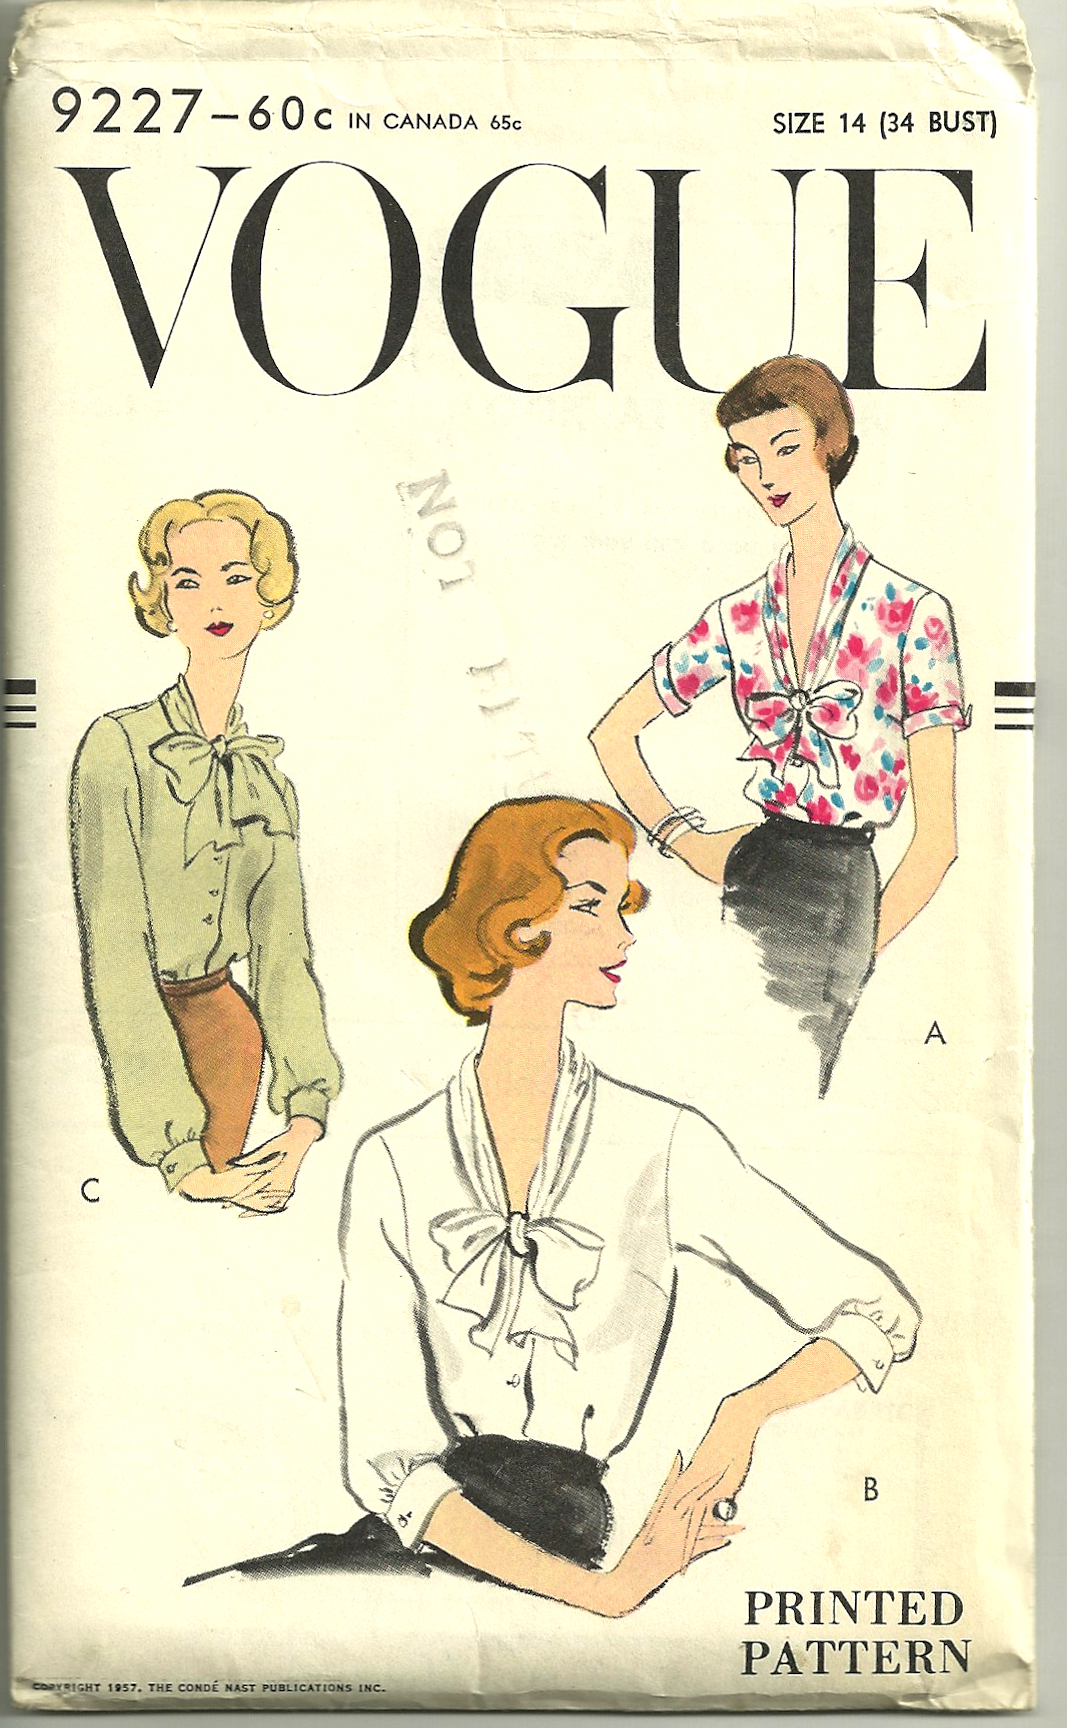
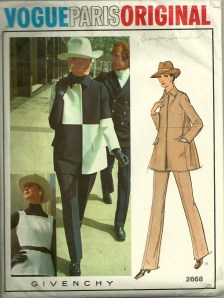
Sometimes the dreams and aspirations of our younger days take a long time to come to fruition. Although I was doing a lot of fashion sewing for myself when I was in my twenties, there were many more Vogue pattern designs which I never had the opportunity to make. One was Vogue Paris Original #2668 by Hubert de Givenchy (1927-).
 I never forgot the jacket, in particular, featured in this Designer Pattern. Over the years I occasionally obssessed about this pattern, regretting that I had not purchased it. I never imagined I would have a second chance to make it mine, but thanks to the marvels of the Internet, I did. When I saw a listing for it in this Etsy store months ago, and it was in my size, I knew it was time to buy it.
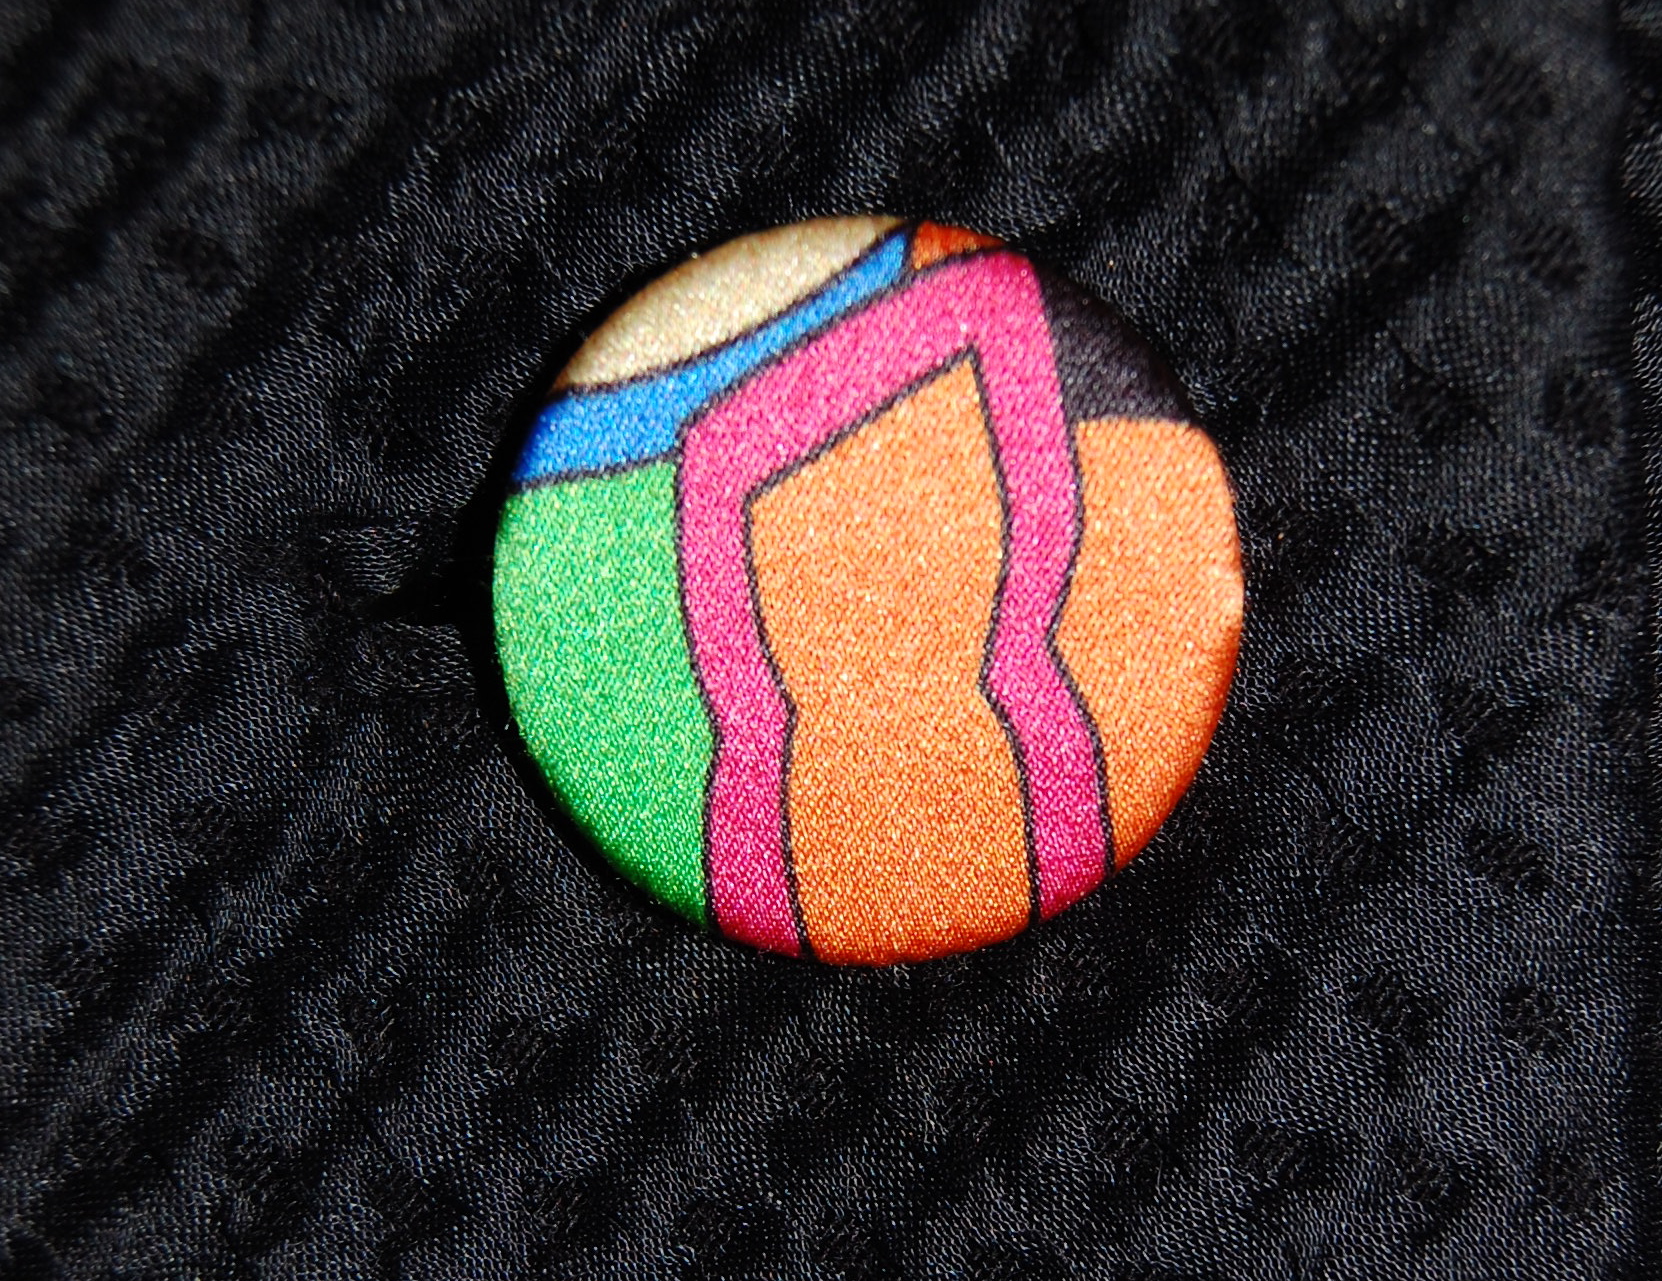
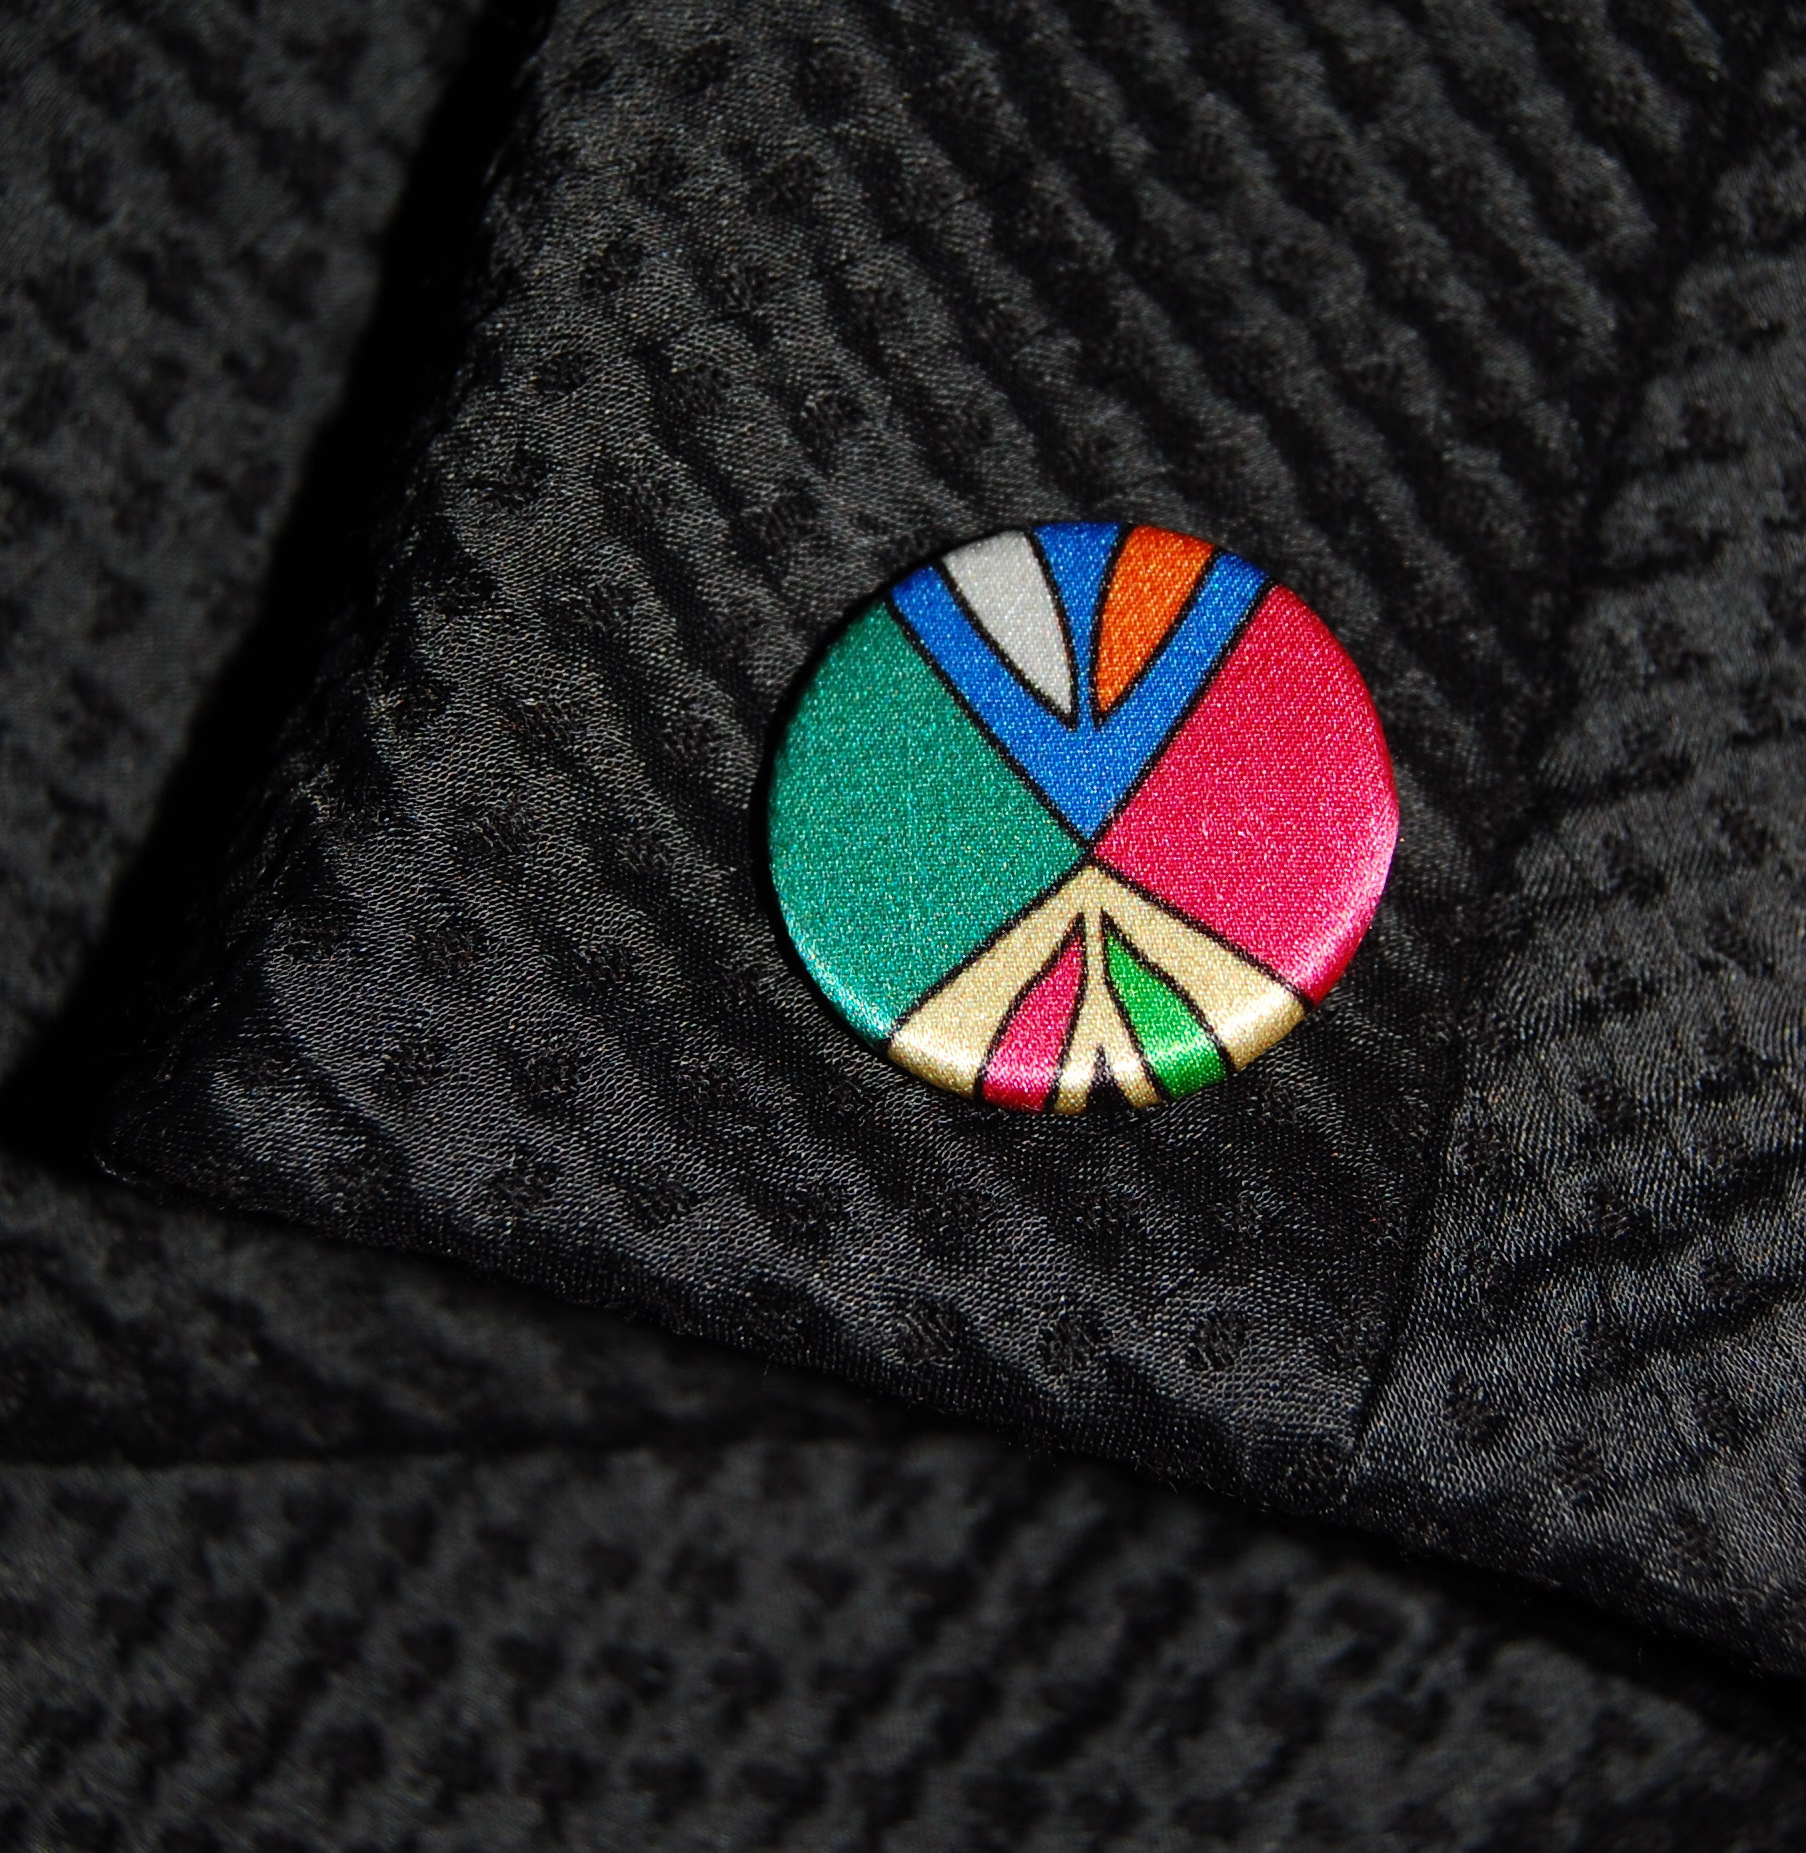
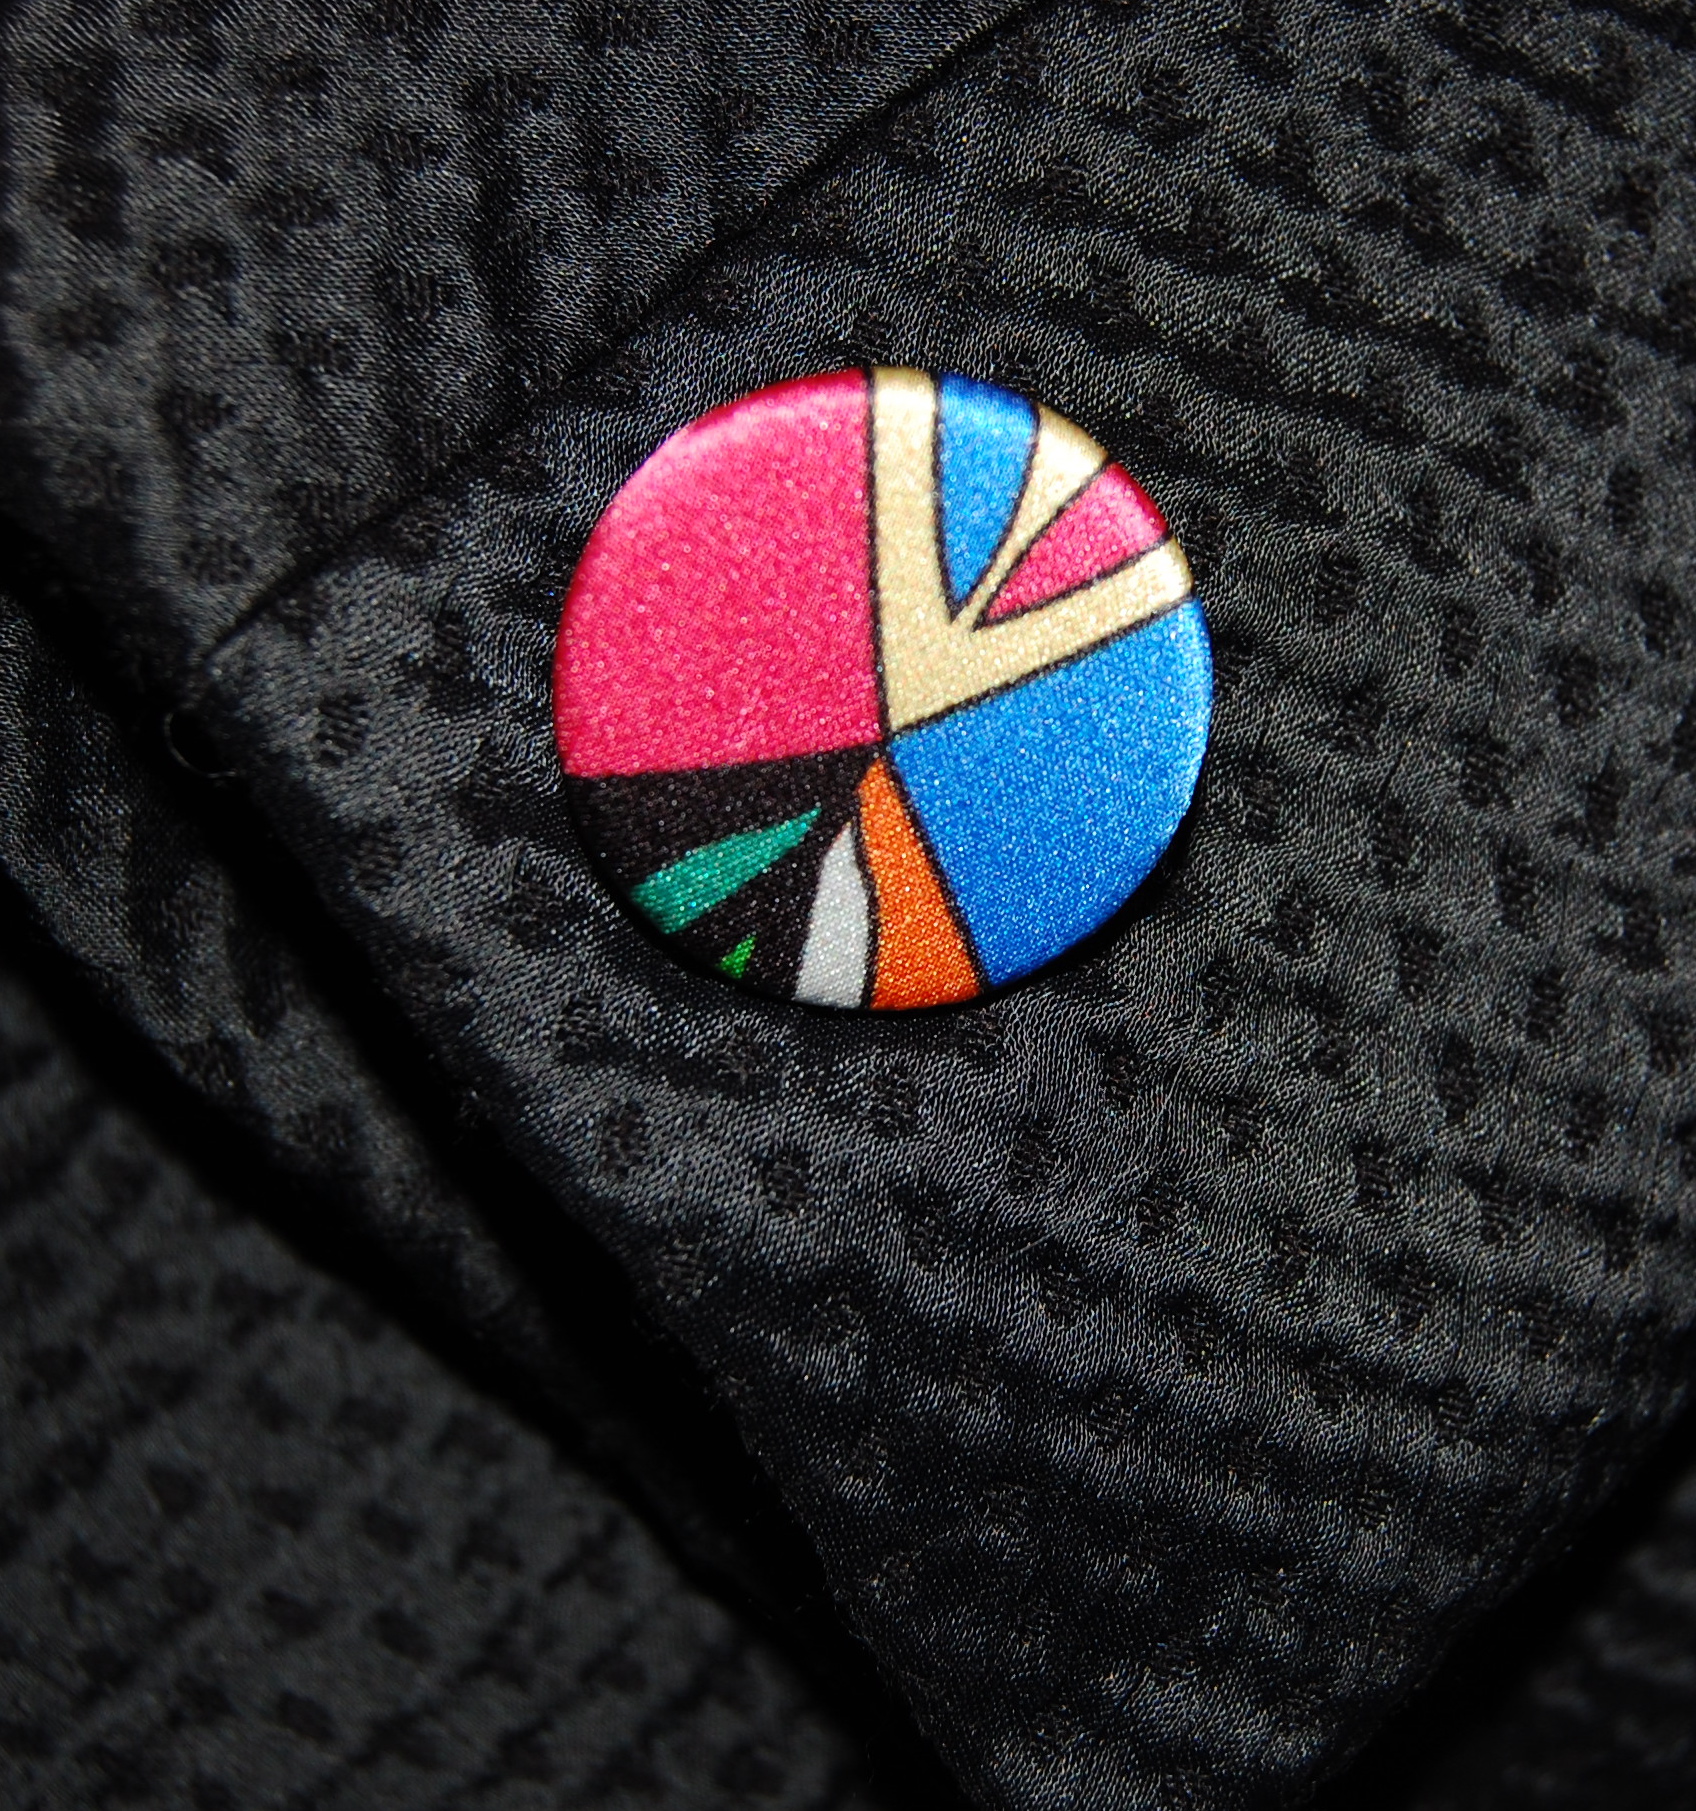
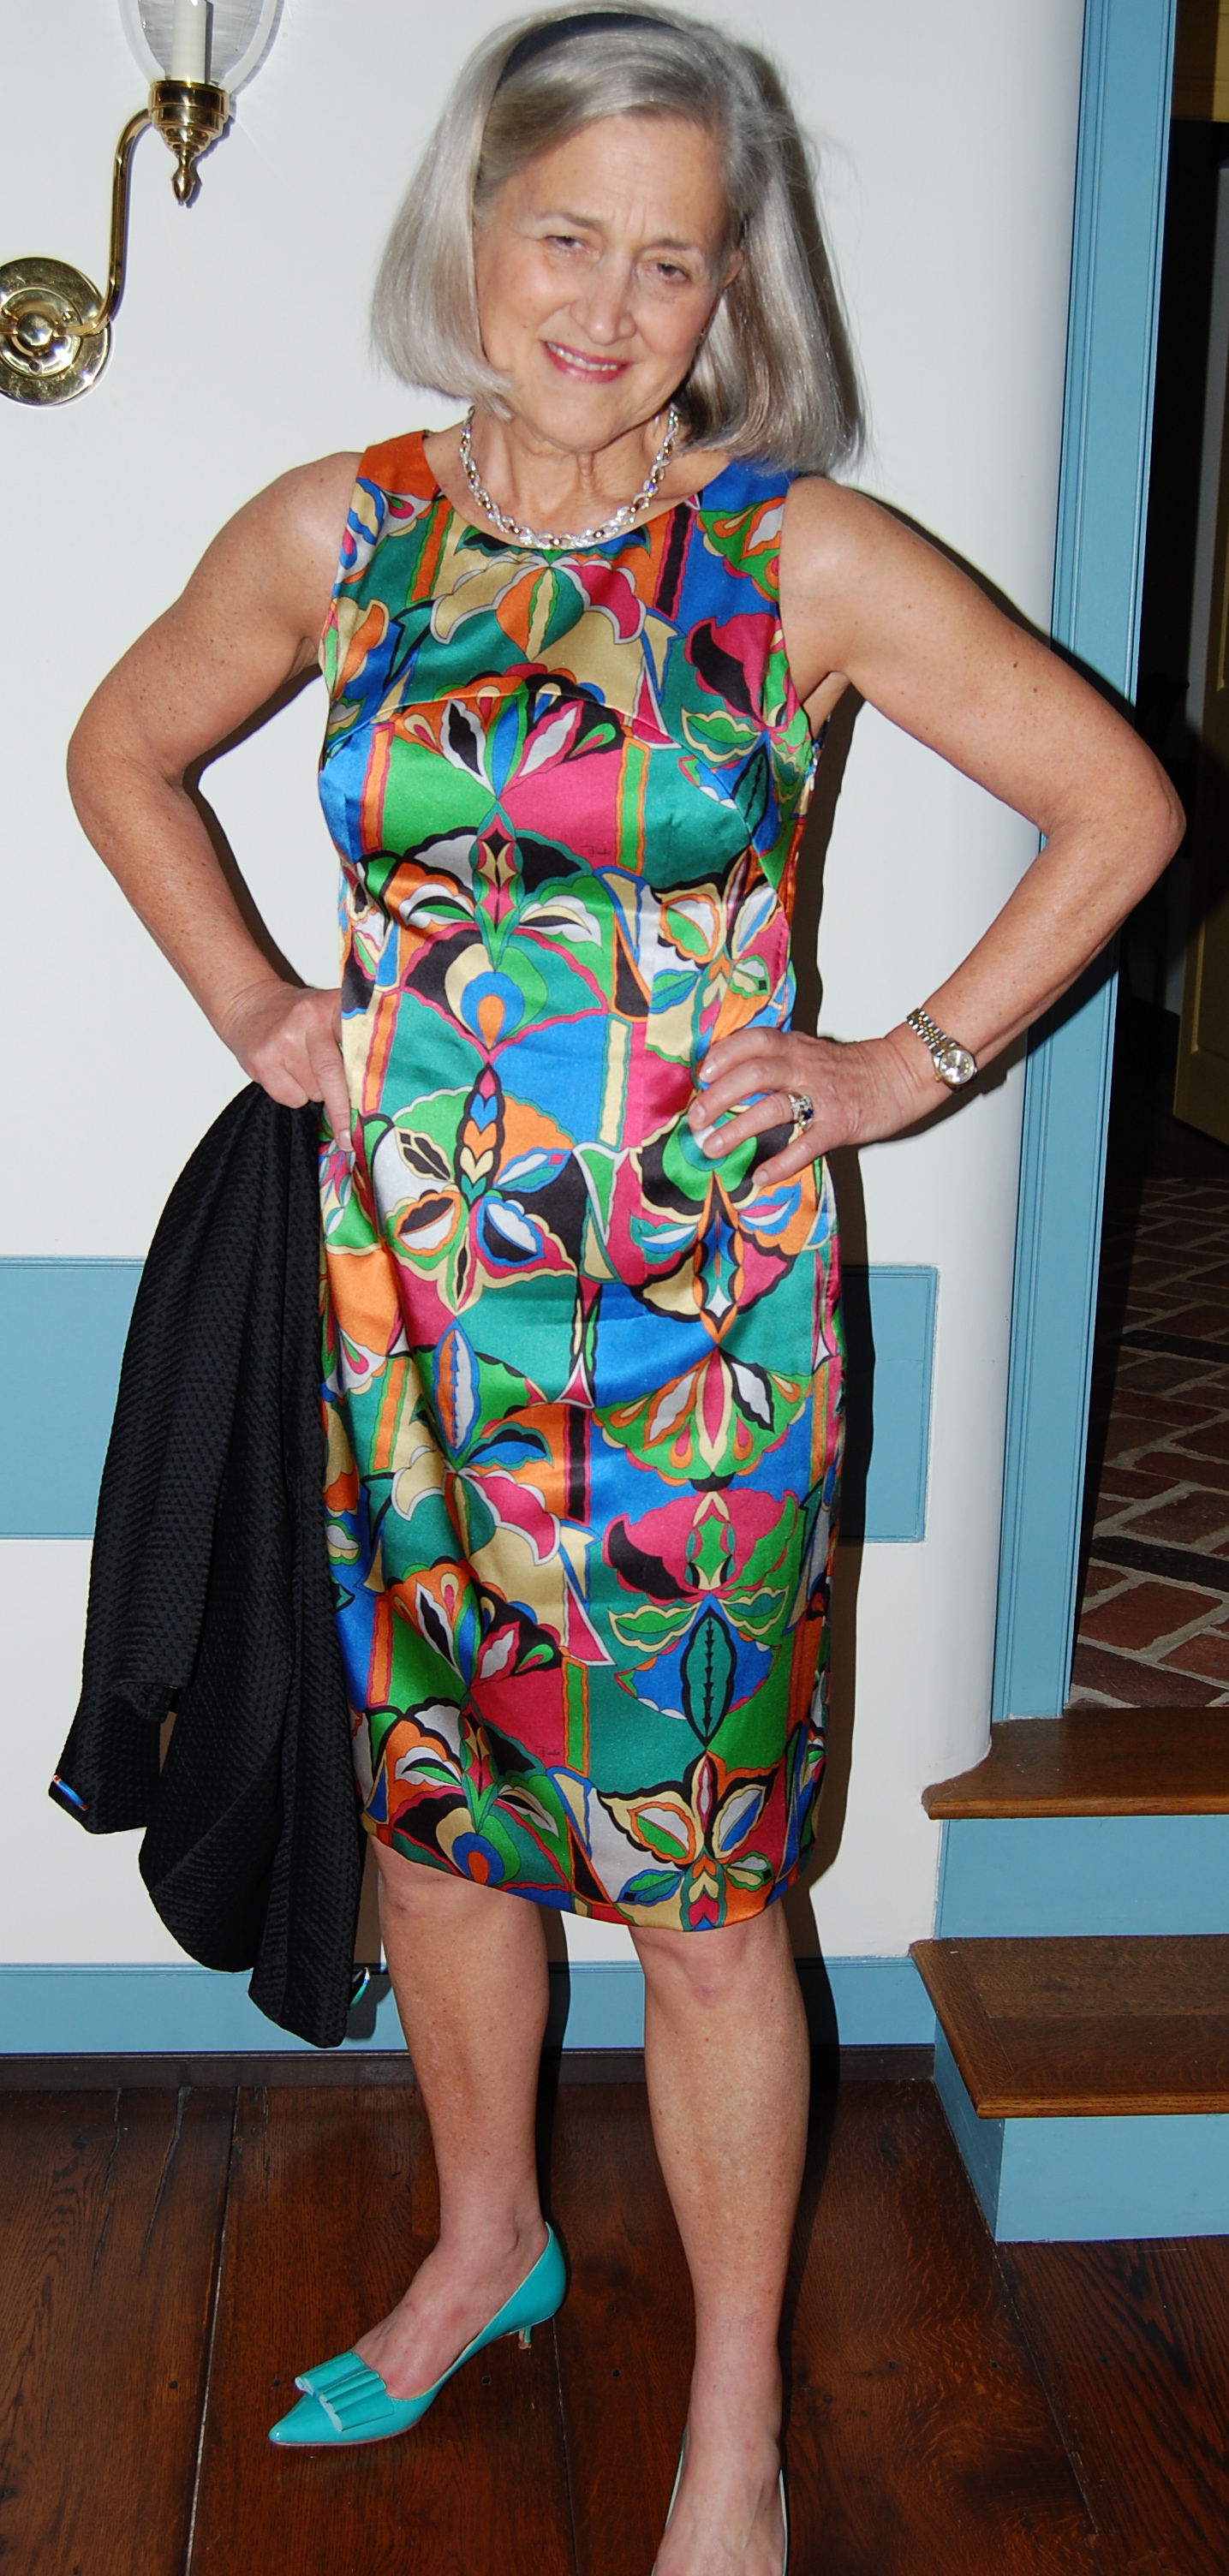
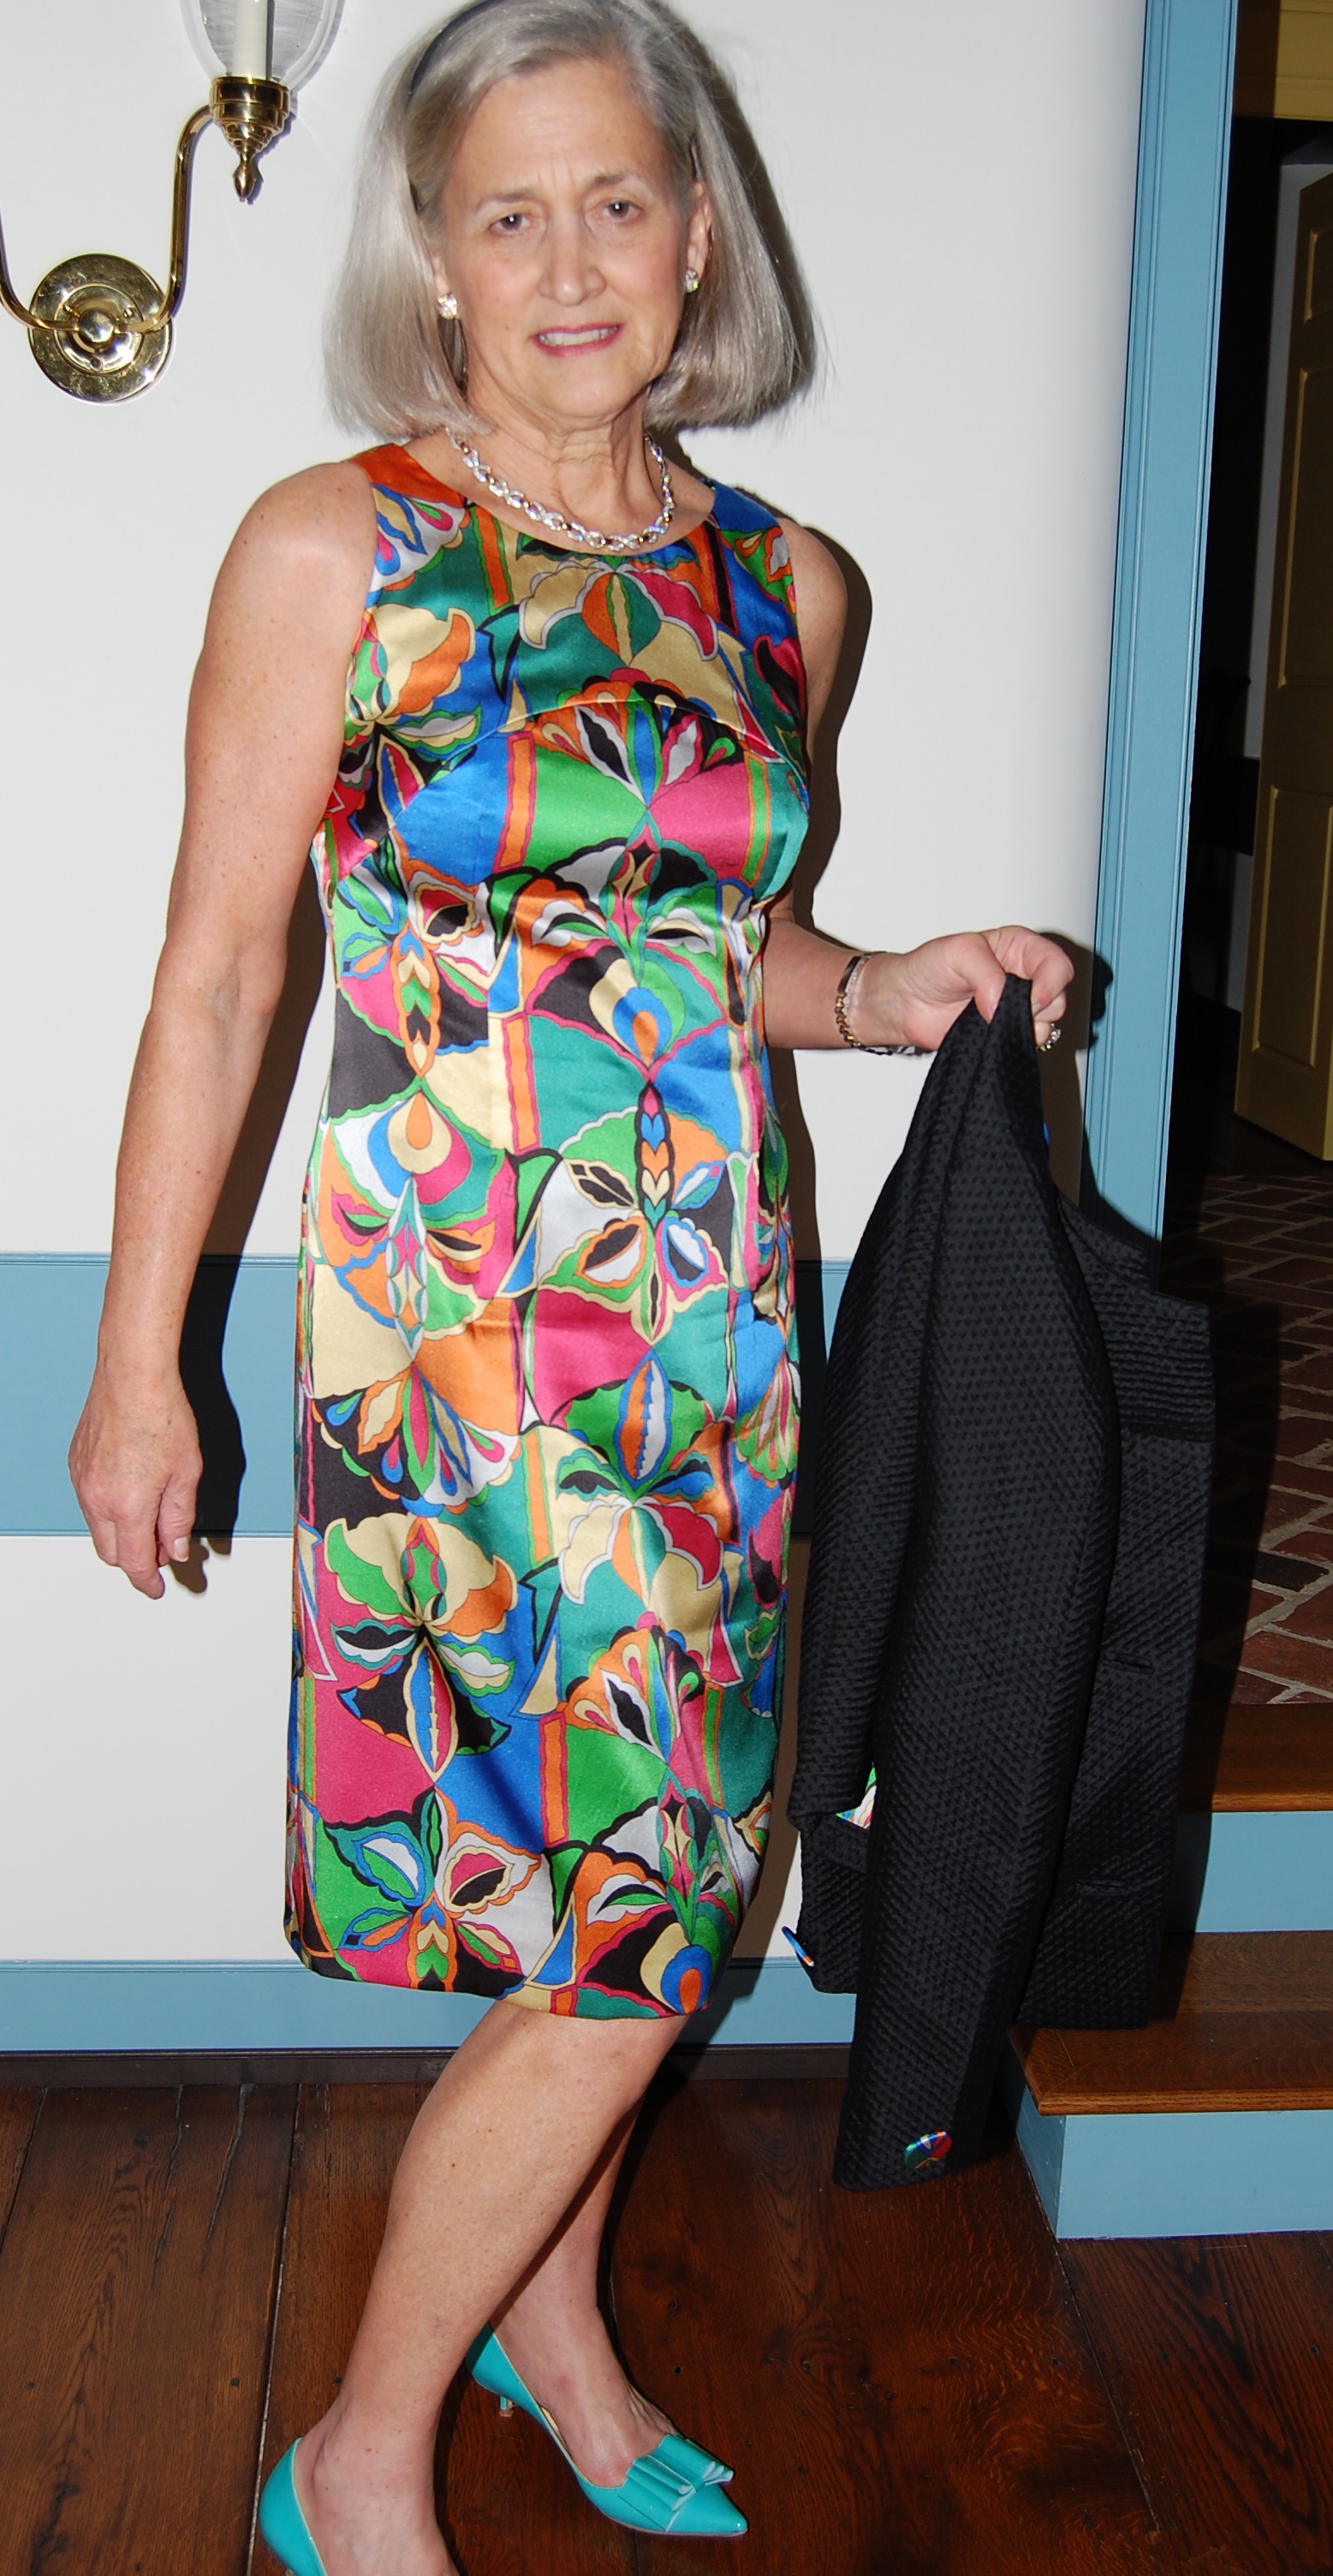
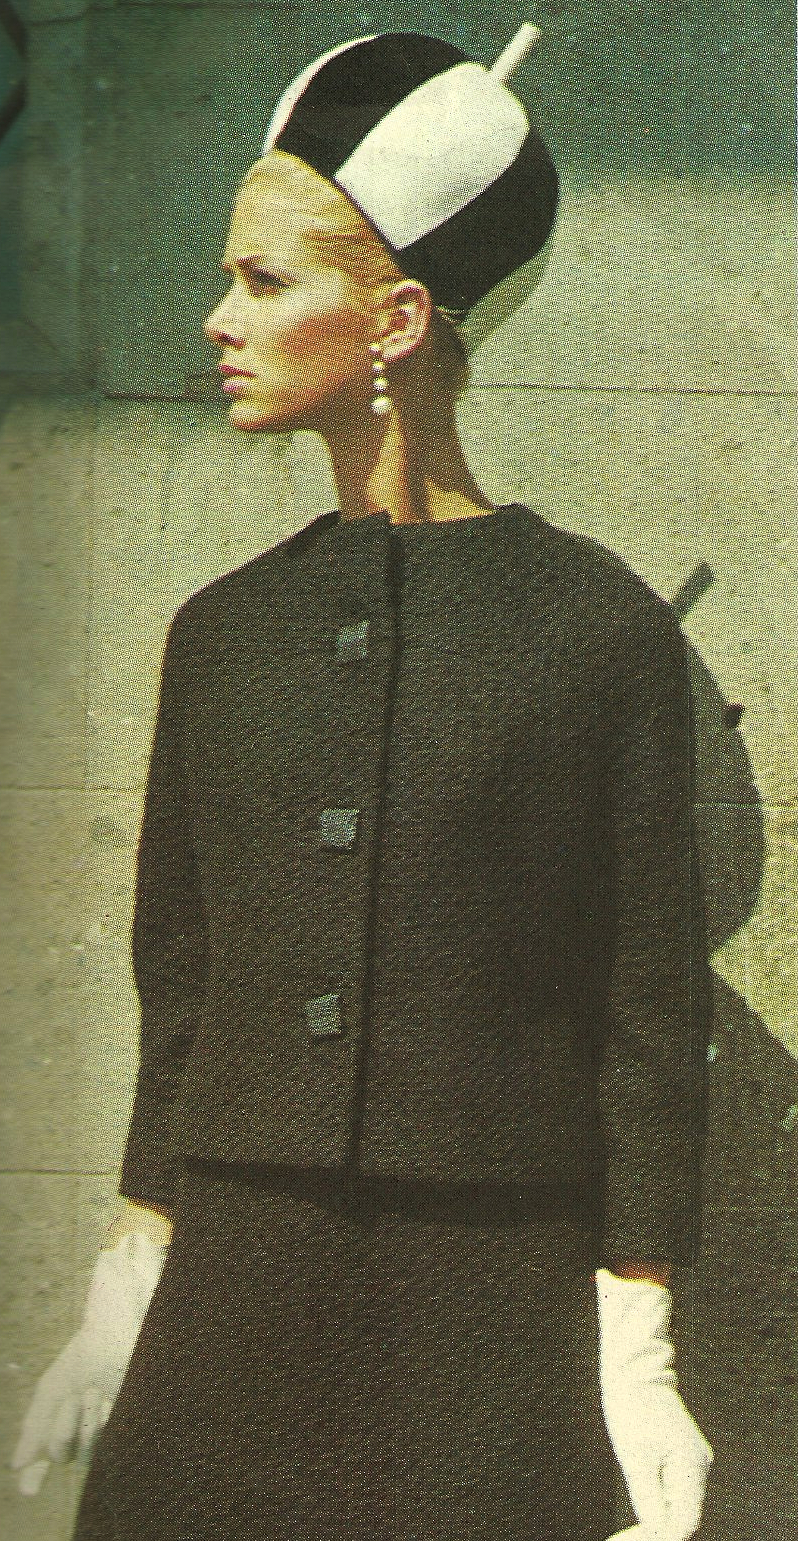
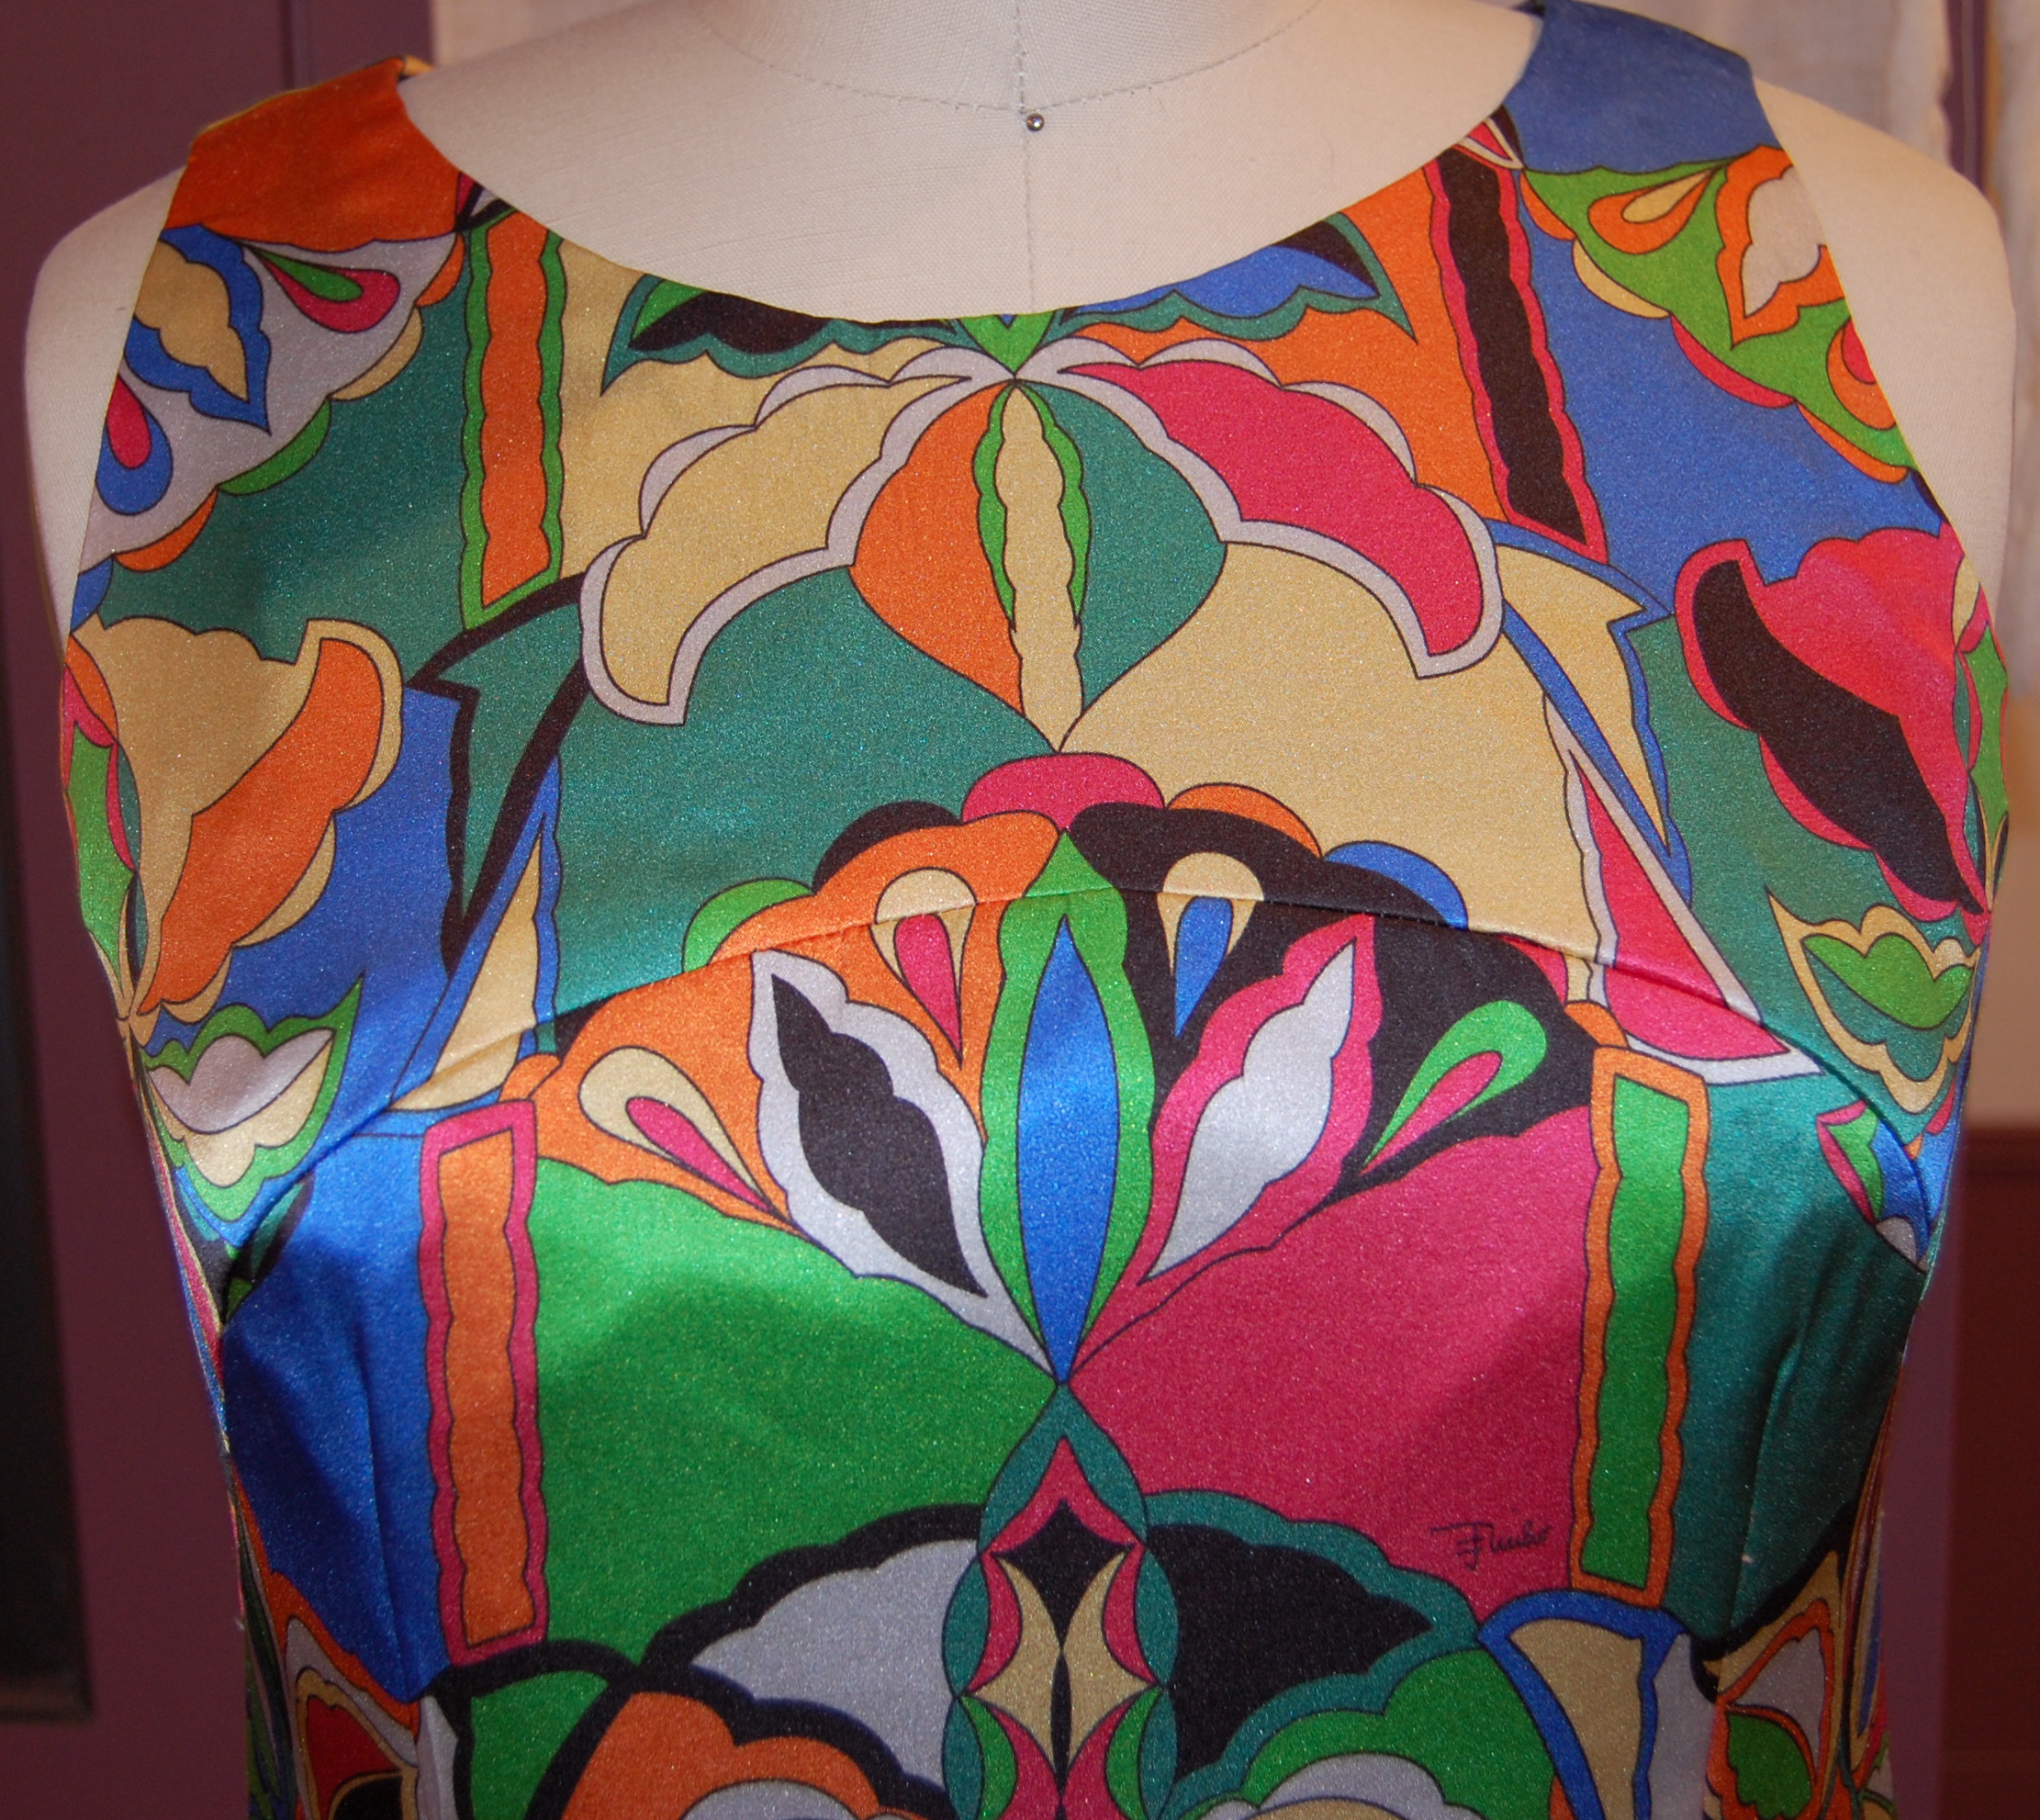
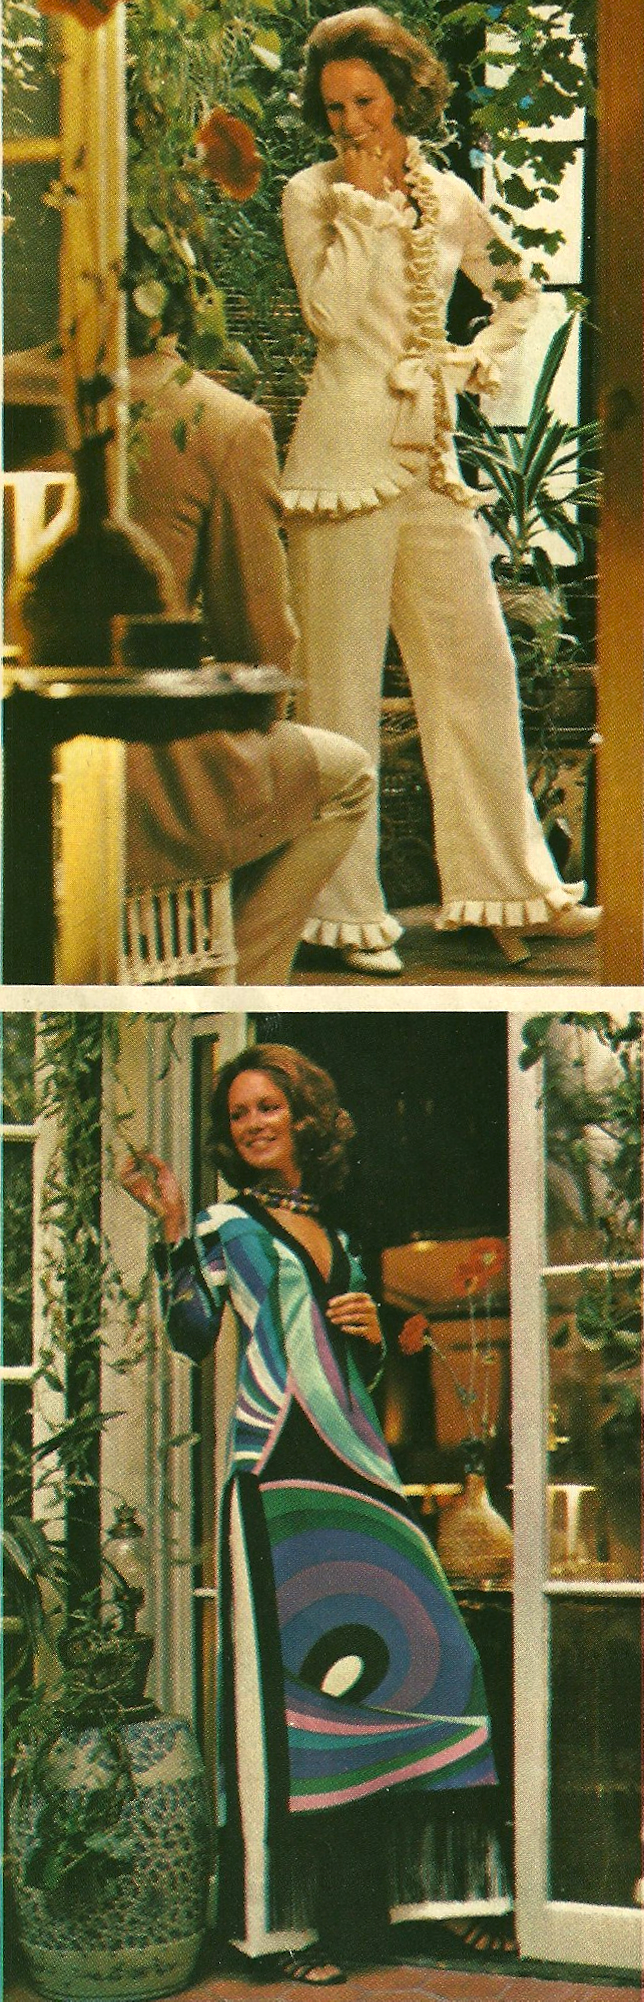
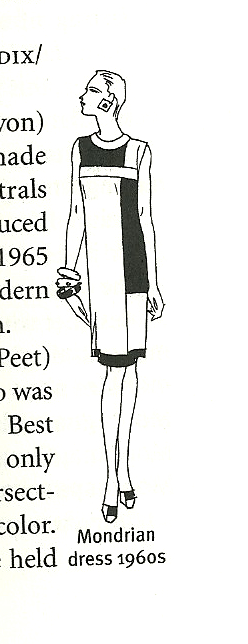
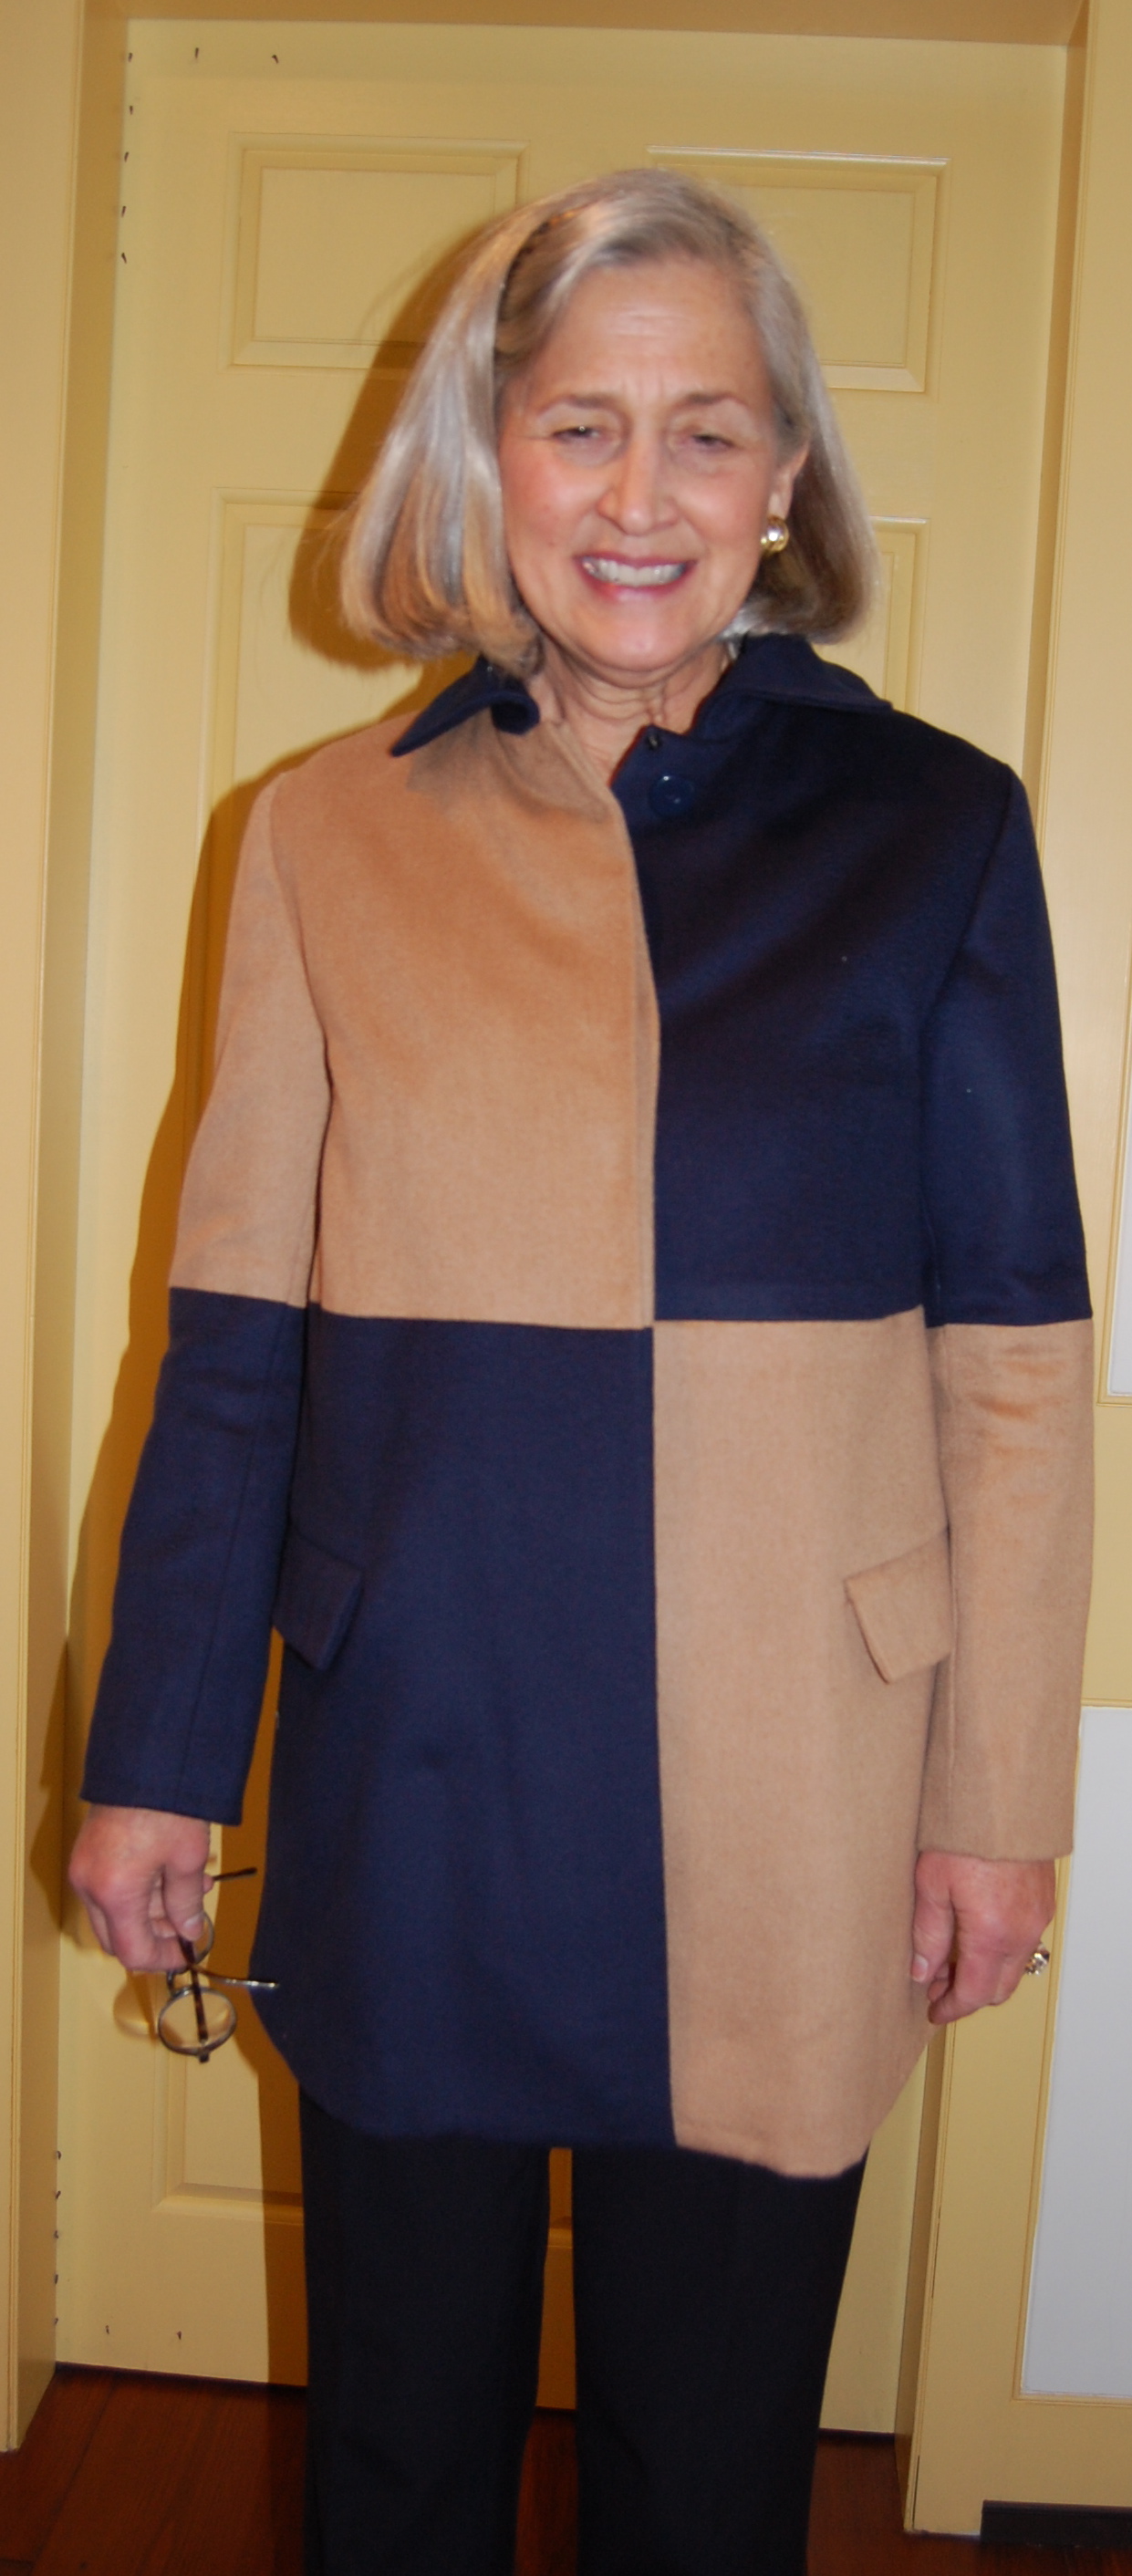
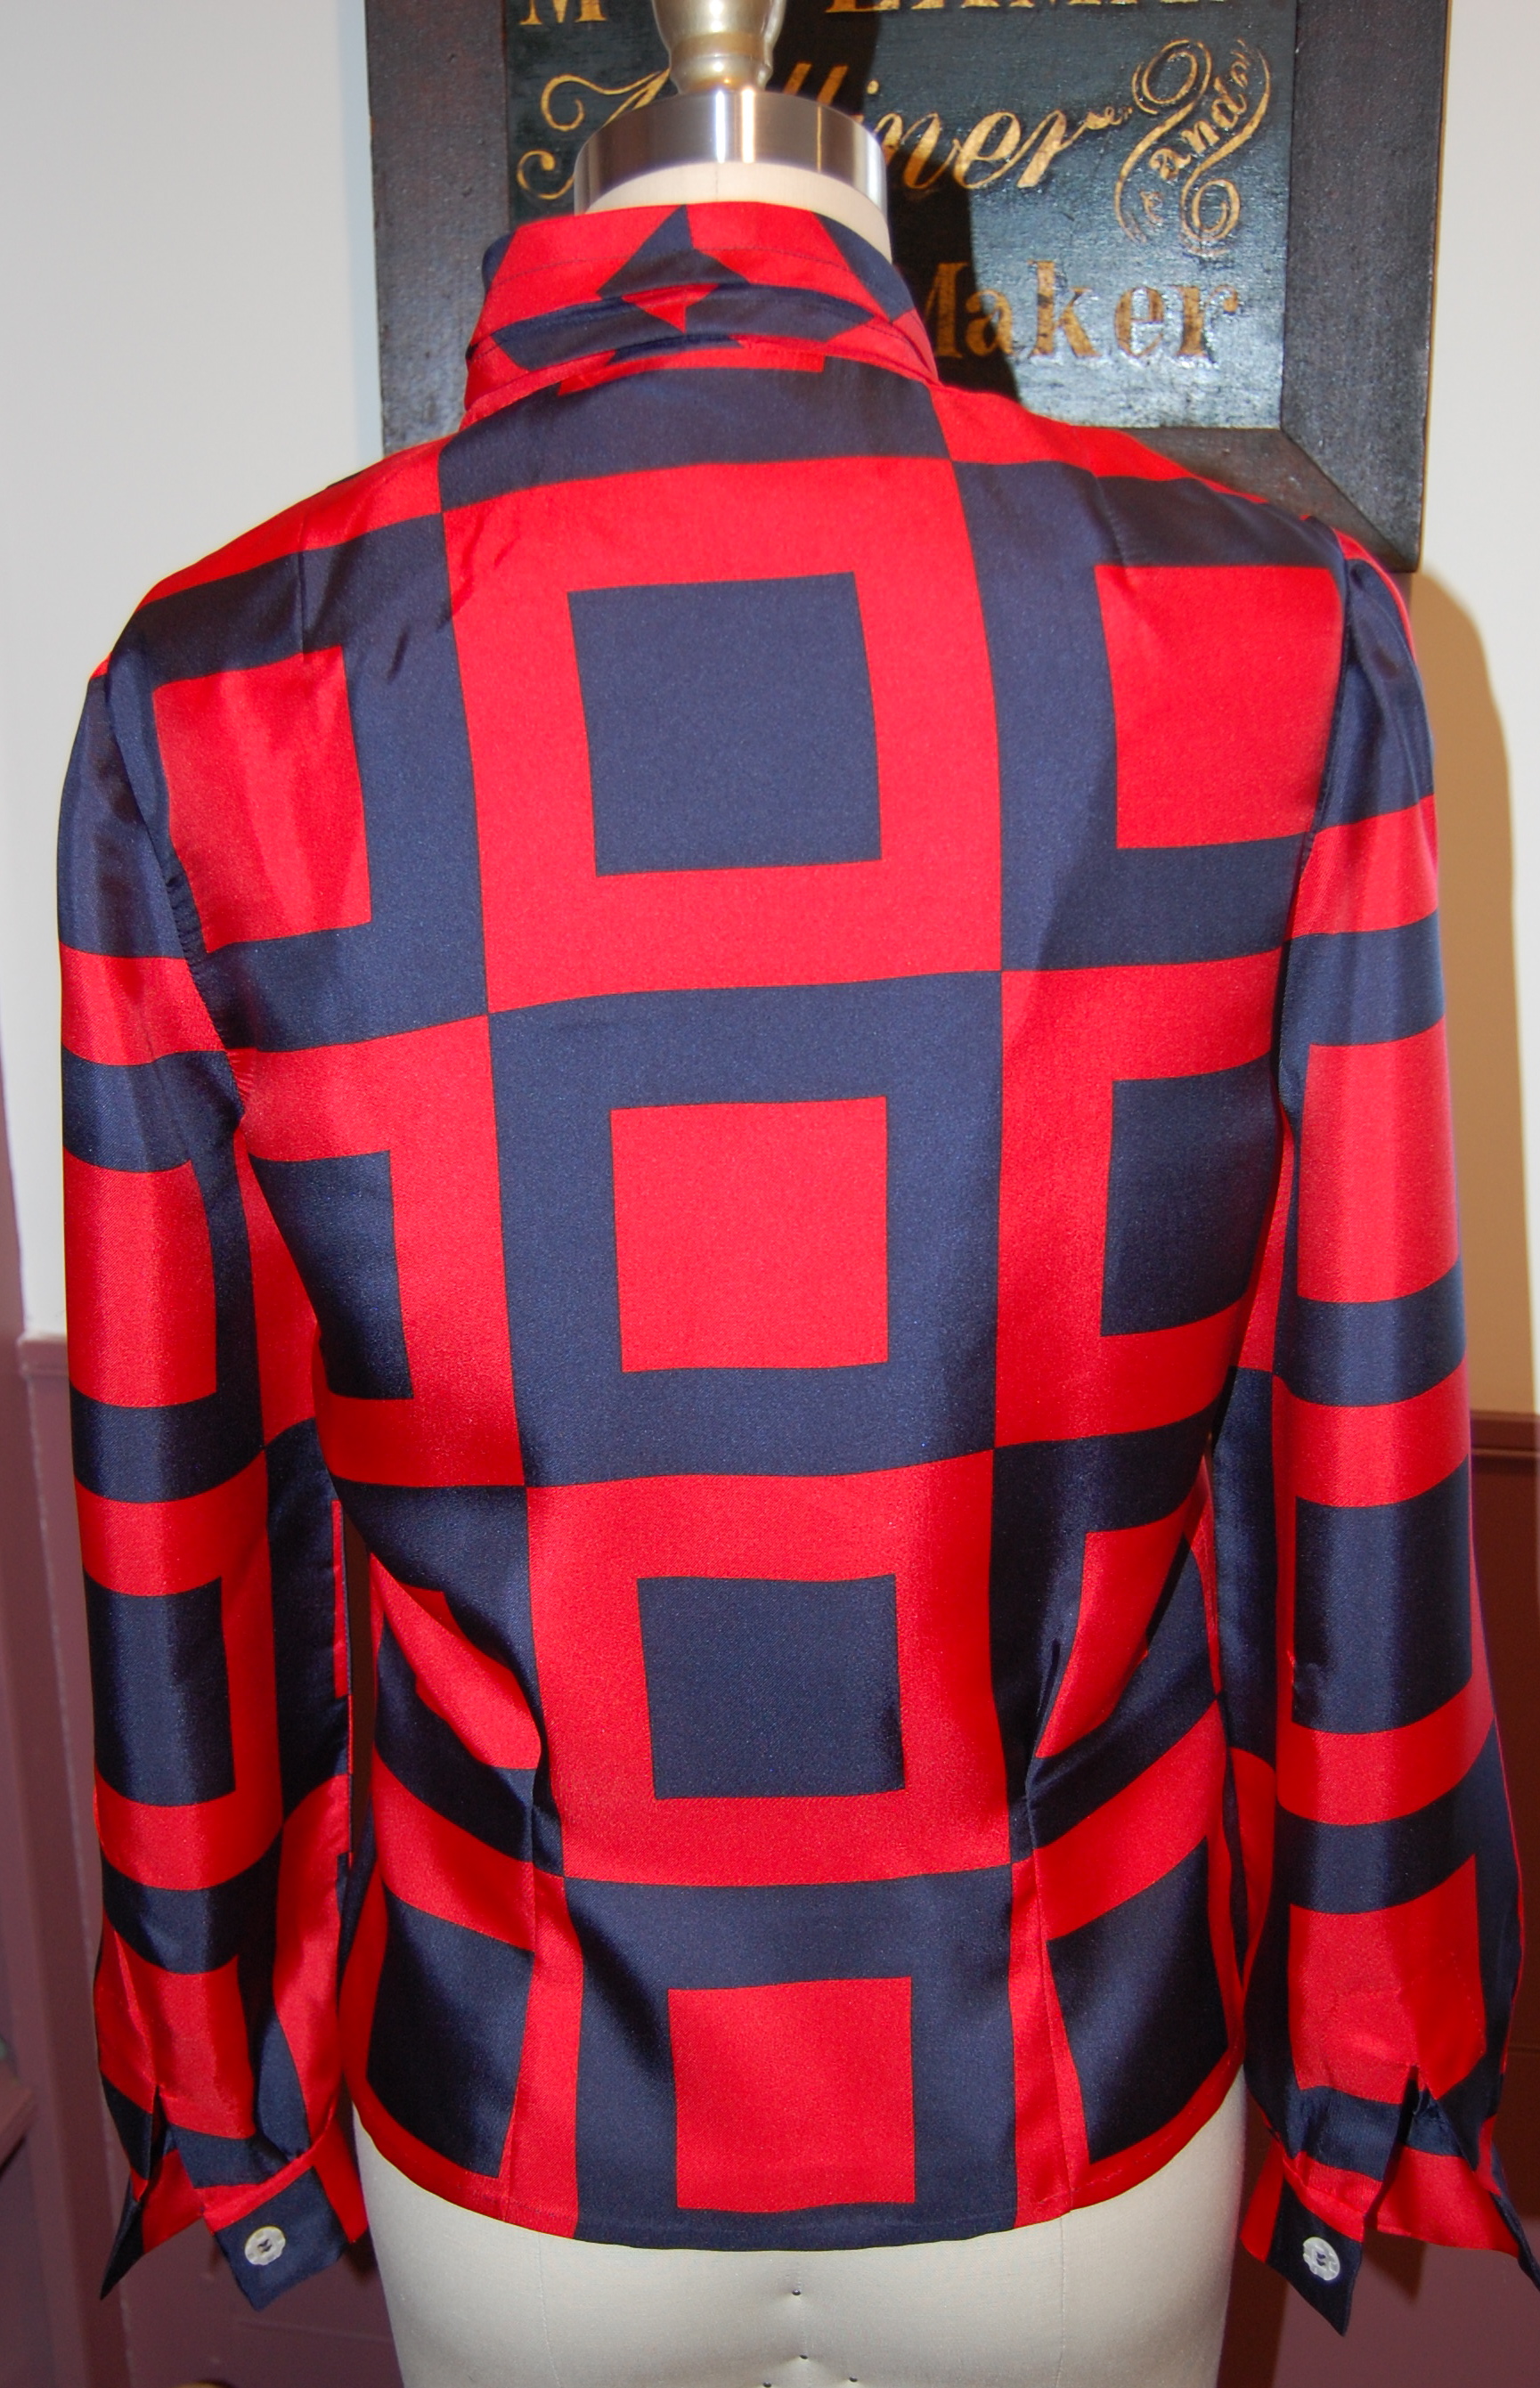
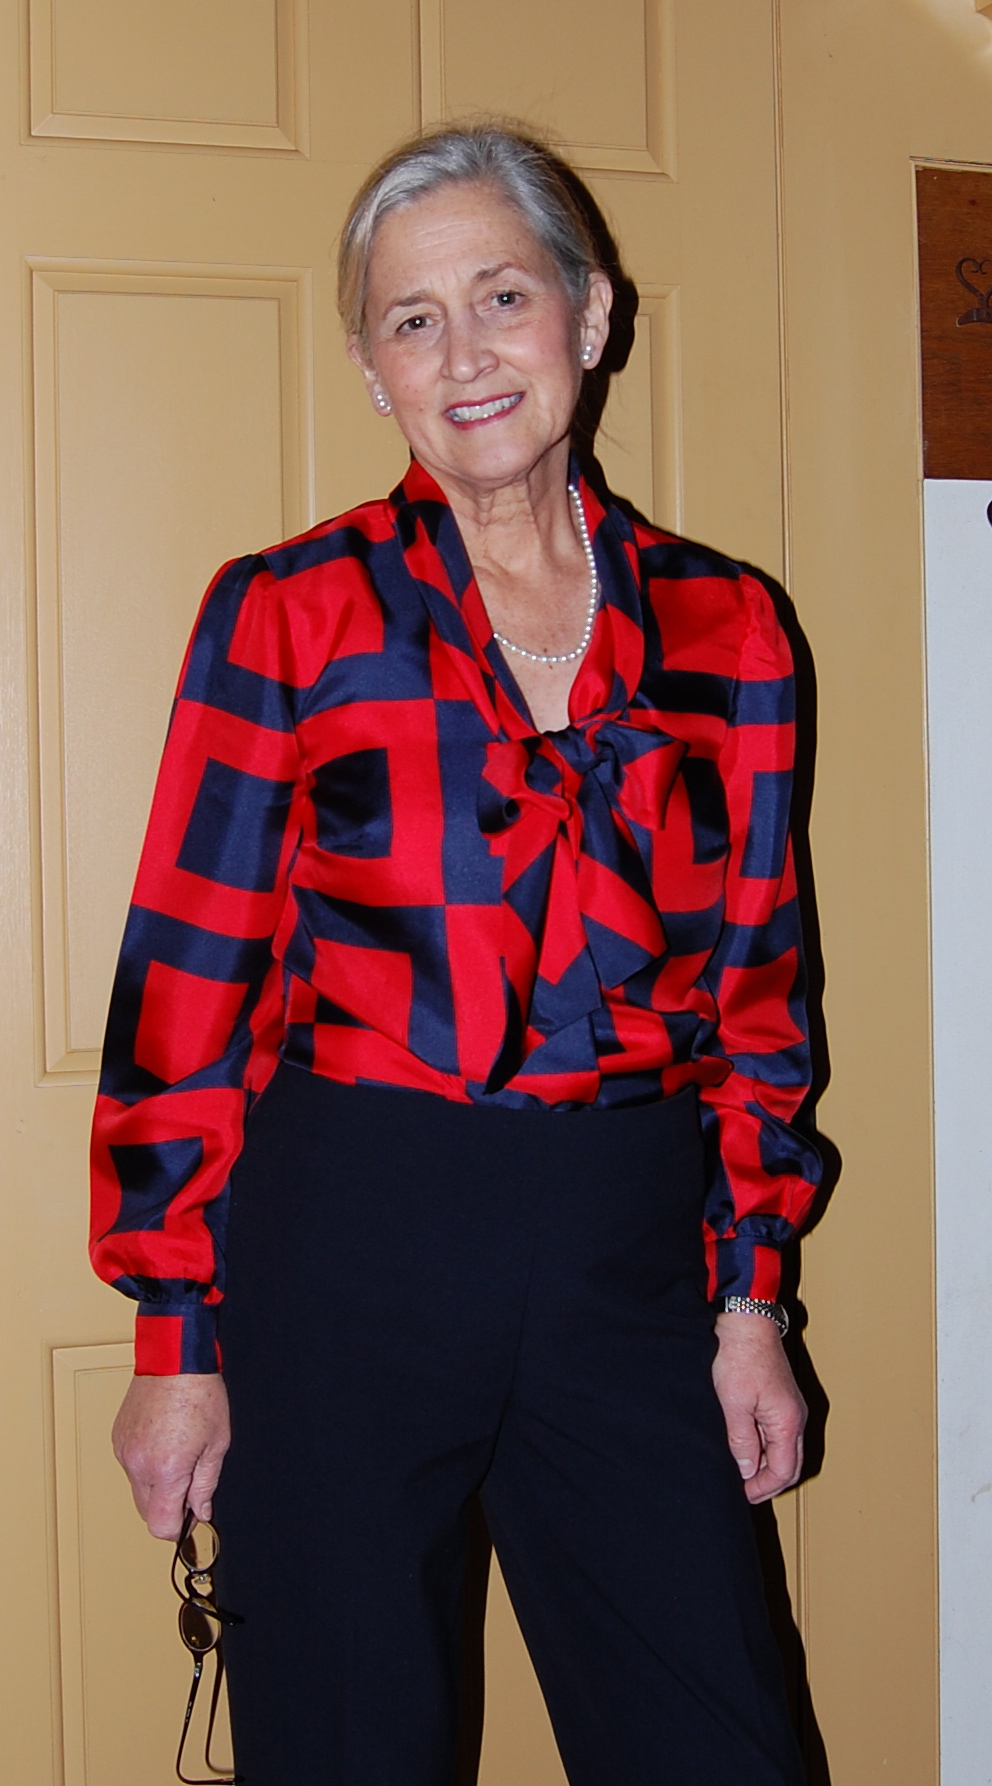
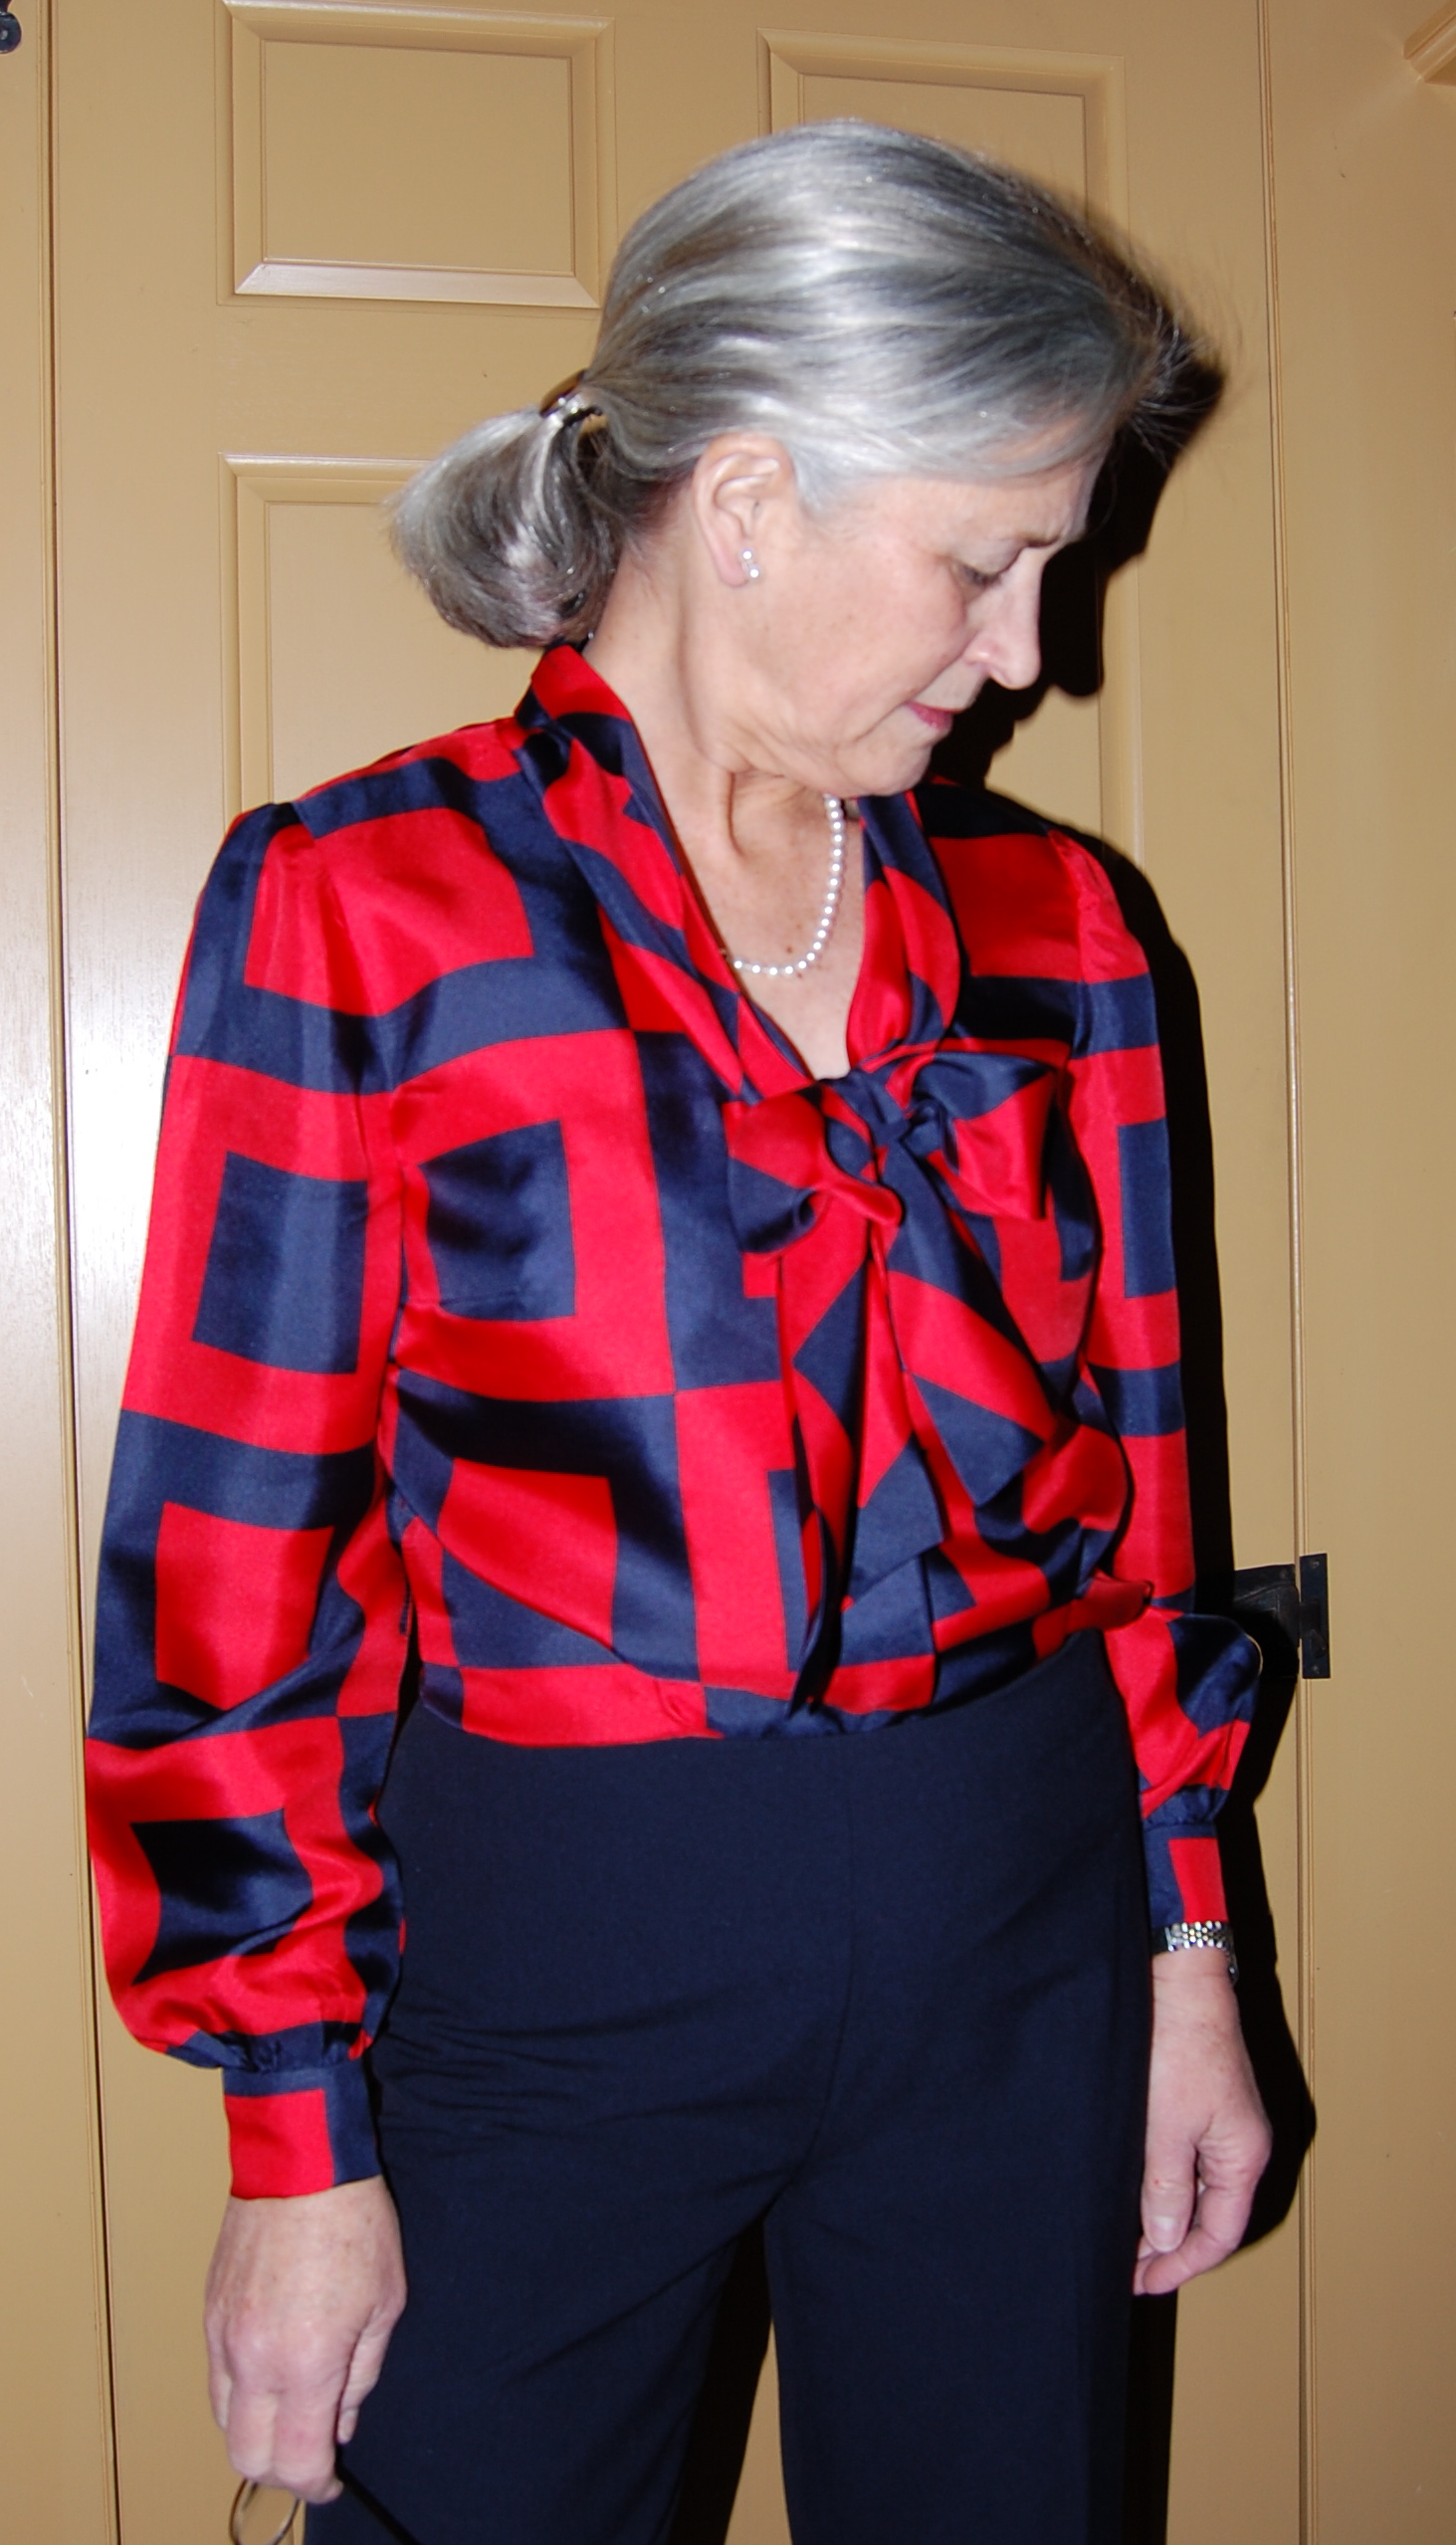
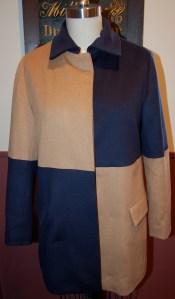
The use of color blocking, as featured in View A, became stylish in the mid-1960s, when Yves Saint Laurent introduced his classic Mondrian dress.

This little sketch from The Fairchild Dictionary of Fashion, Fairchild Publications, Inc., New York, New York, 2010, p. 329, shows the classic blocked design.
The appeal of the use of large geometrical sections of contrasting colors was widespread then and has, for many of us, never lost its cachet. The clean precise lines, and diverse use of fabrics in color blocking must have appealed to Hubert de Givenchy’s sense of design. Known for simplicity and refinement, according to Arlene C. Cooper, writing in the St. James Fashion Encyclopedia, Givenchy emphasizes “line rather than decoration”. Further, Givenchy is known for “coats that are marvels of line and volume…” (St. James Fashion Encyclopedia, Visible Ink Press, Detroit, MI, 1997, p. 154). Vogue Patterns must have been exceptionally pleased to have the rights to this design for its Designer Series in the early 1970’s.
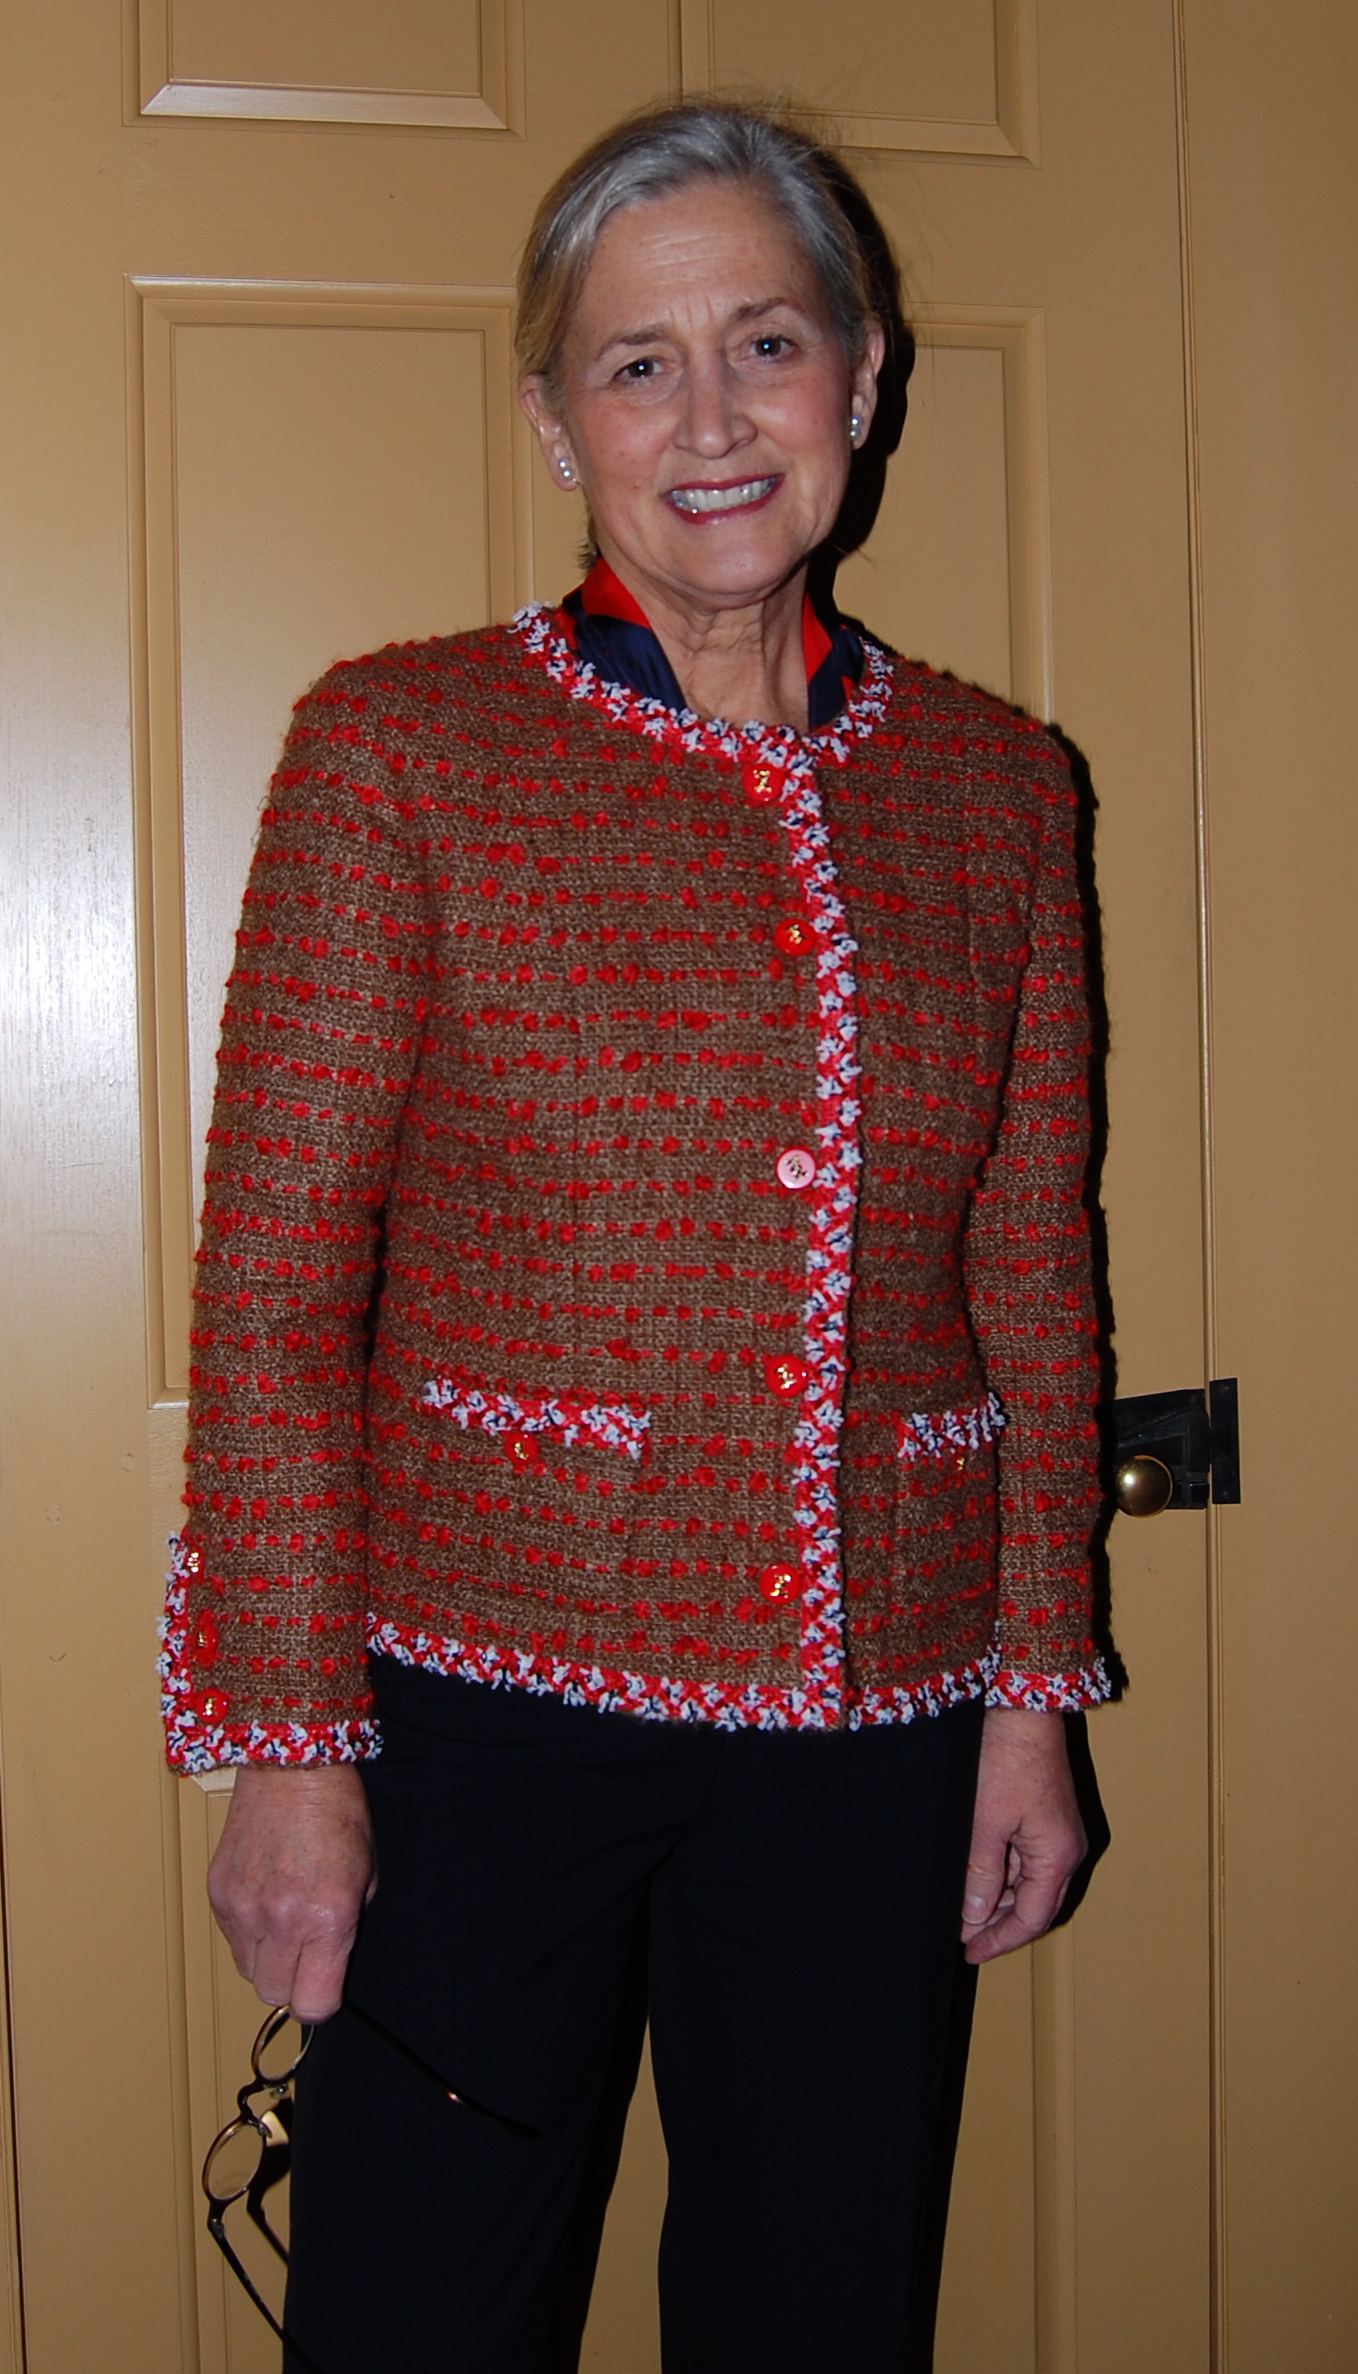
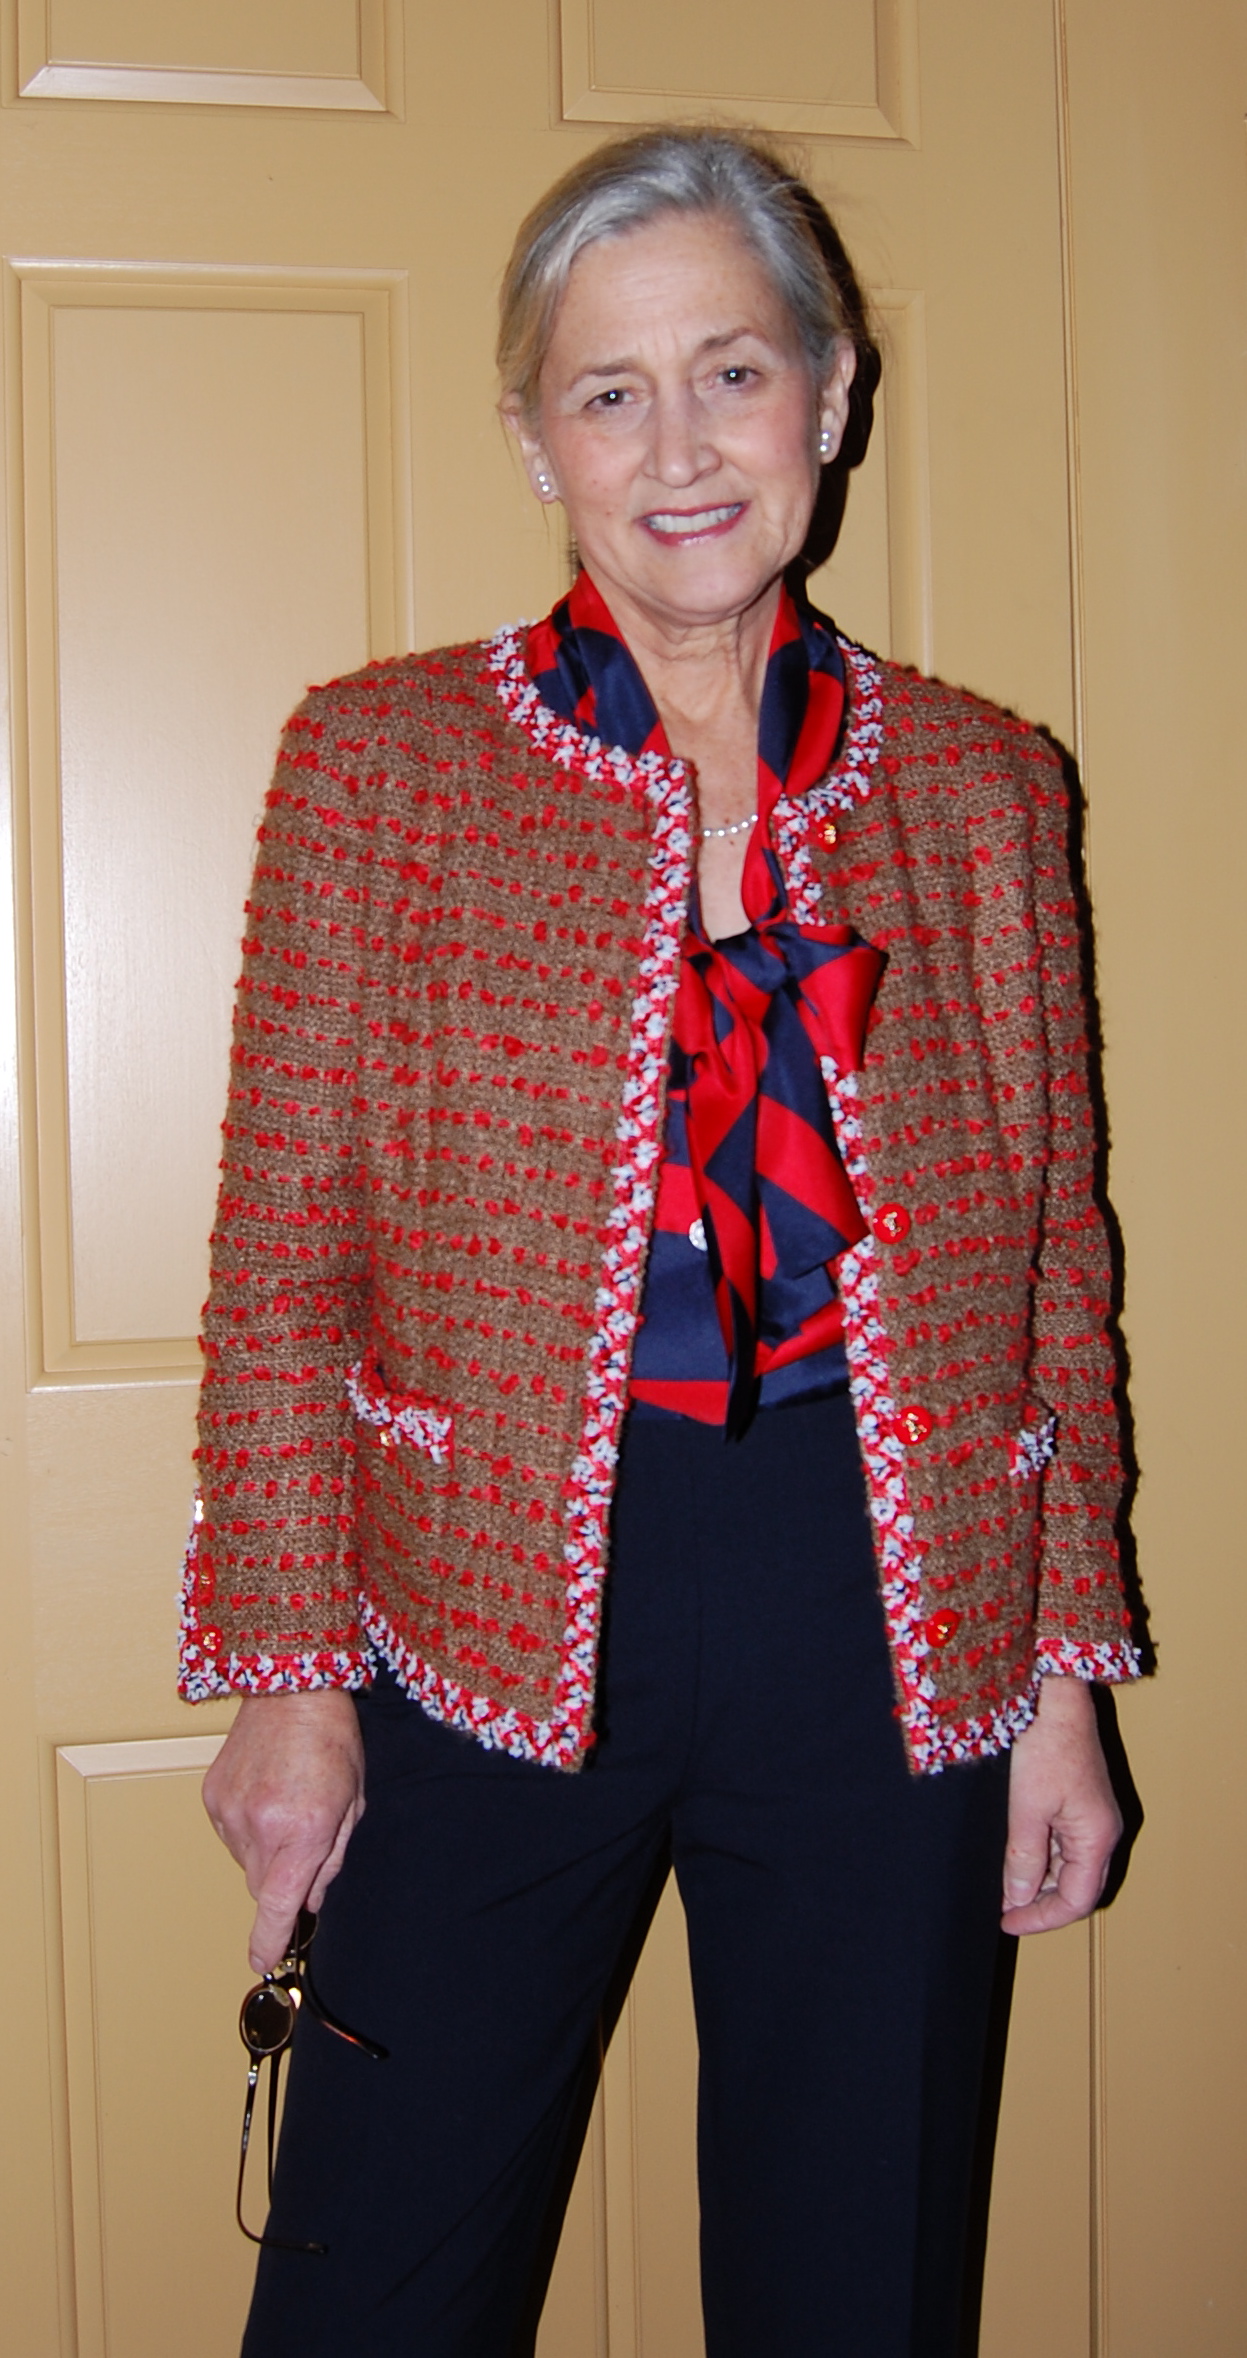
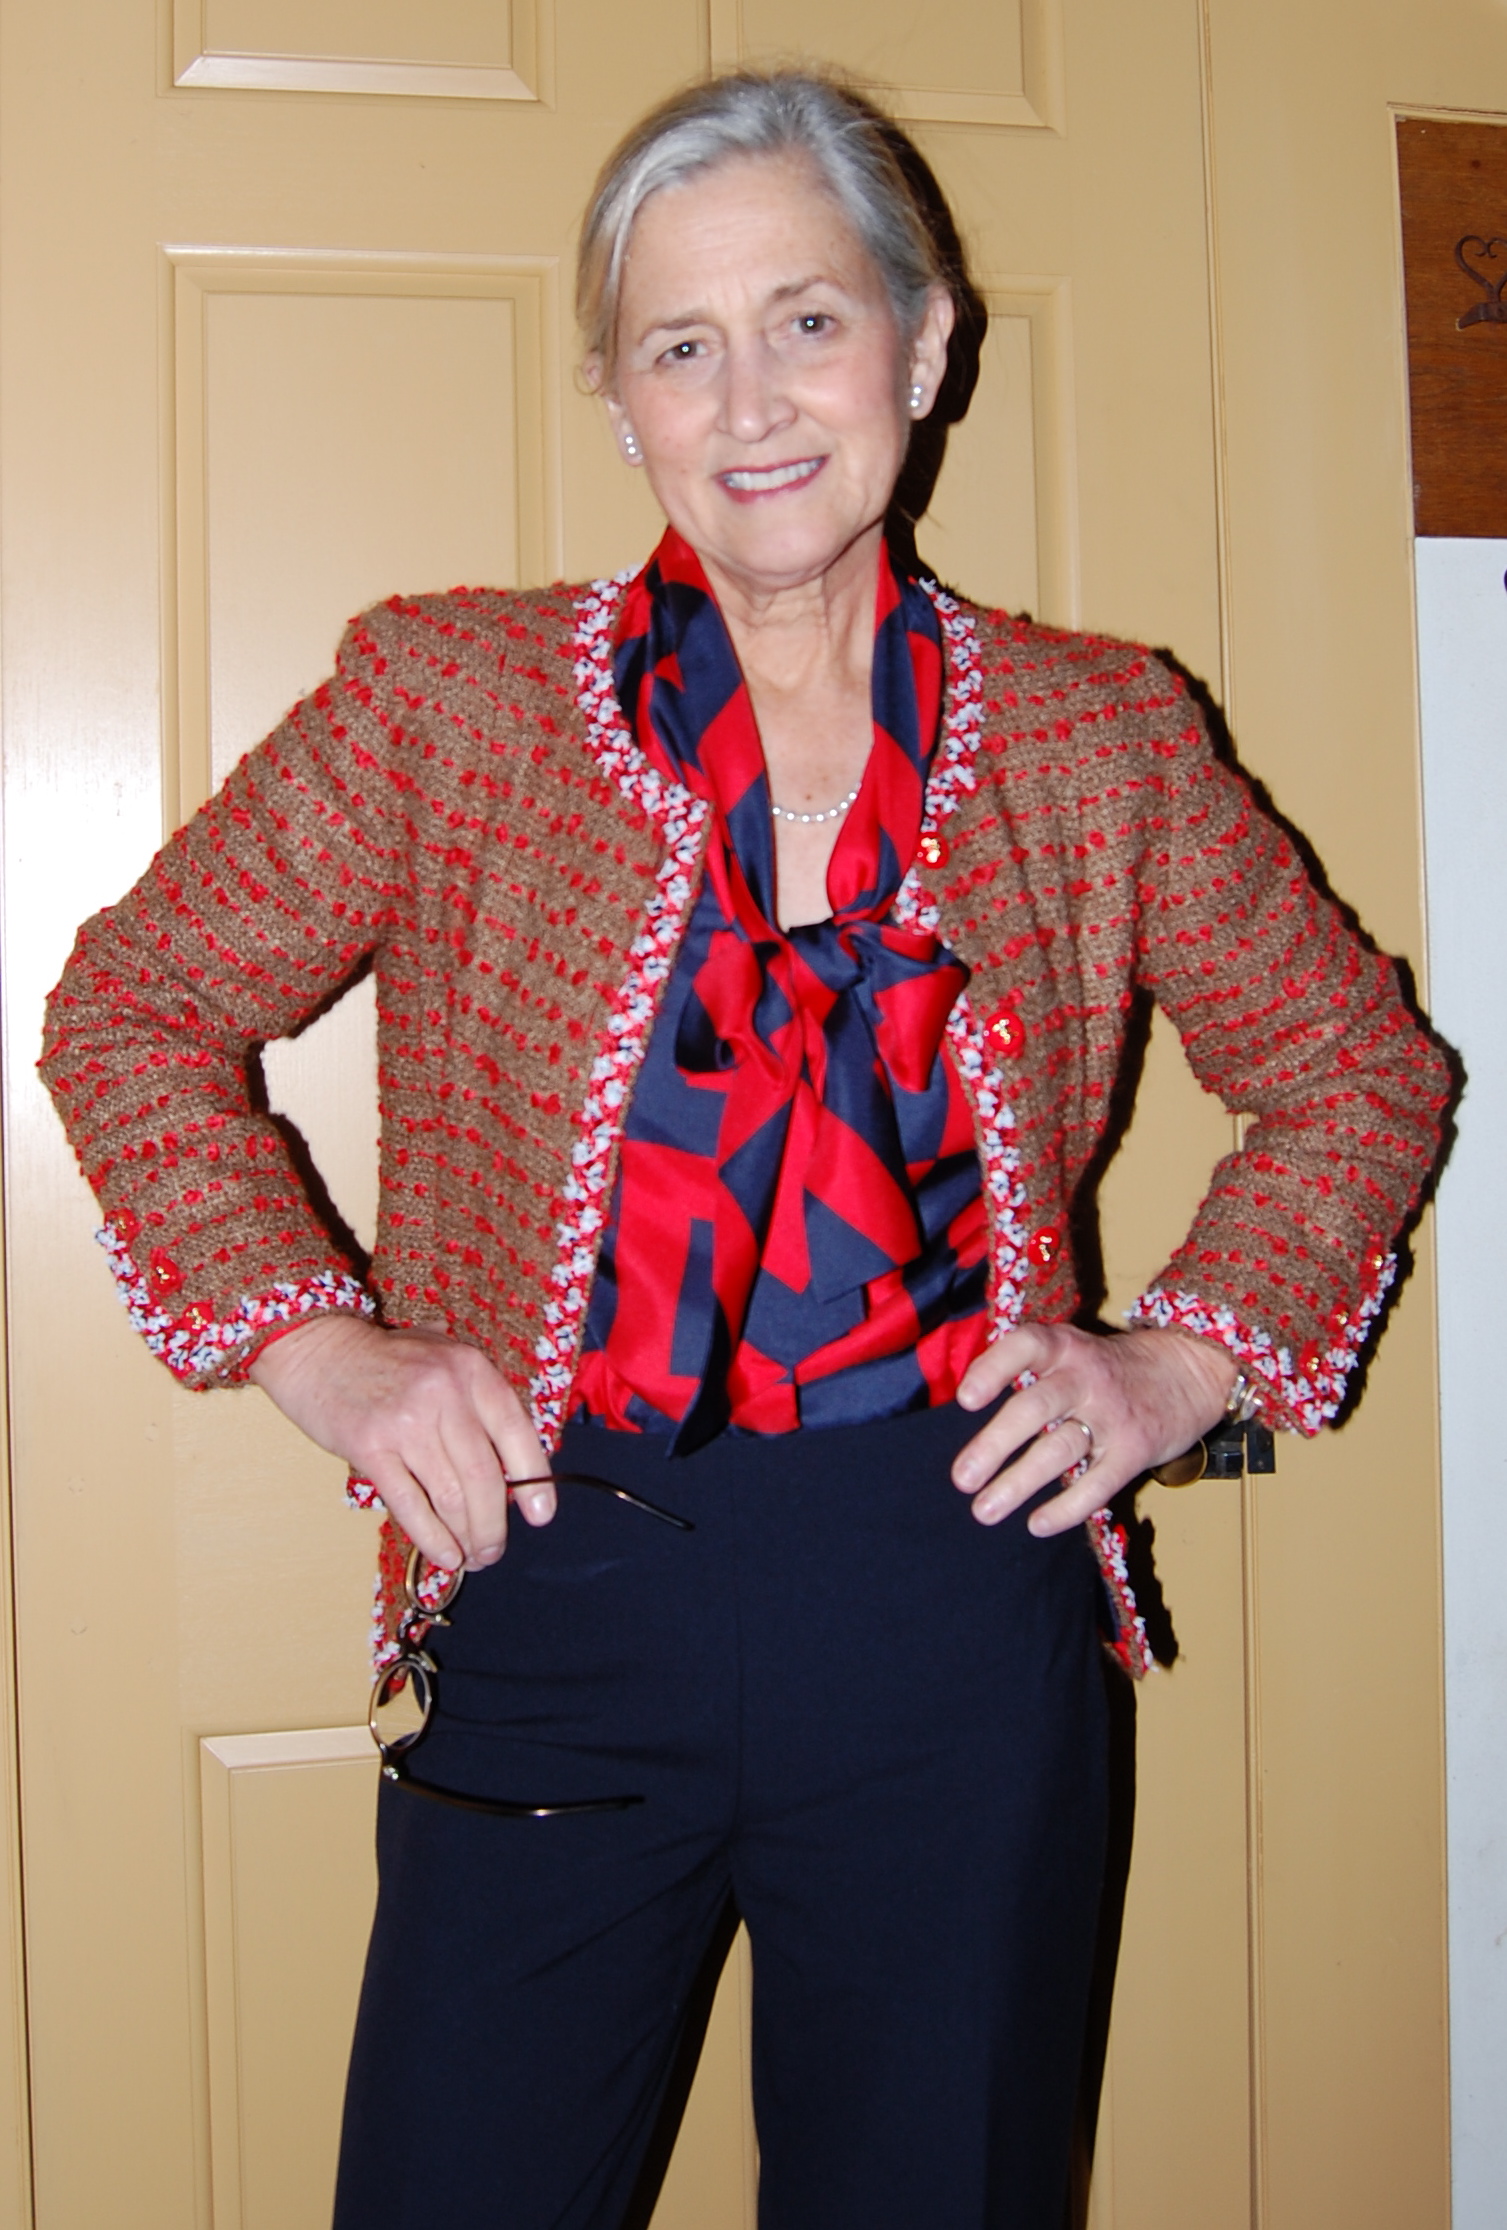
I started my jacket in early February this year in Susan Khalje’s Couture Sewing School class in San Francisco. I just finished it.


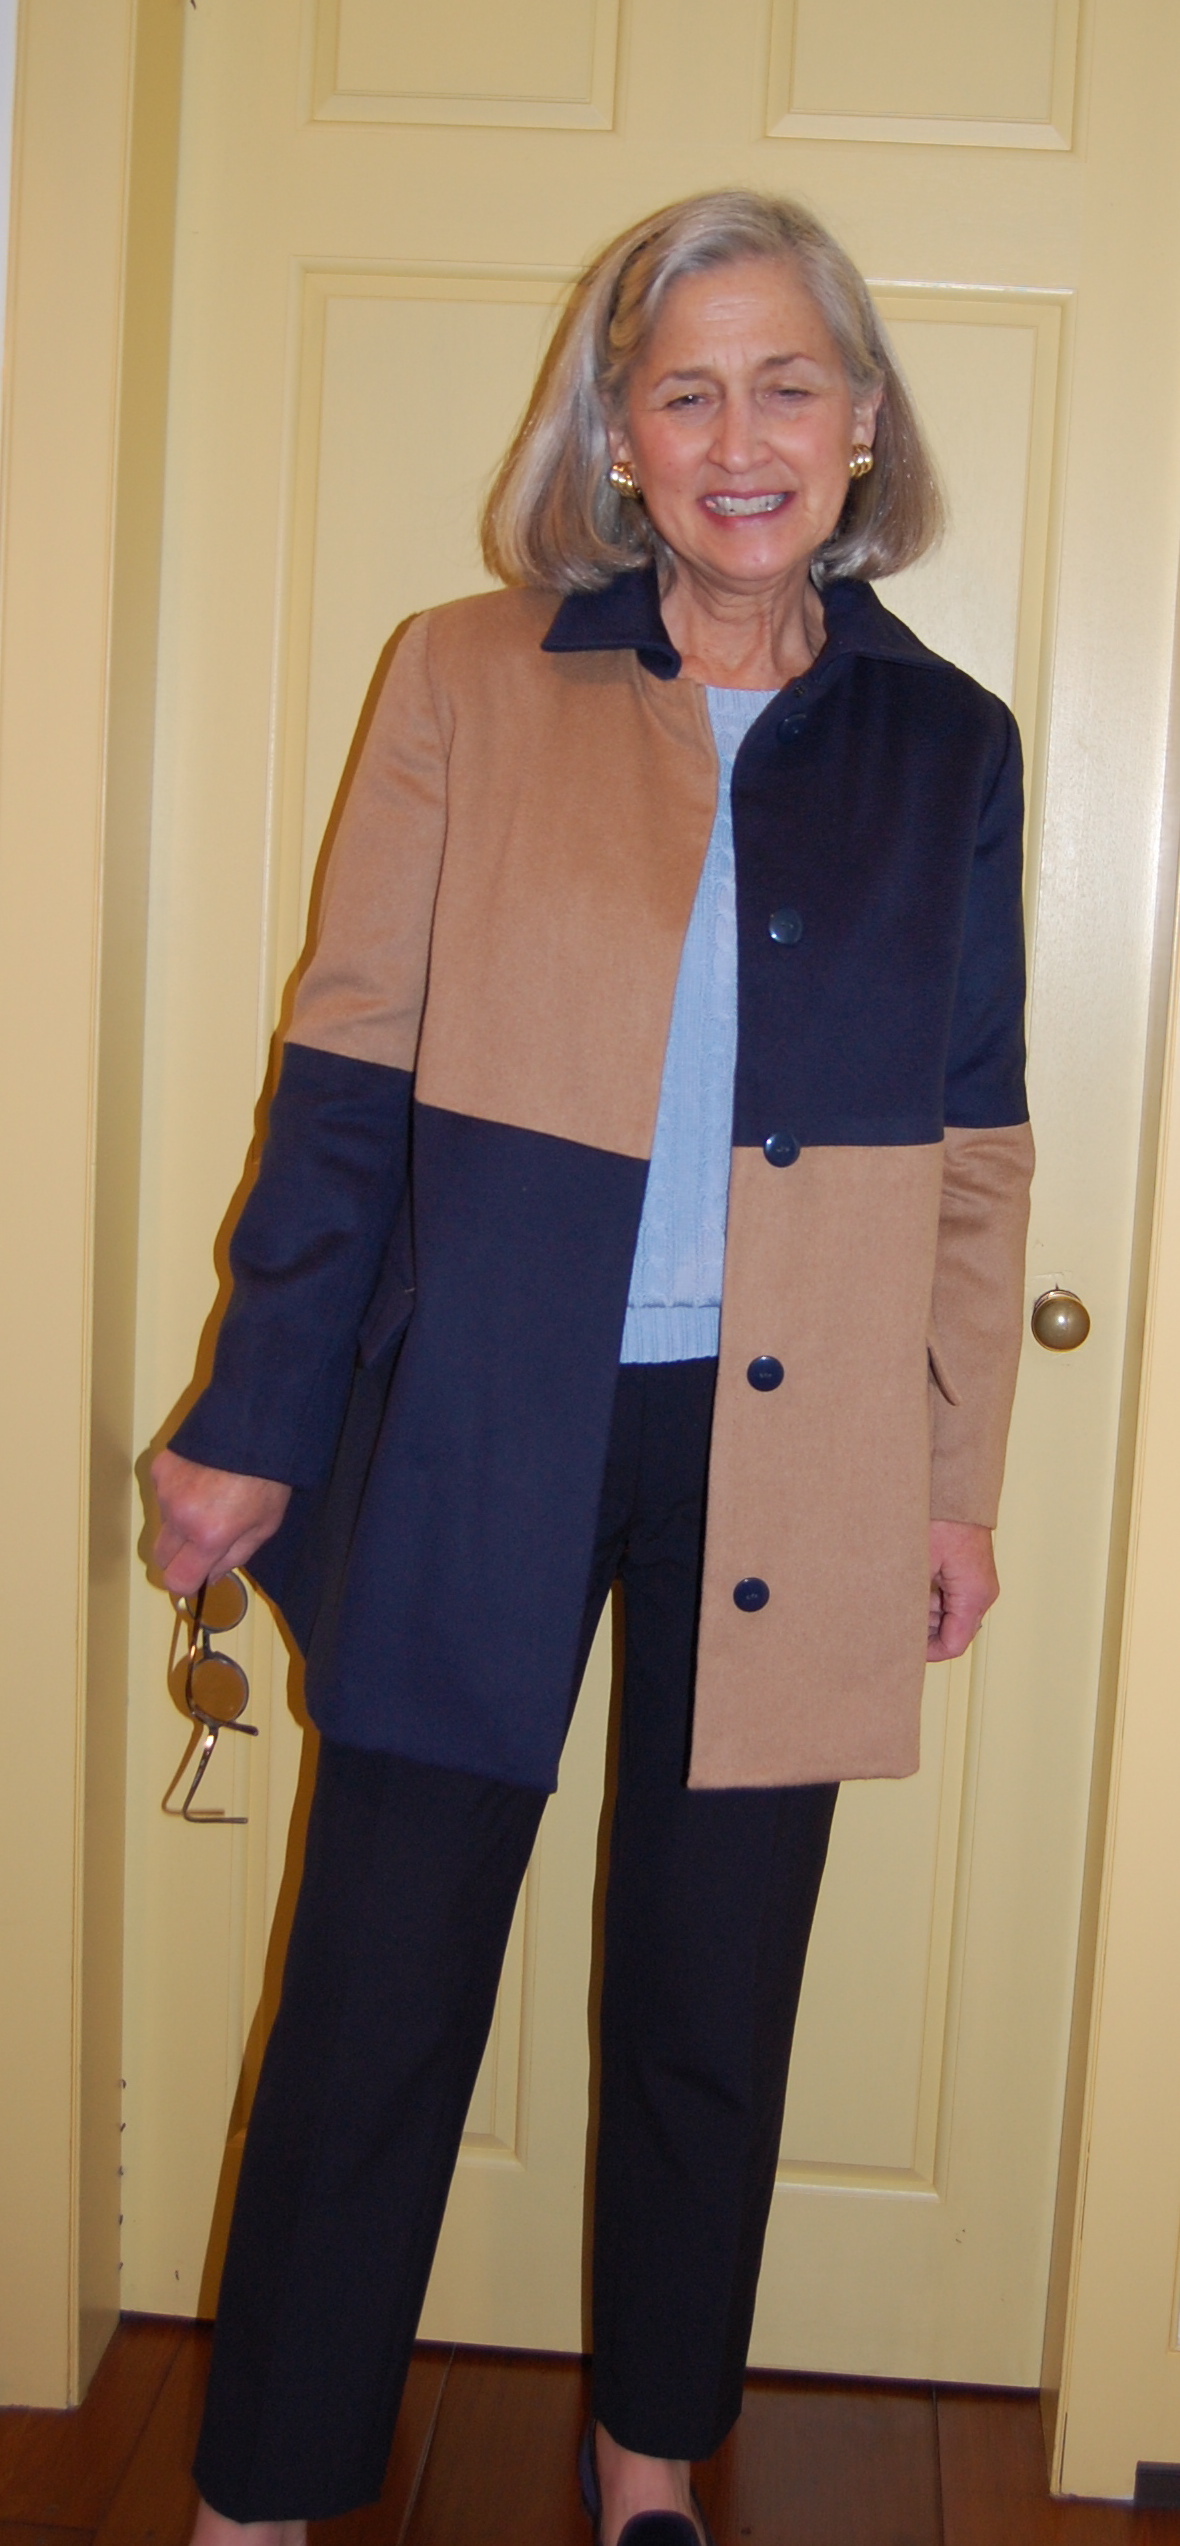
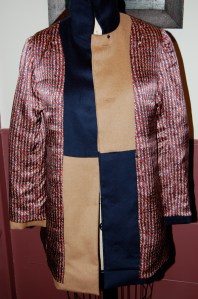
I like it worn open as well…
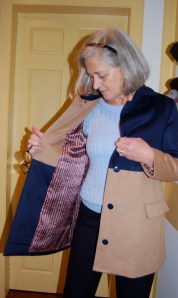
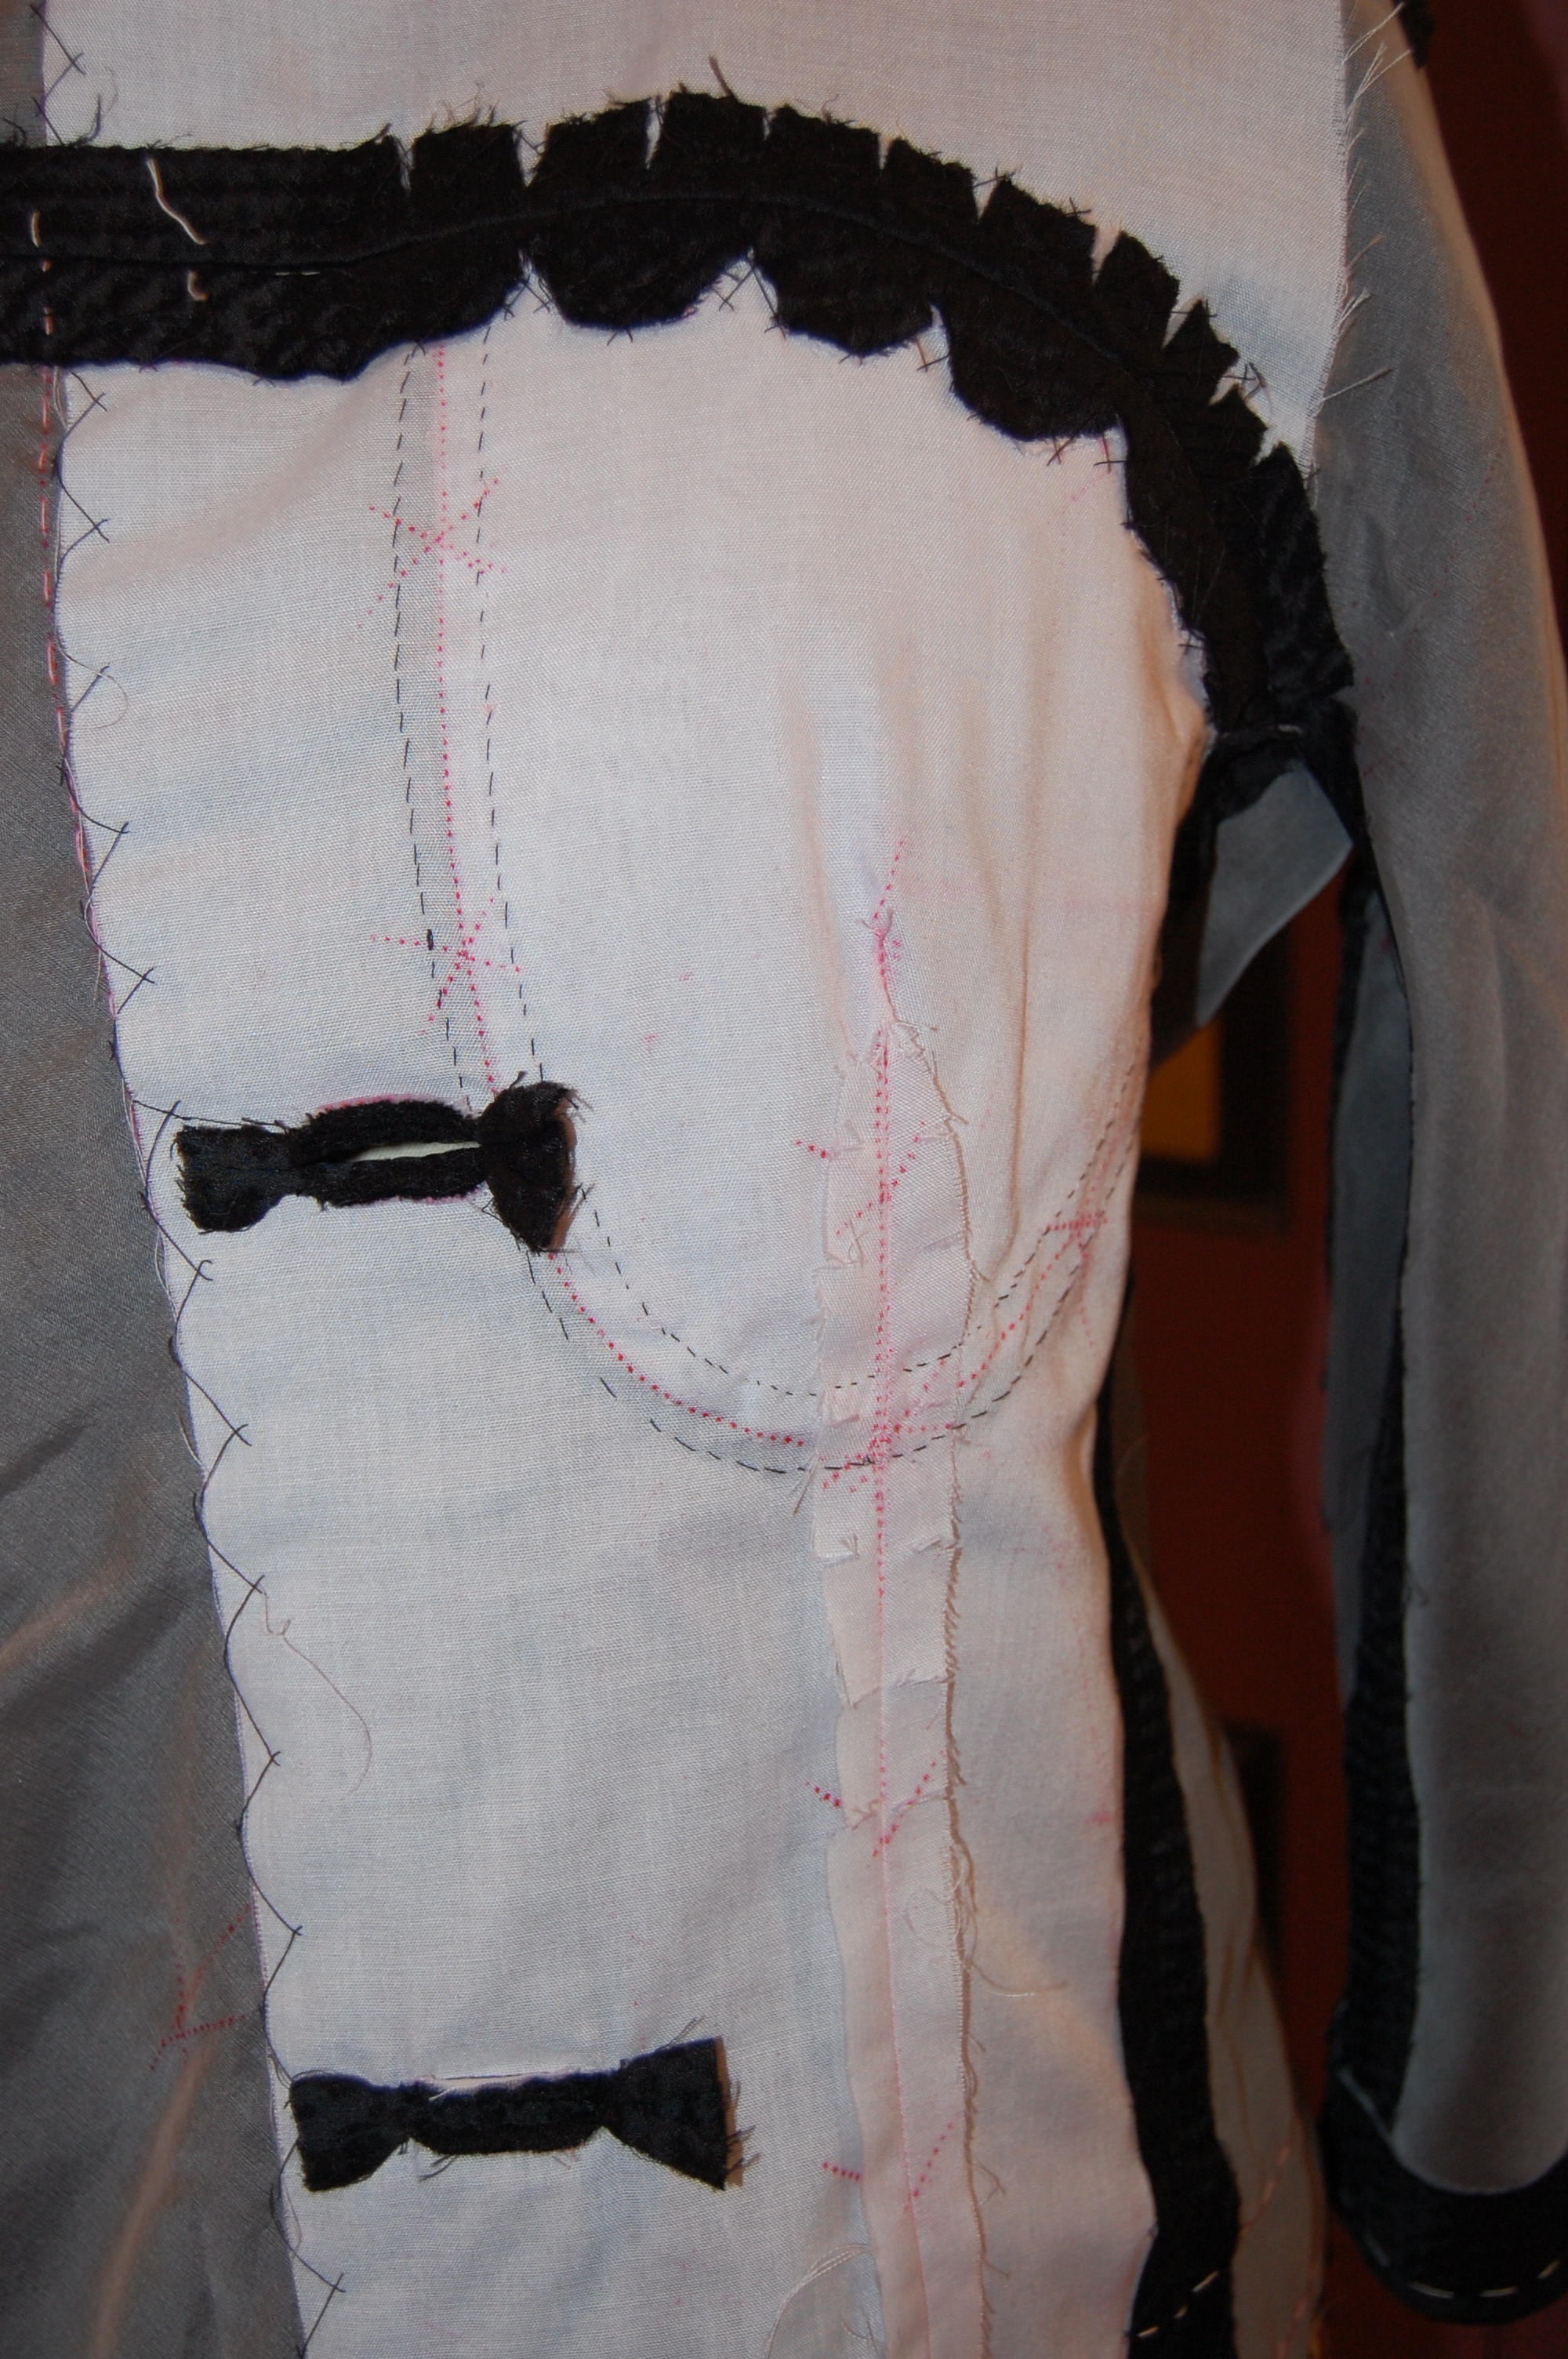
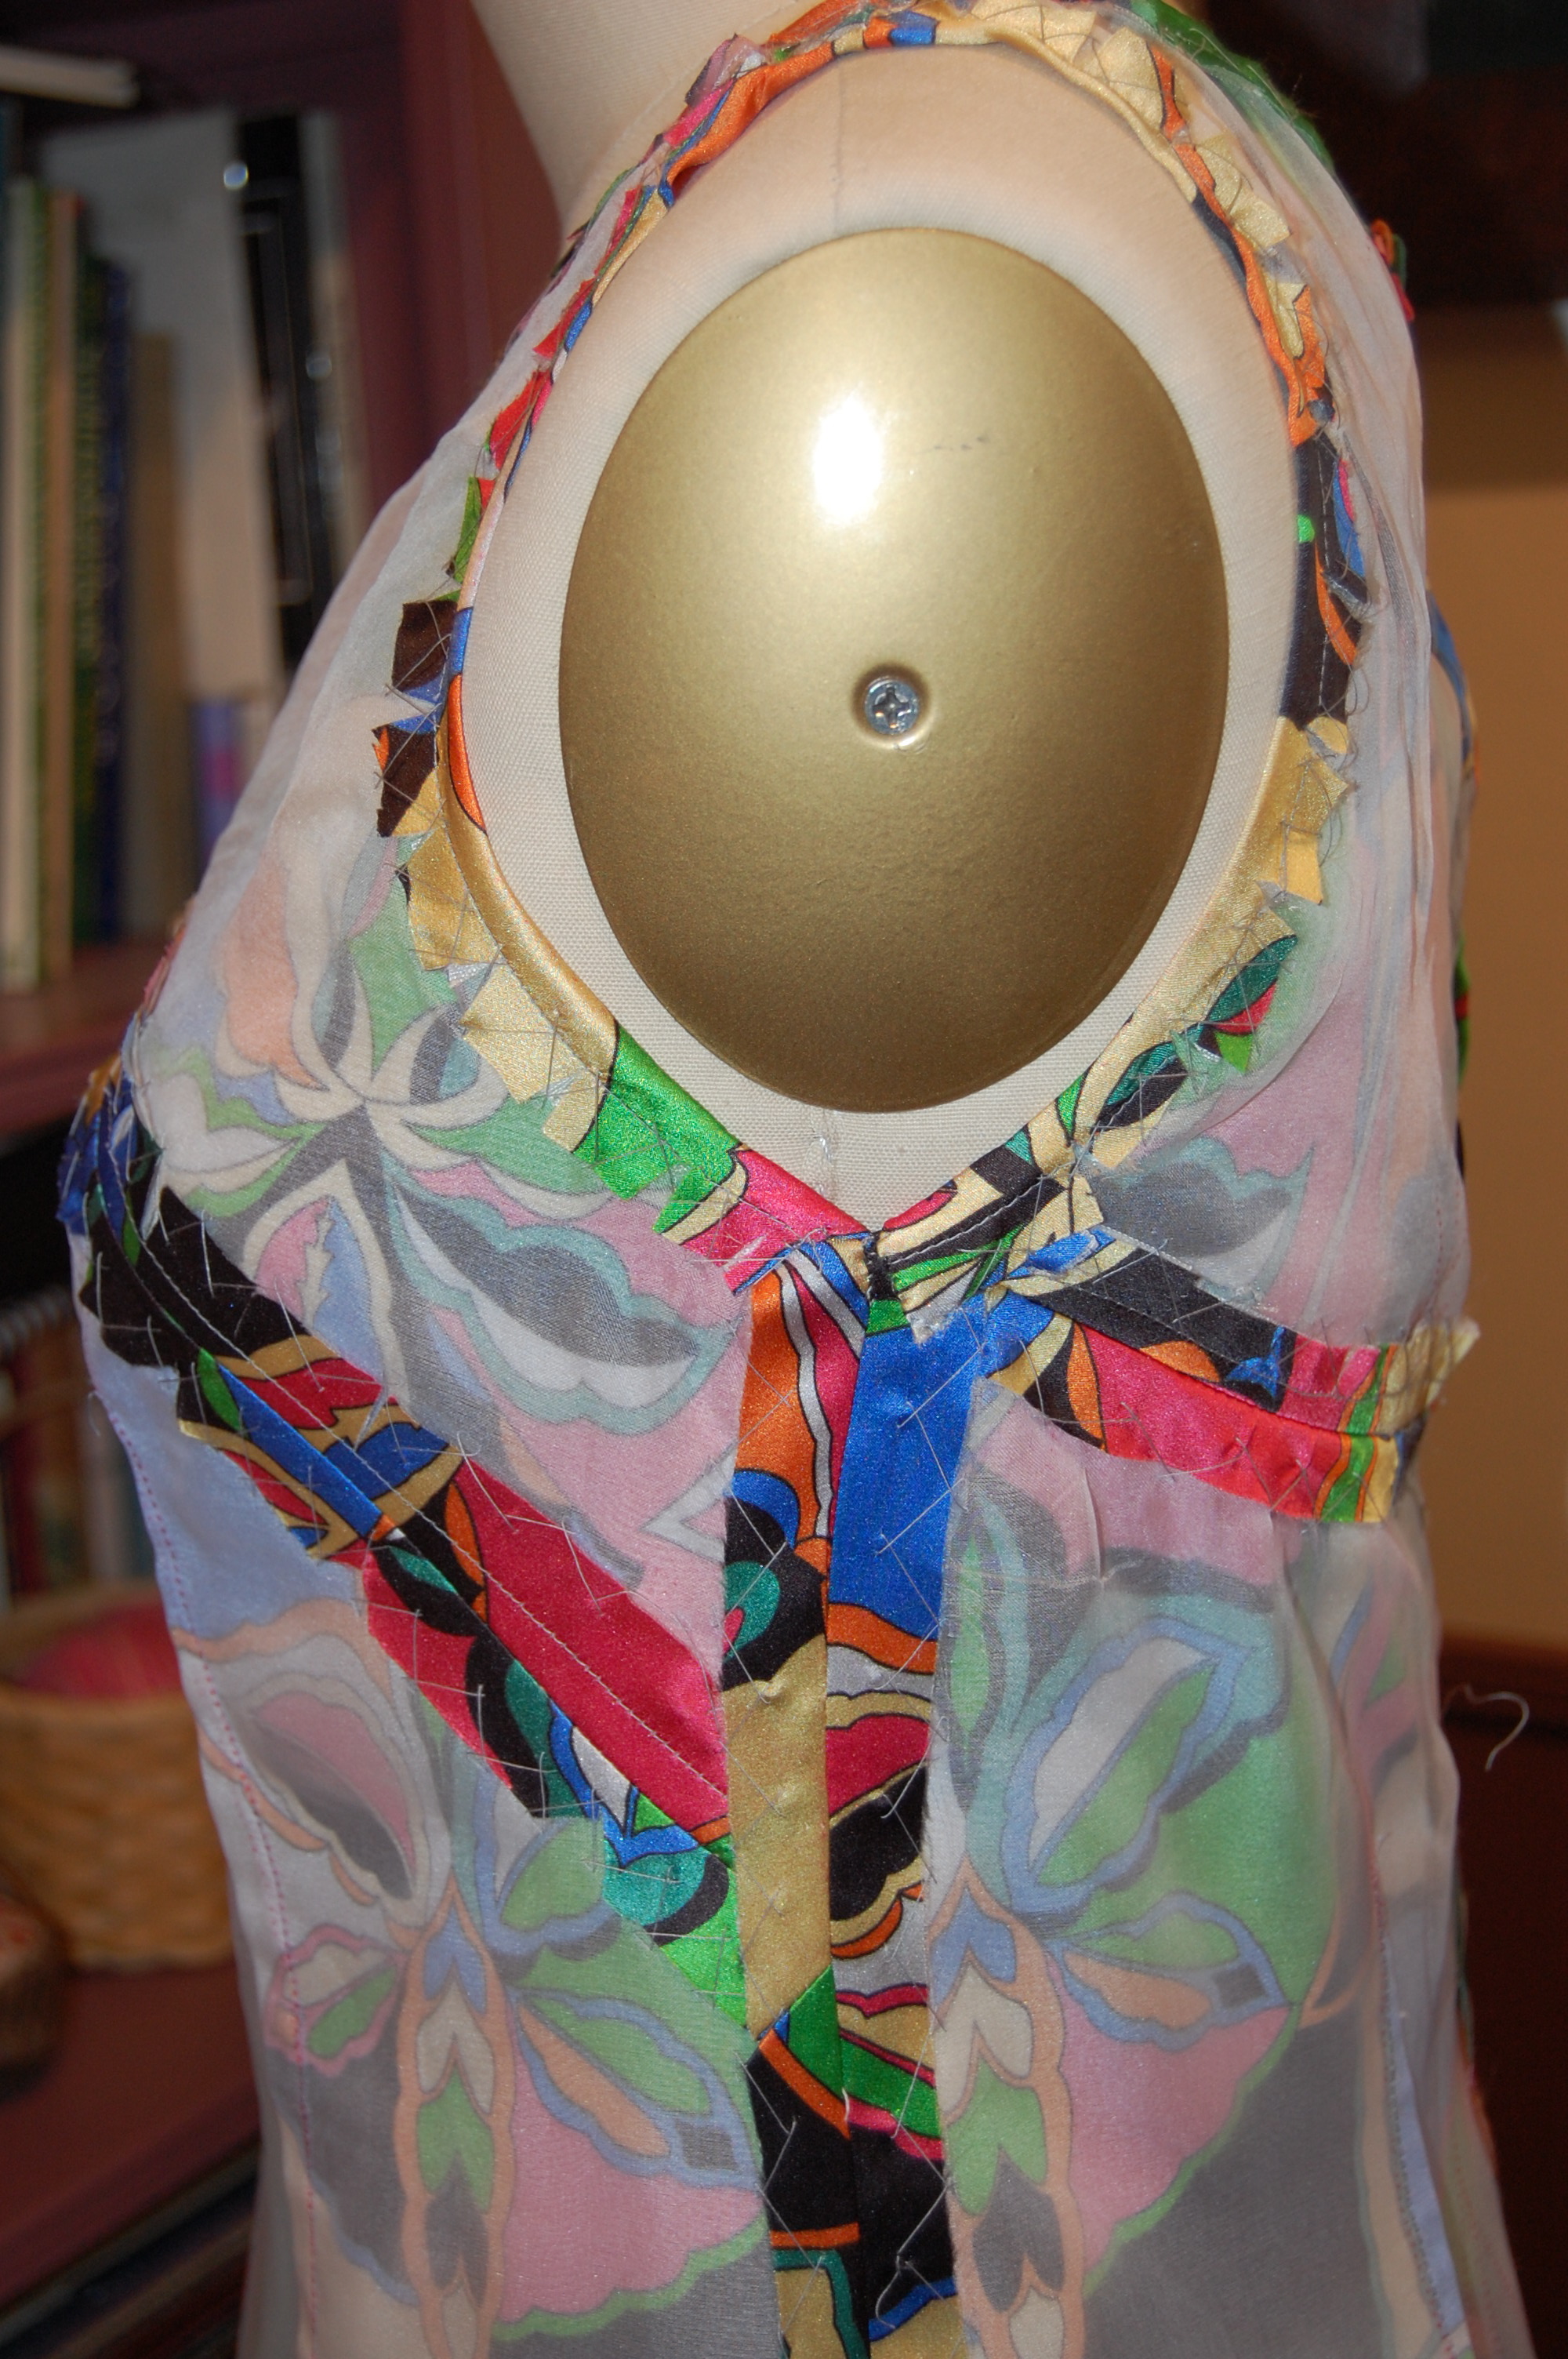
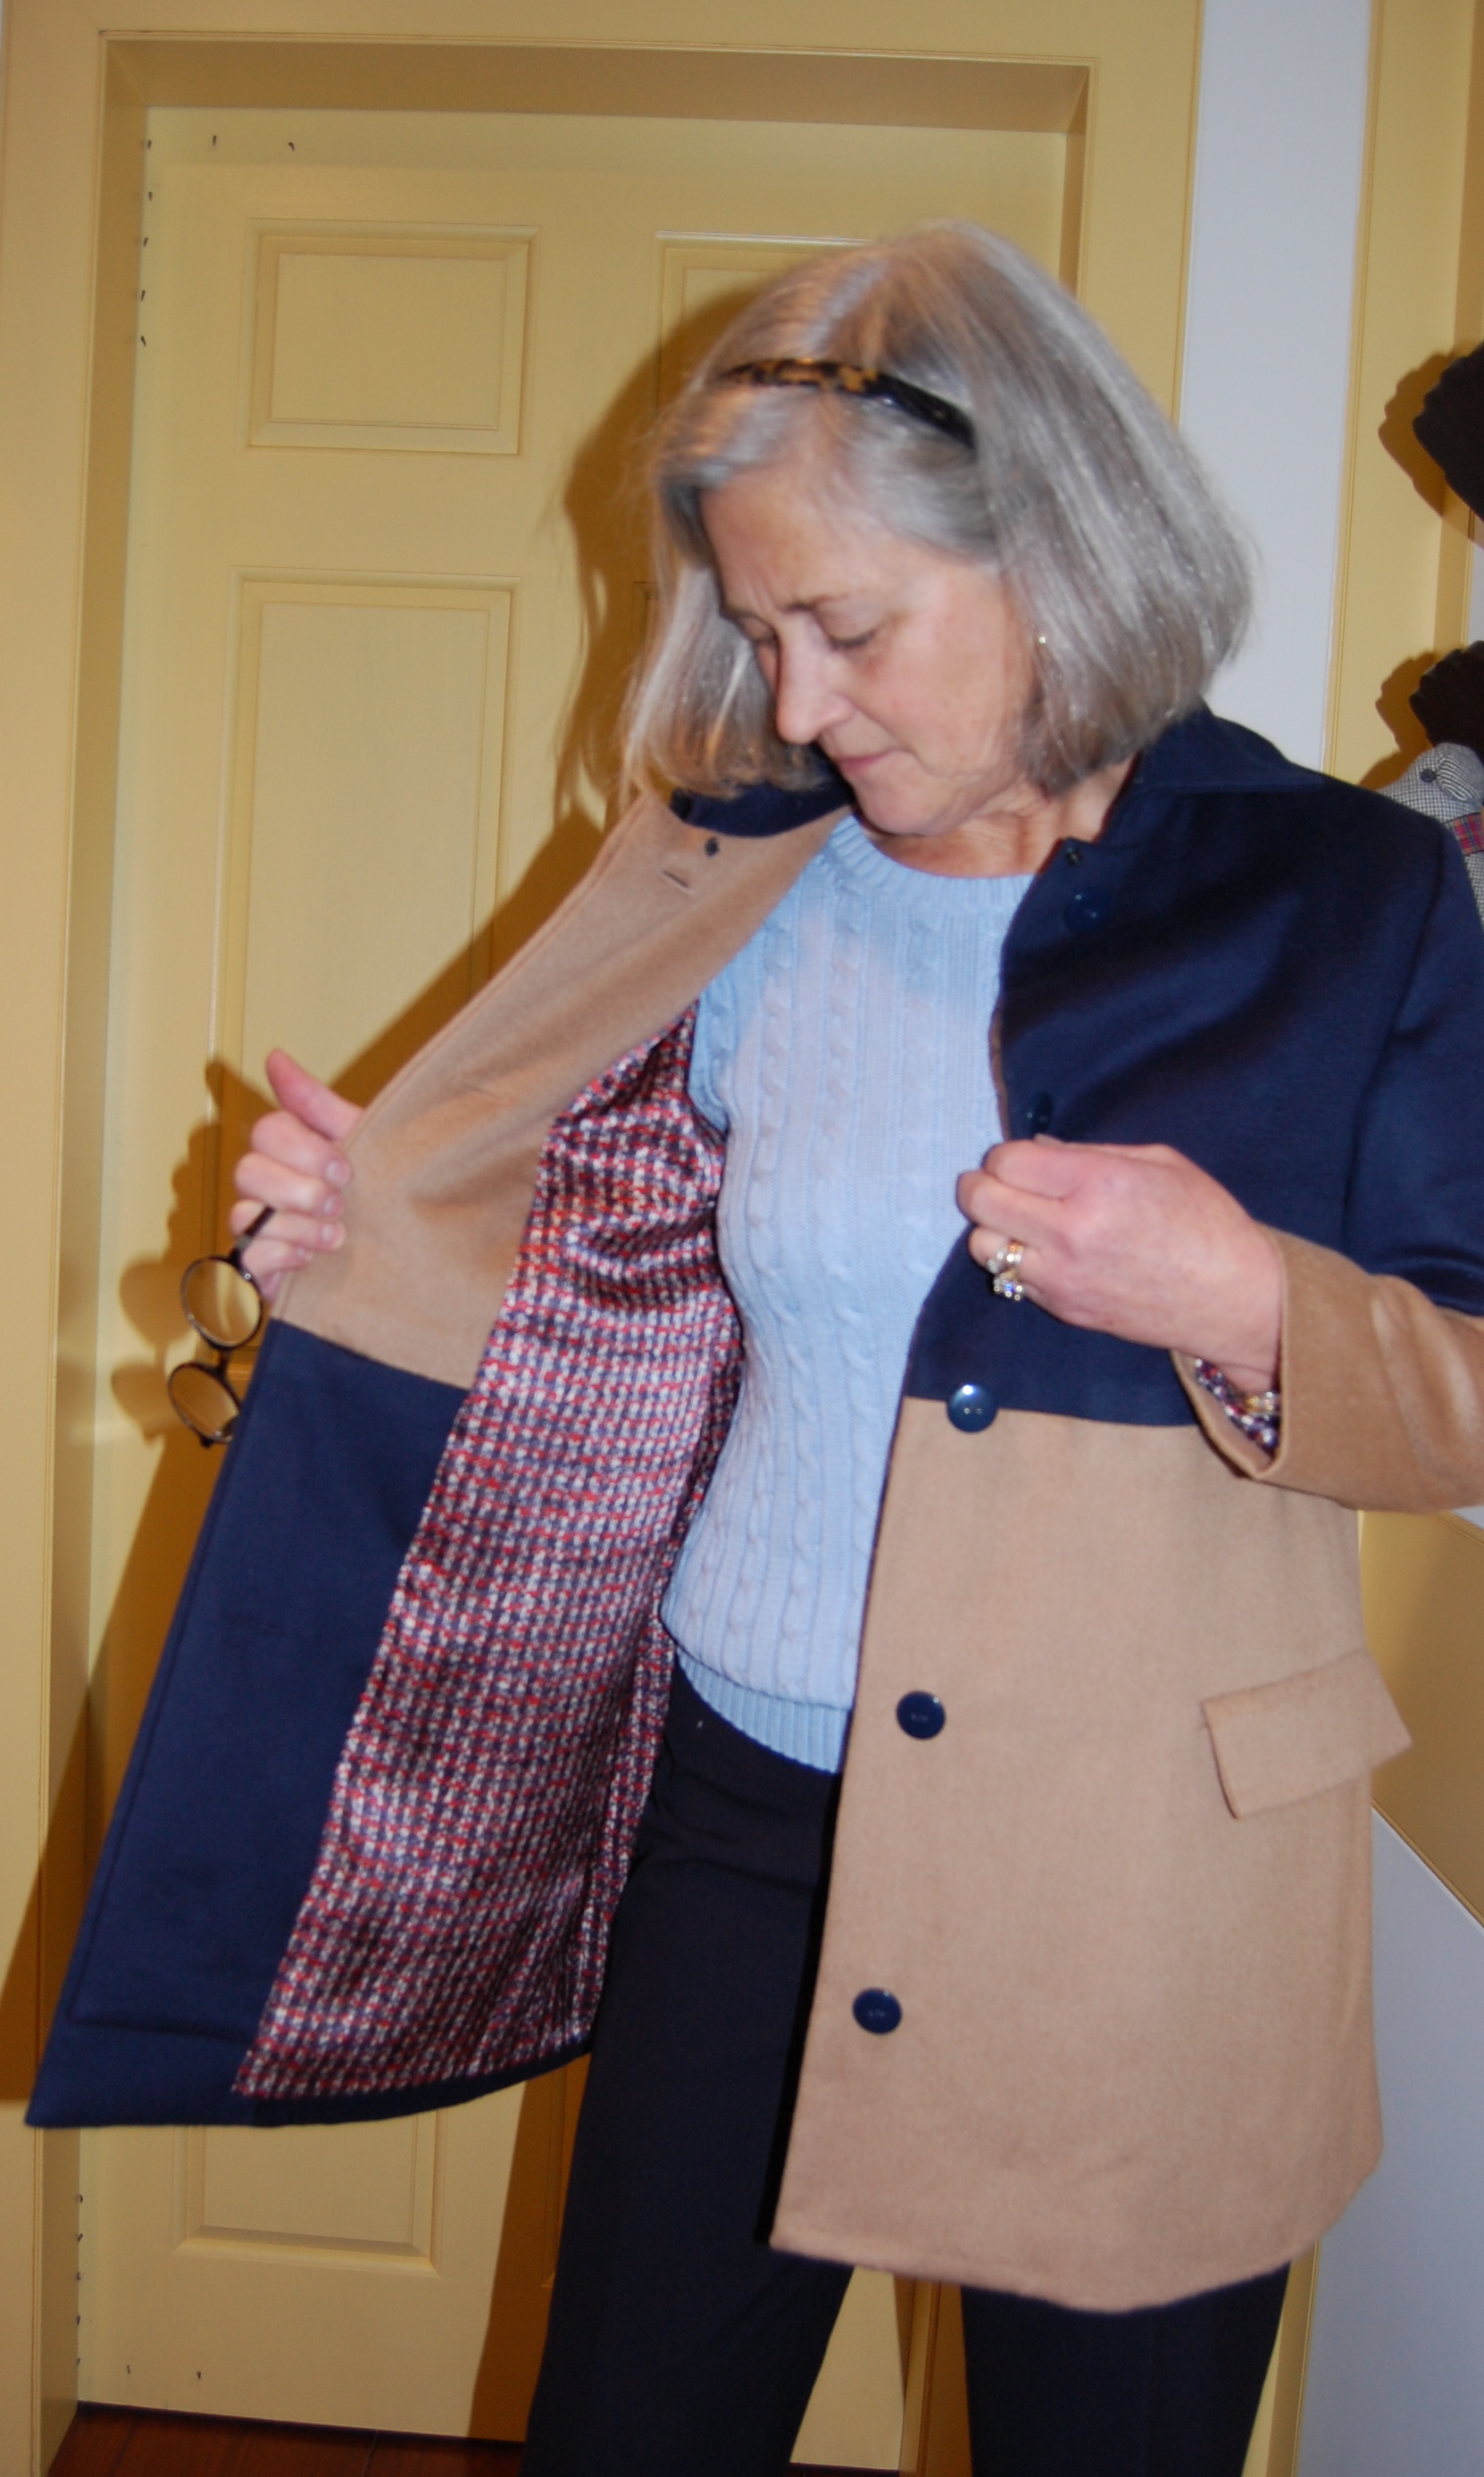
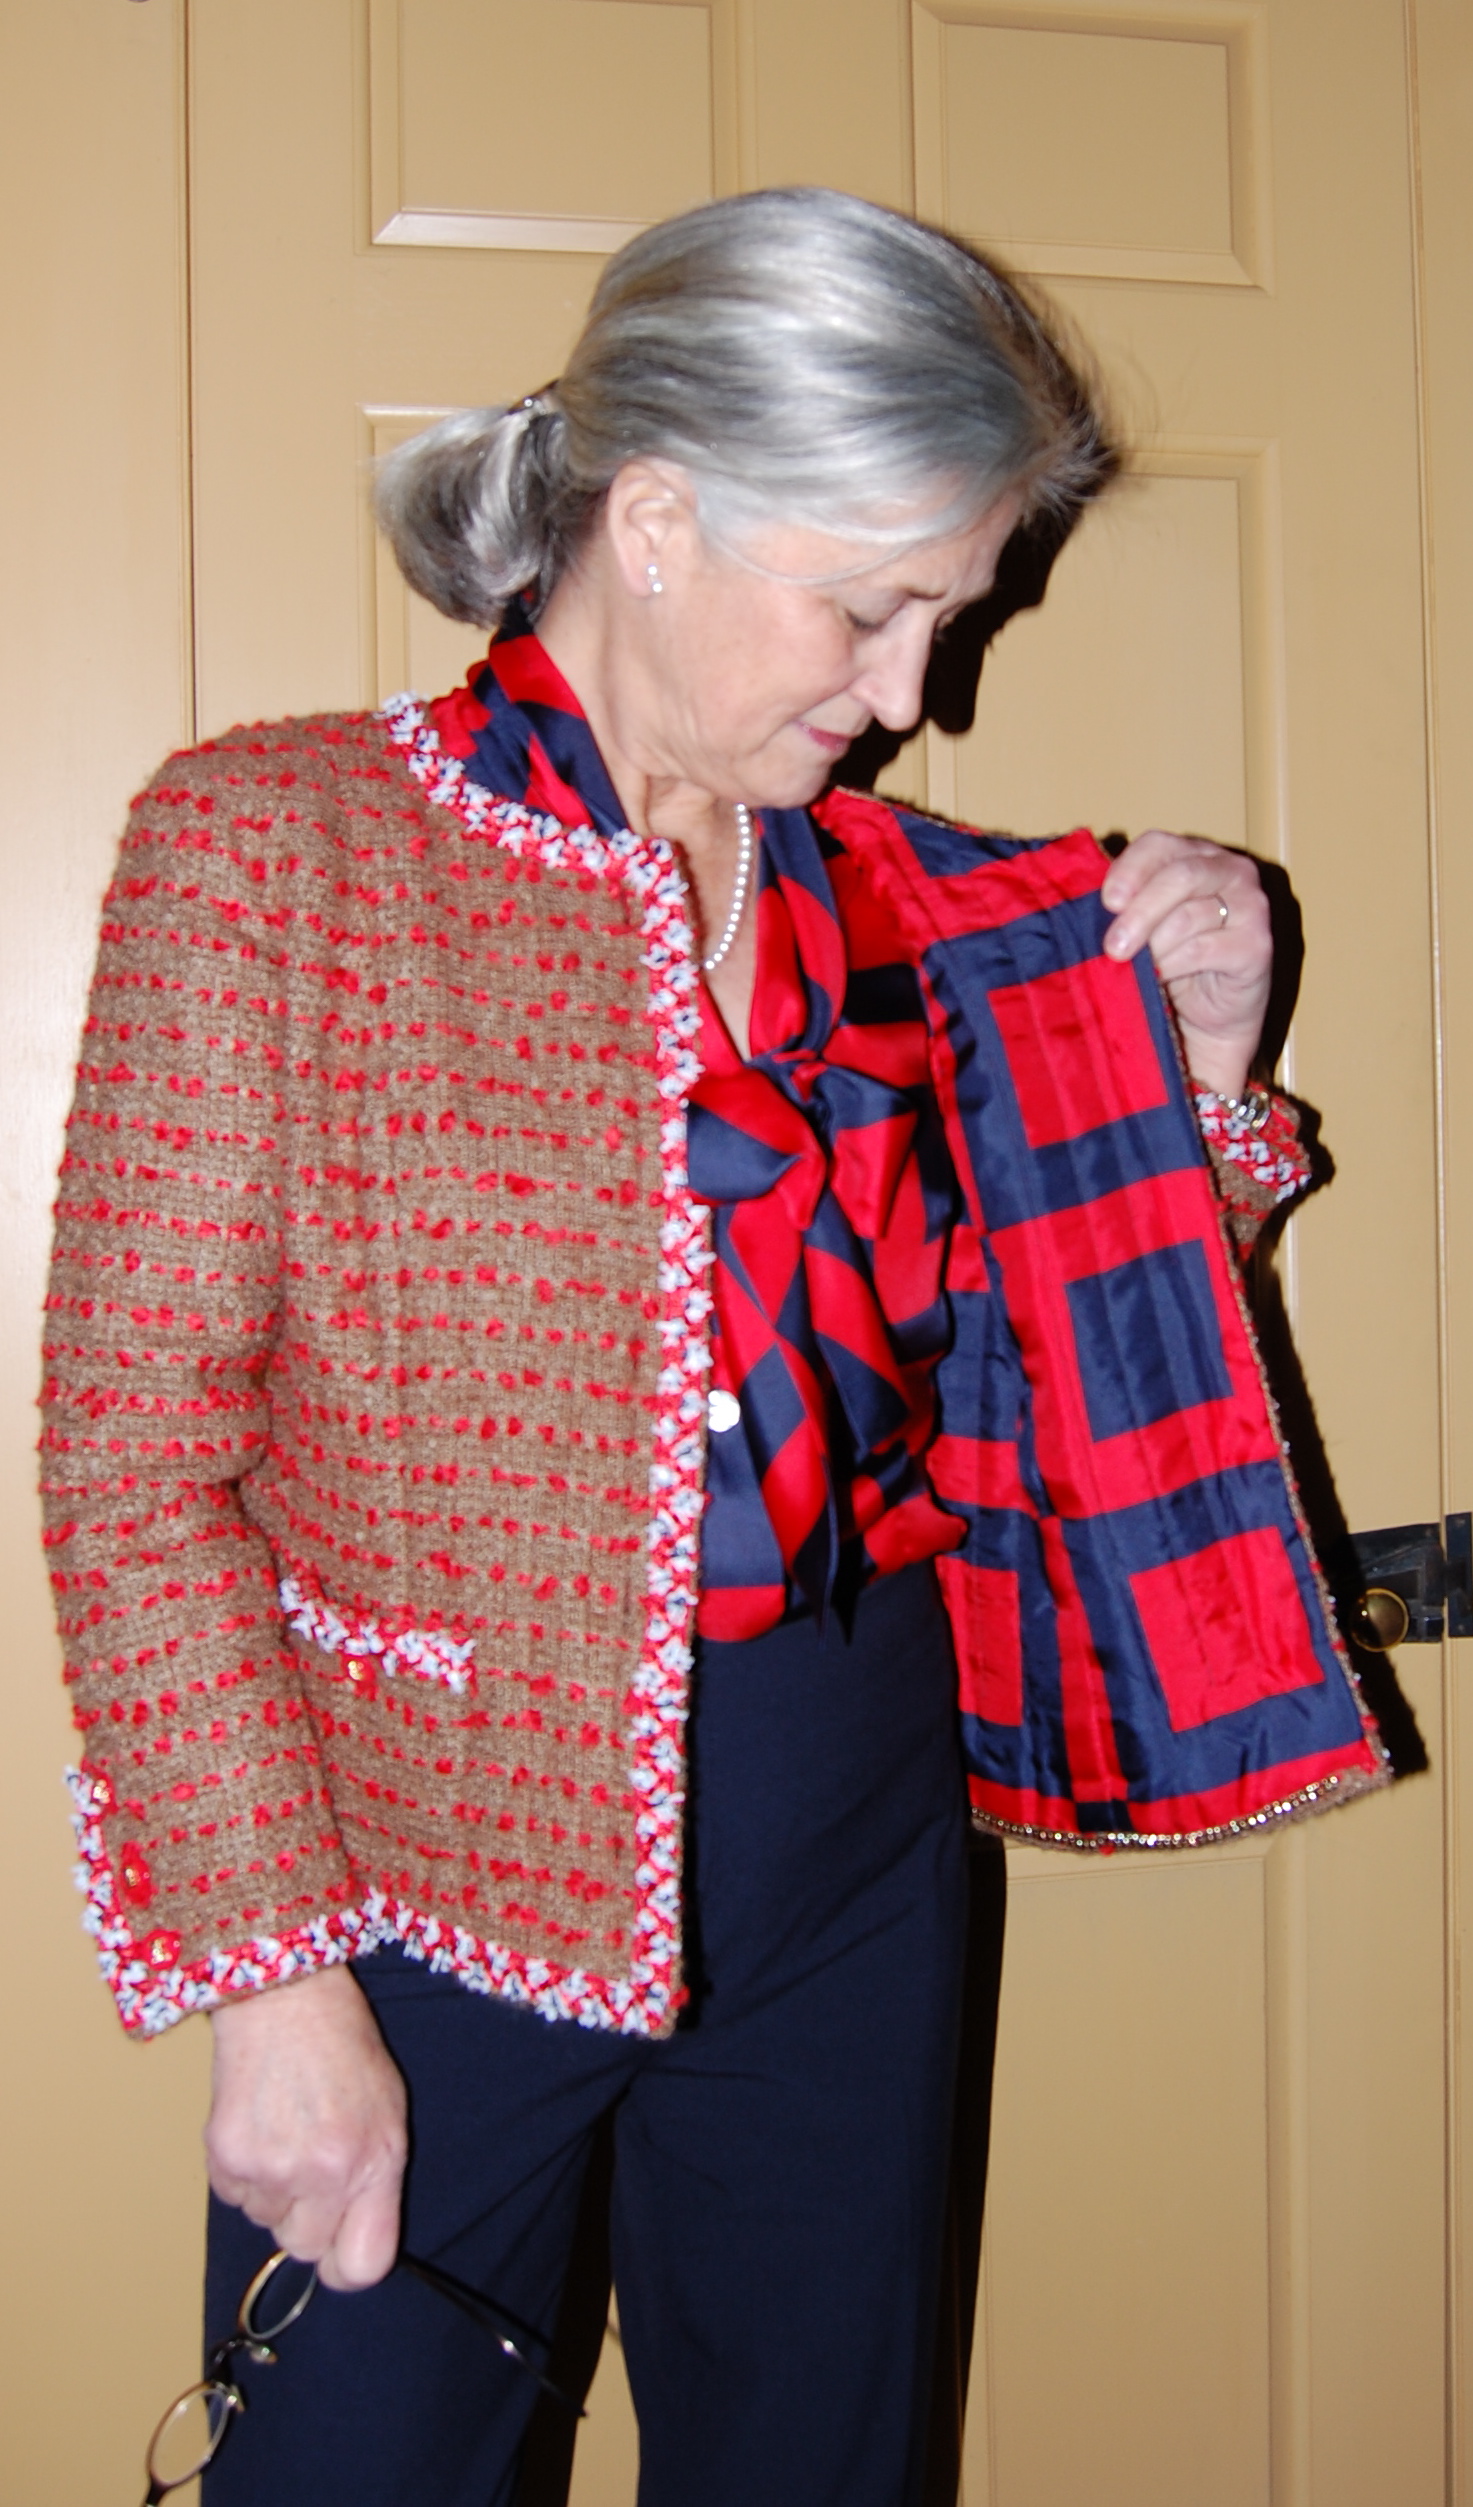
A look inside…

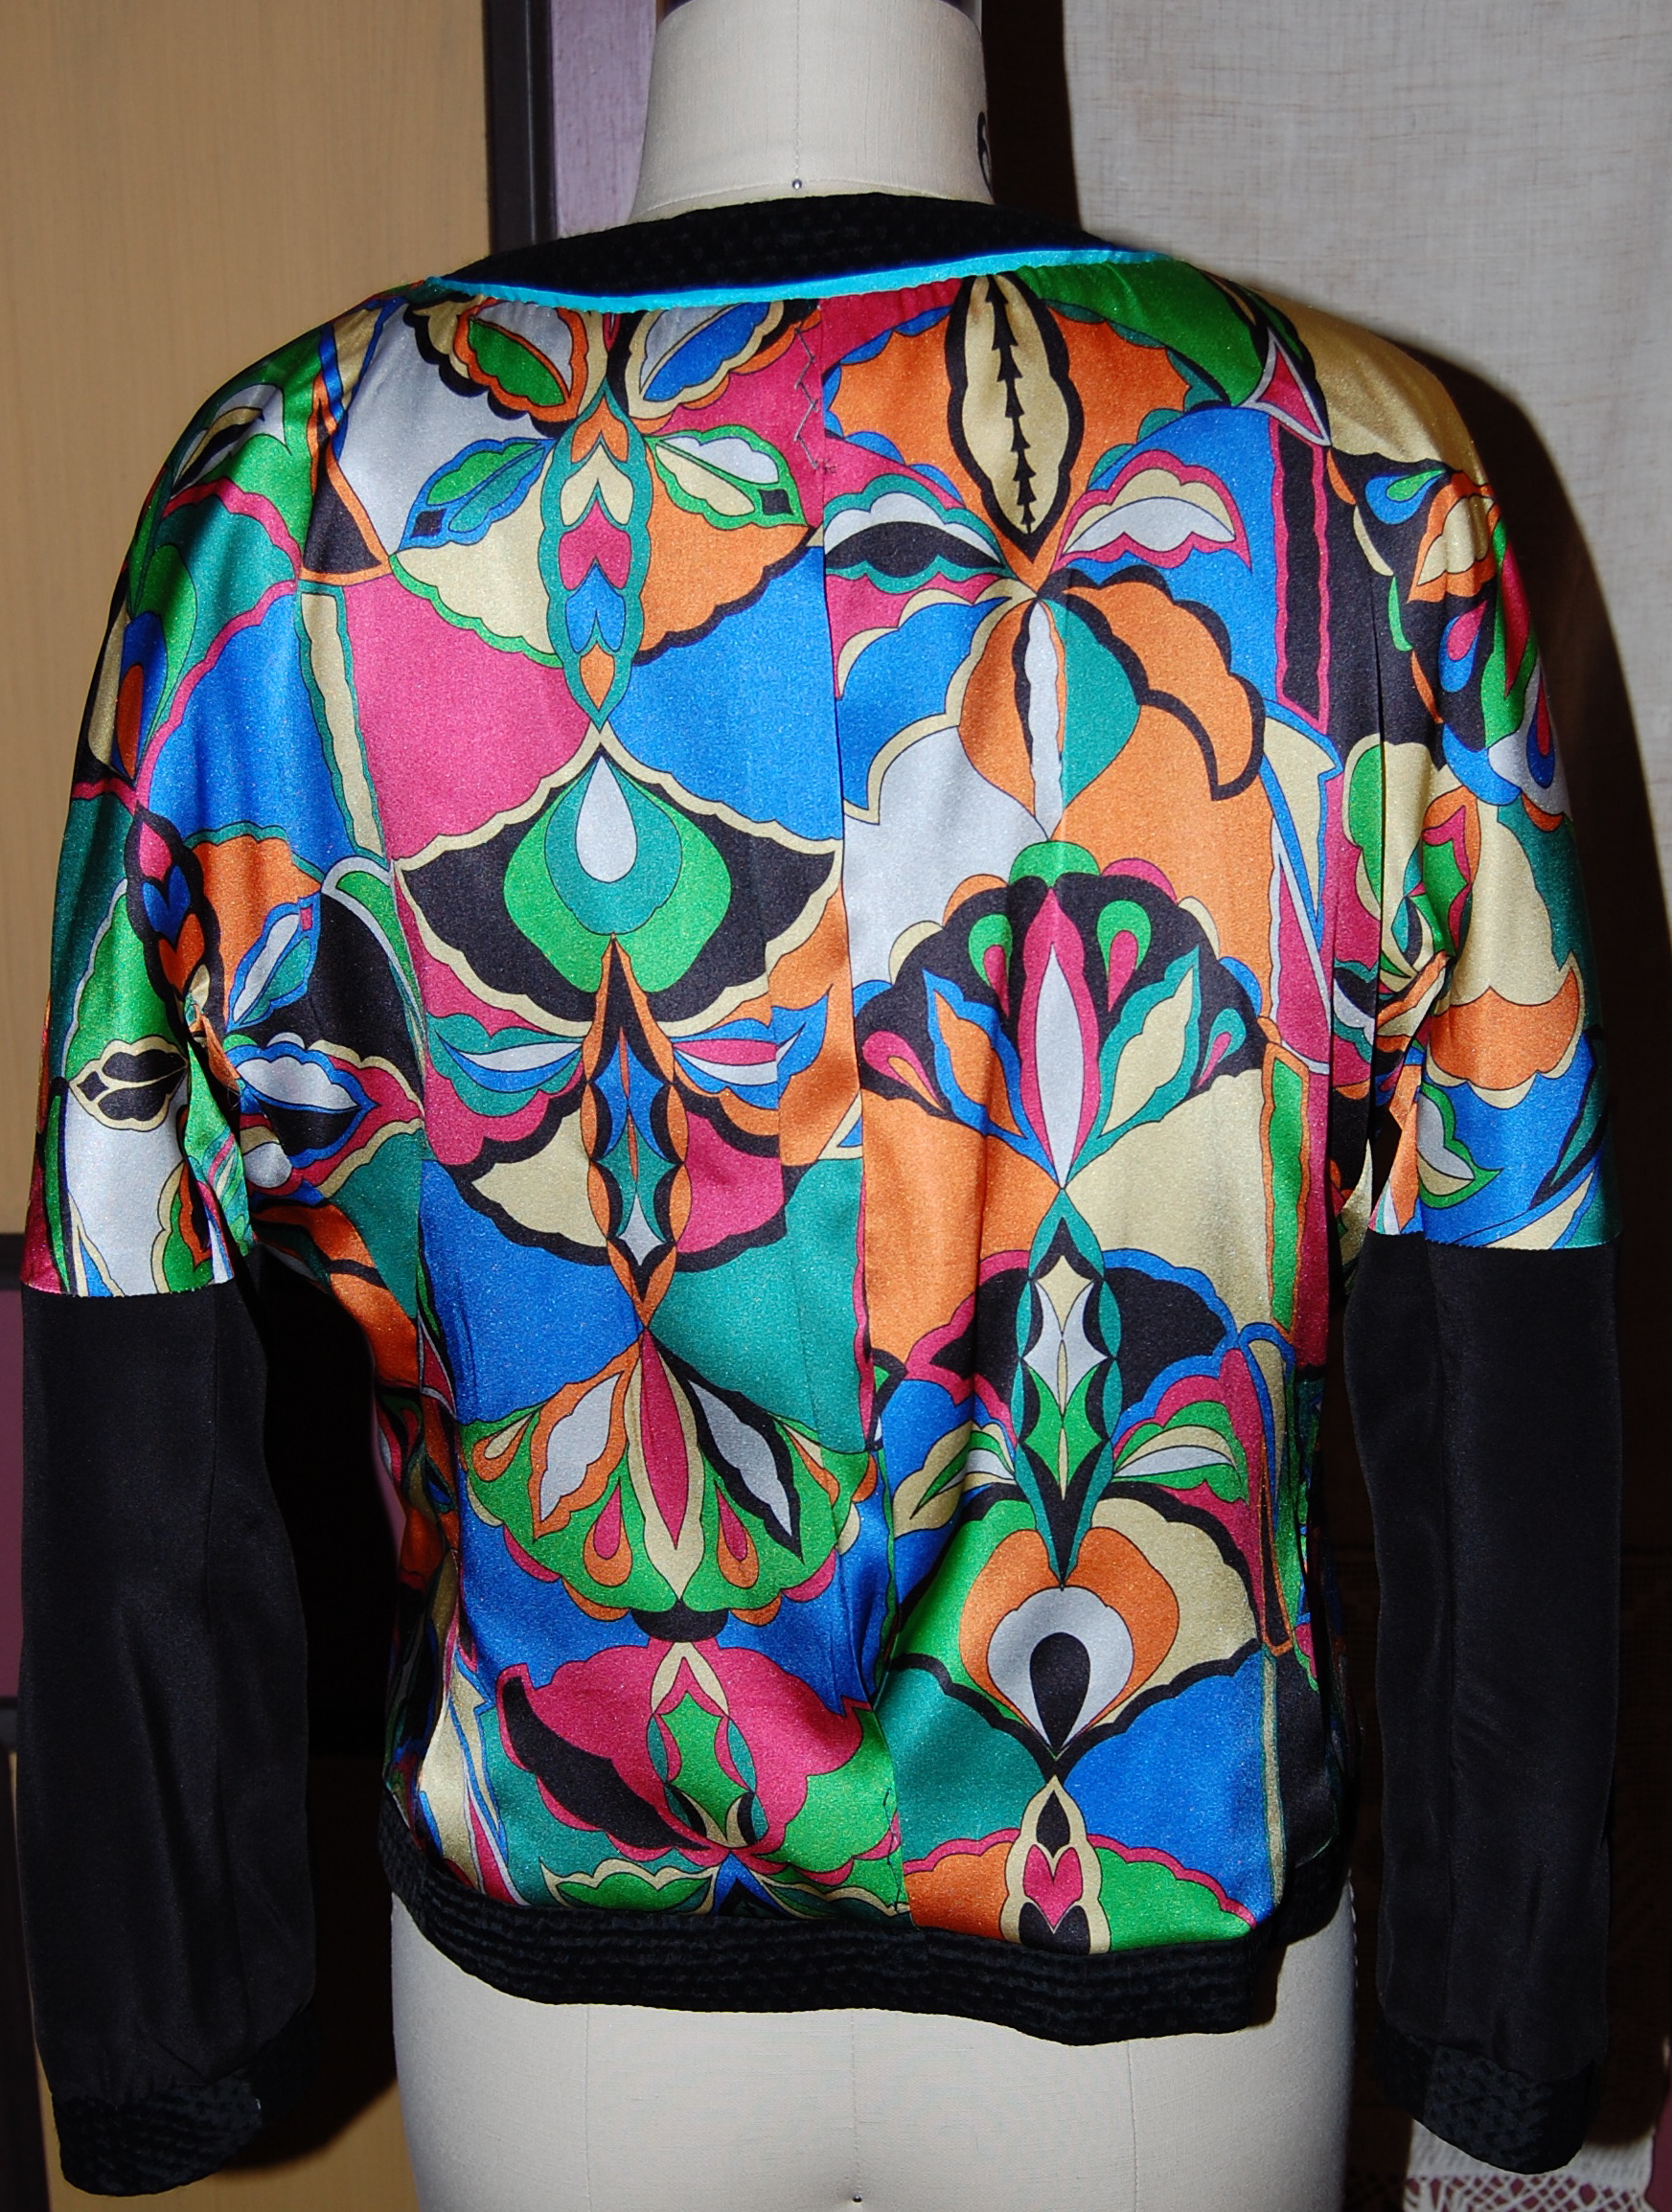
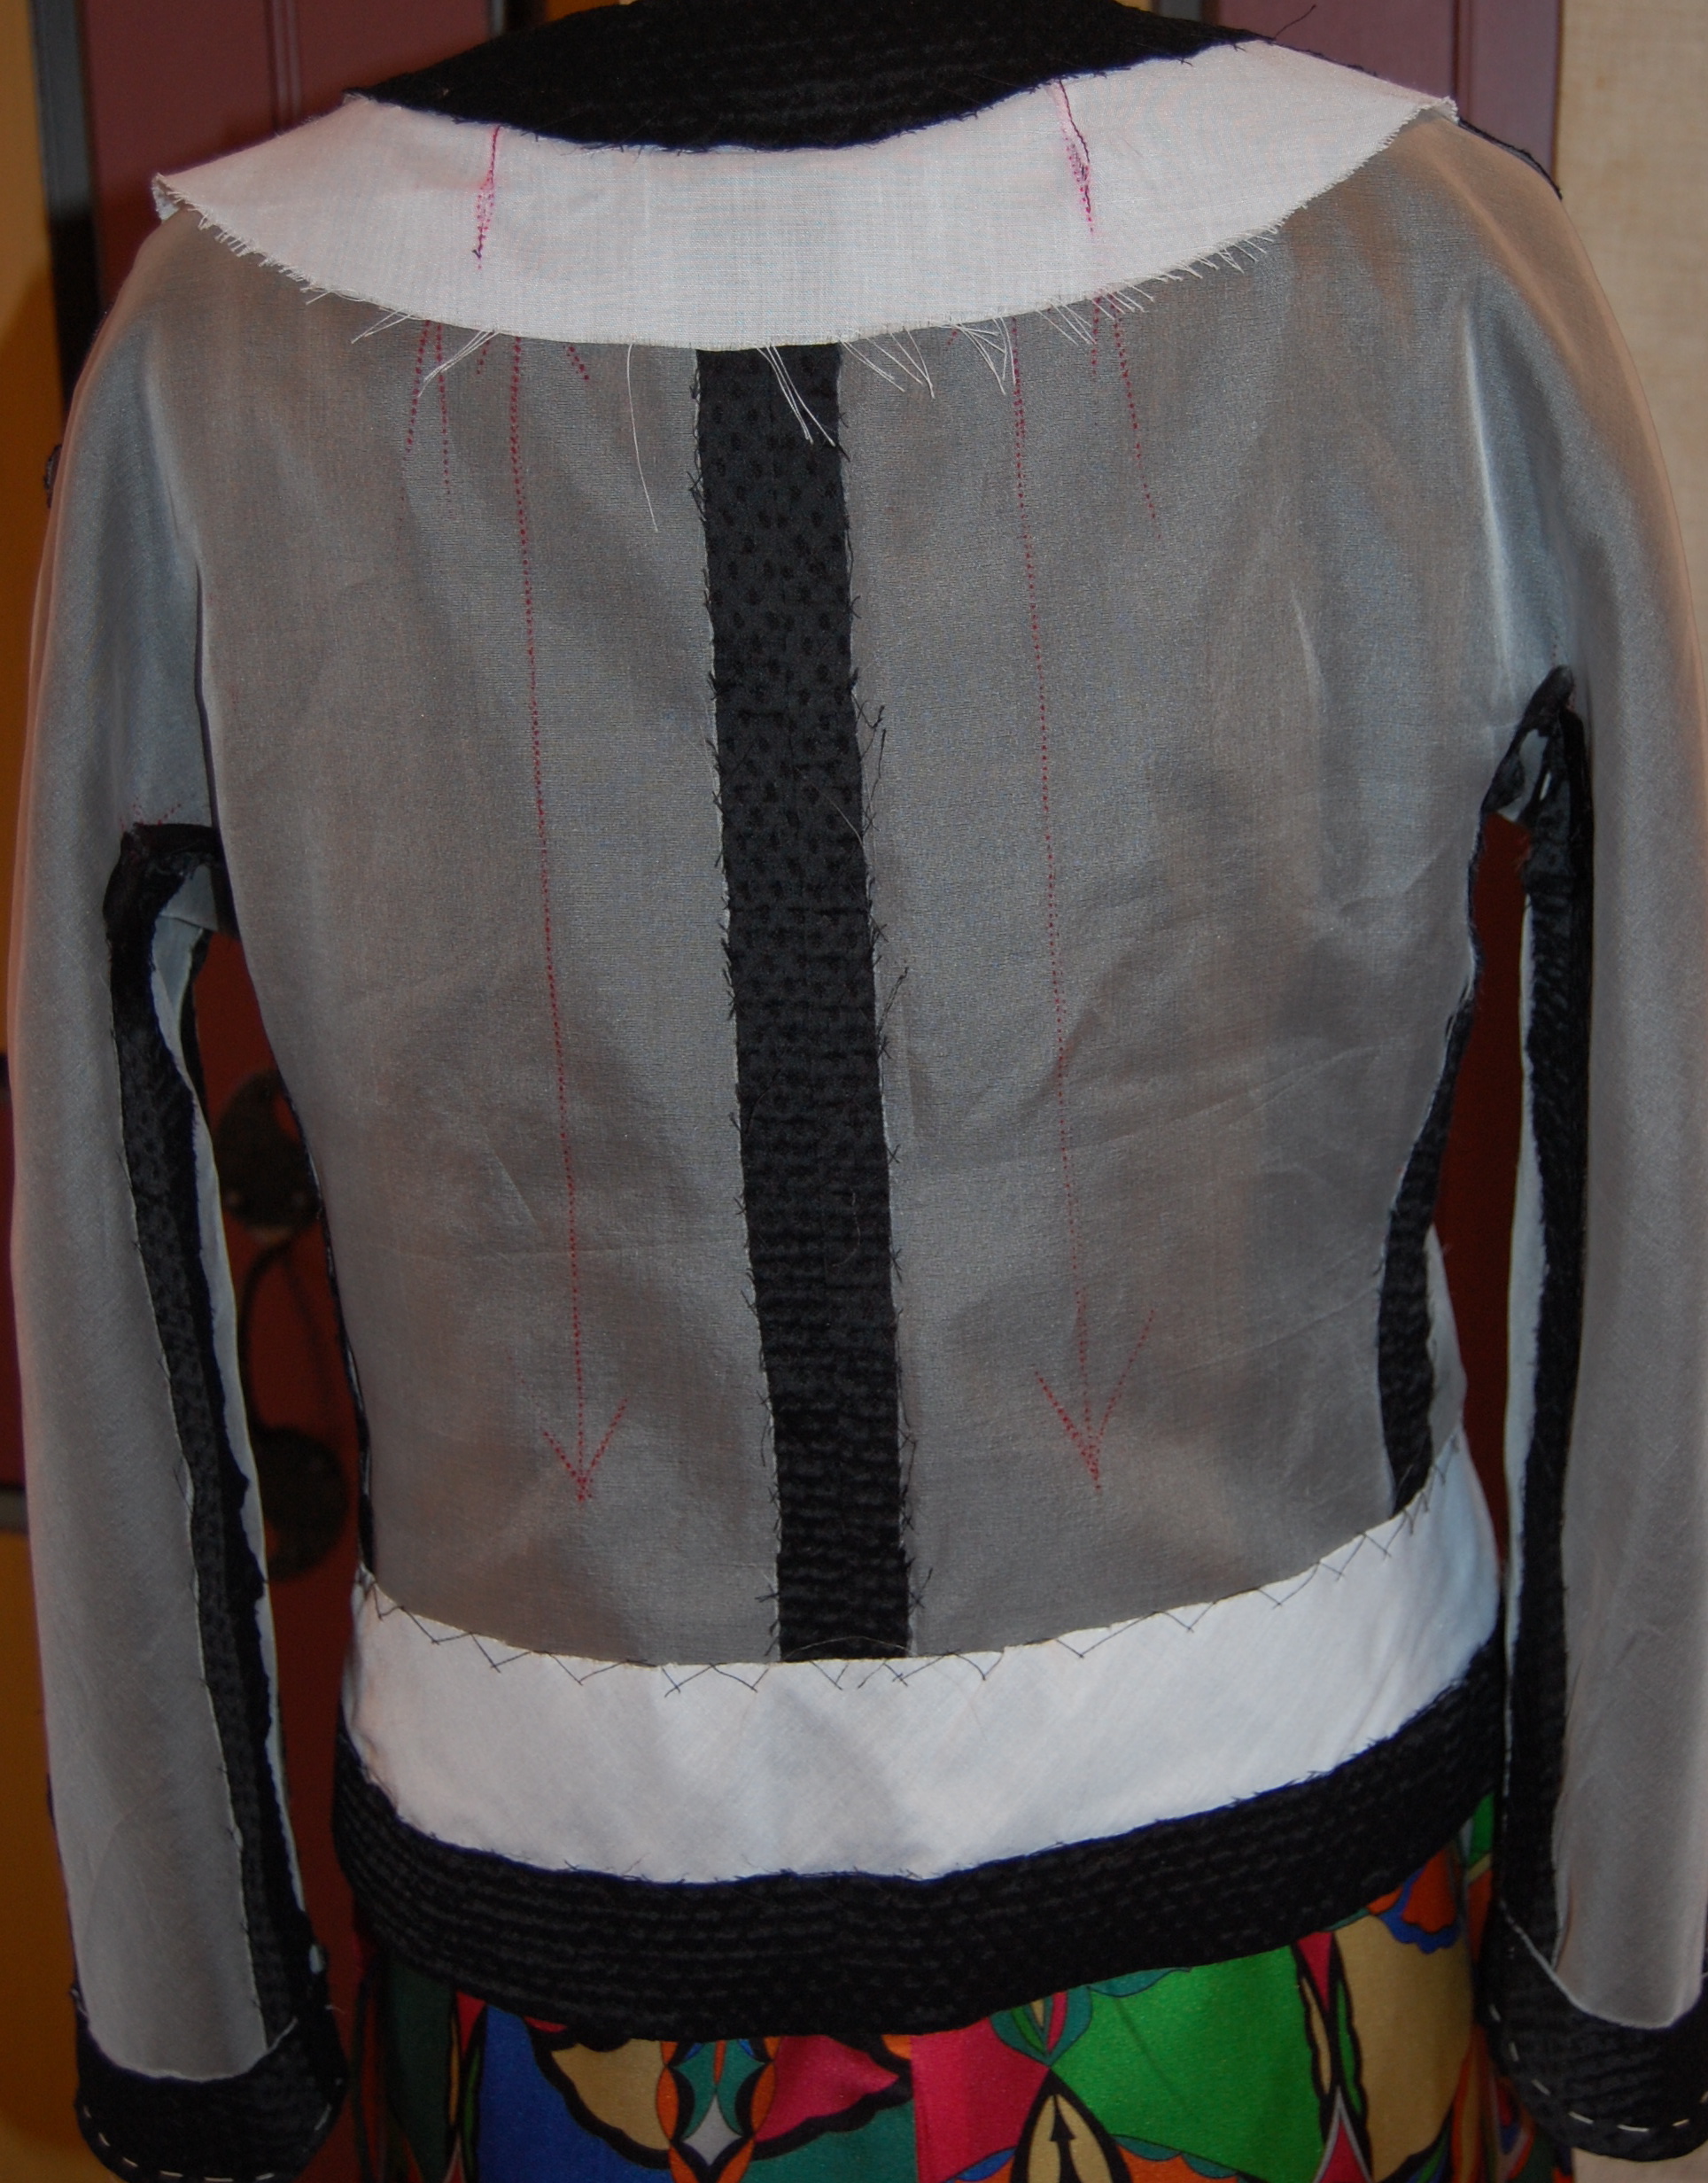
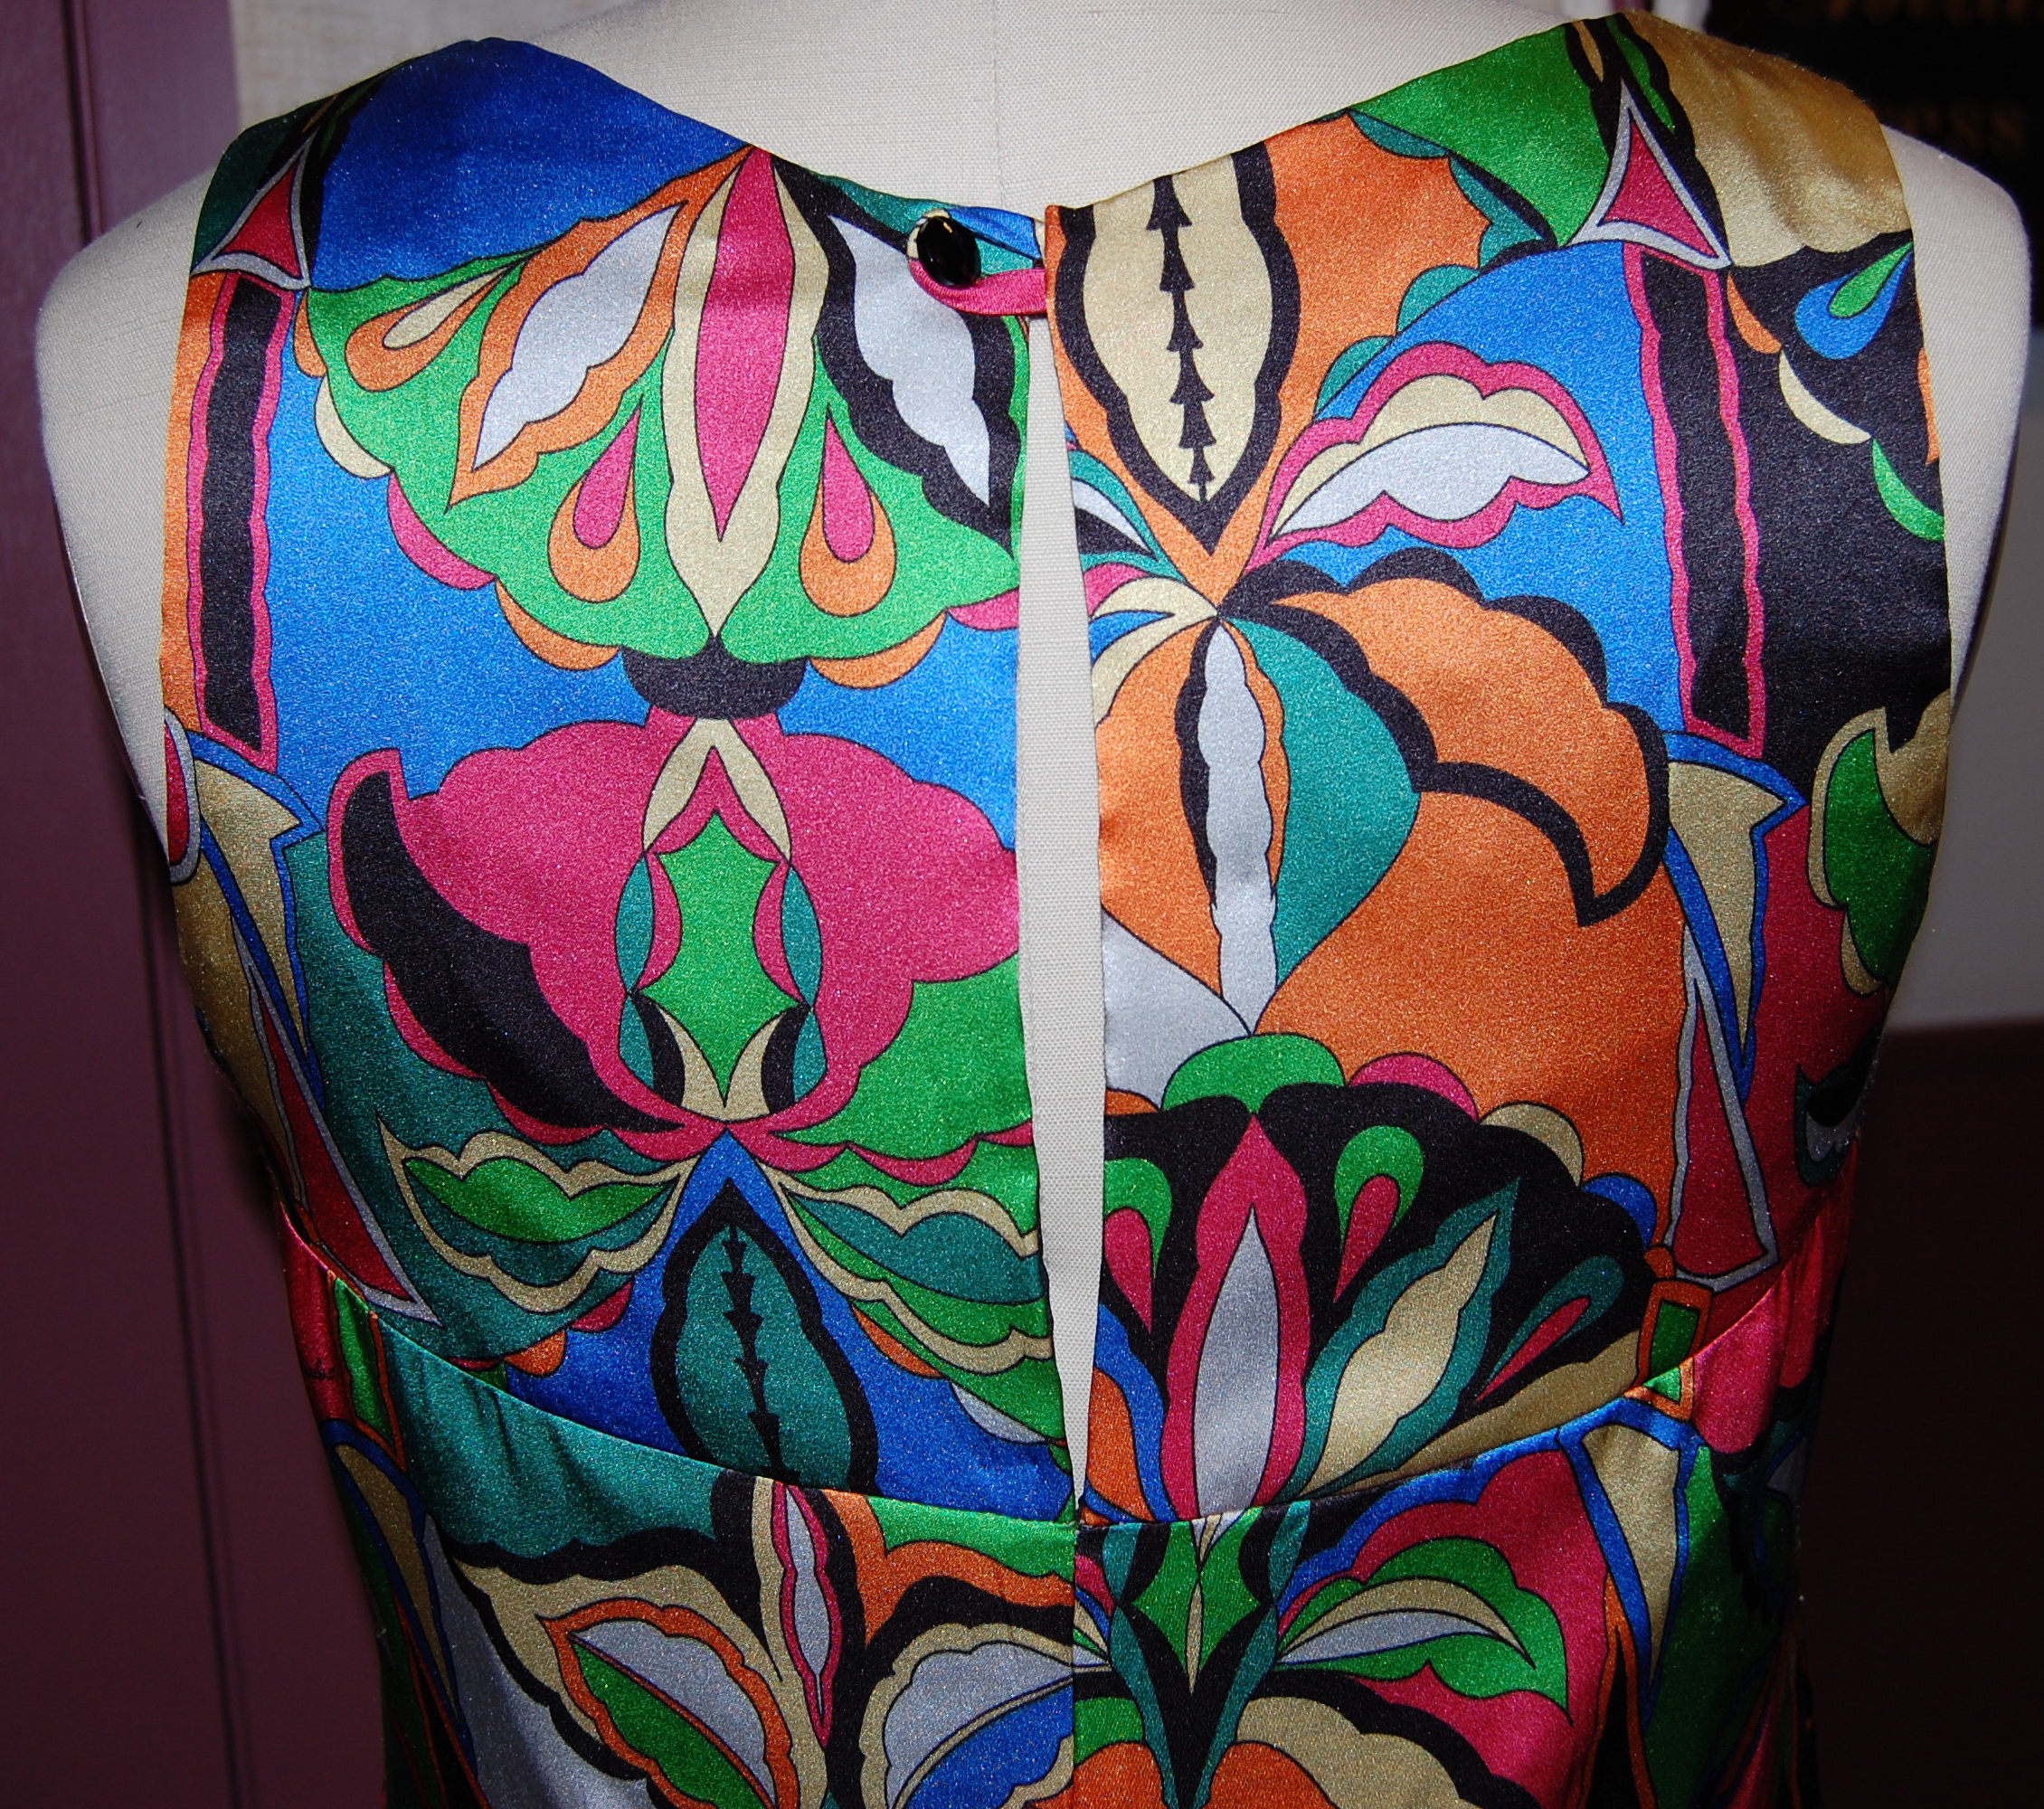
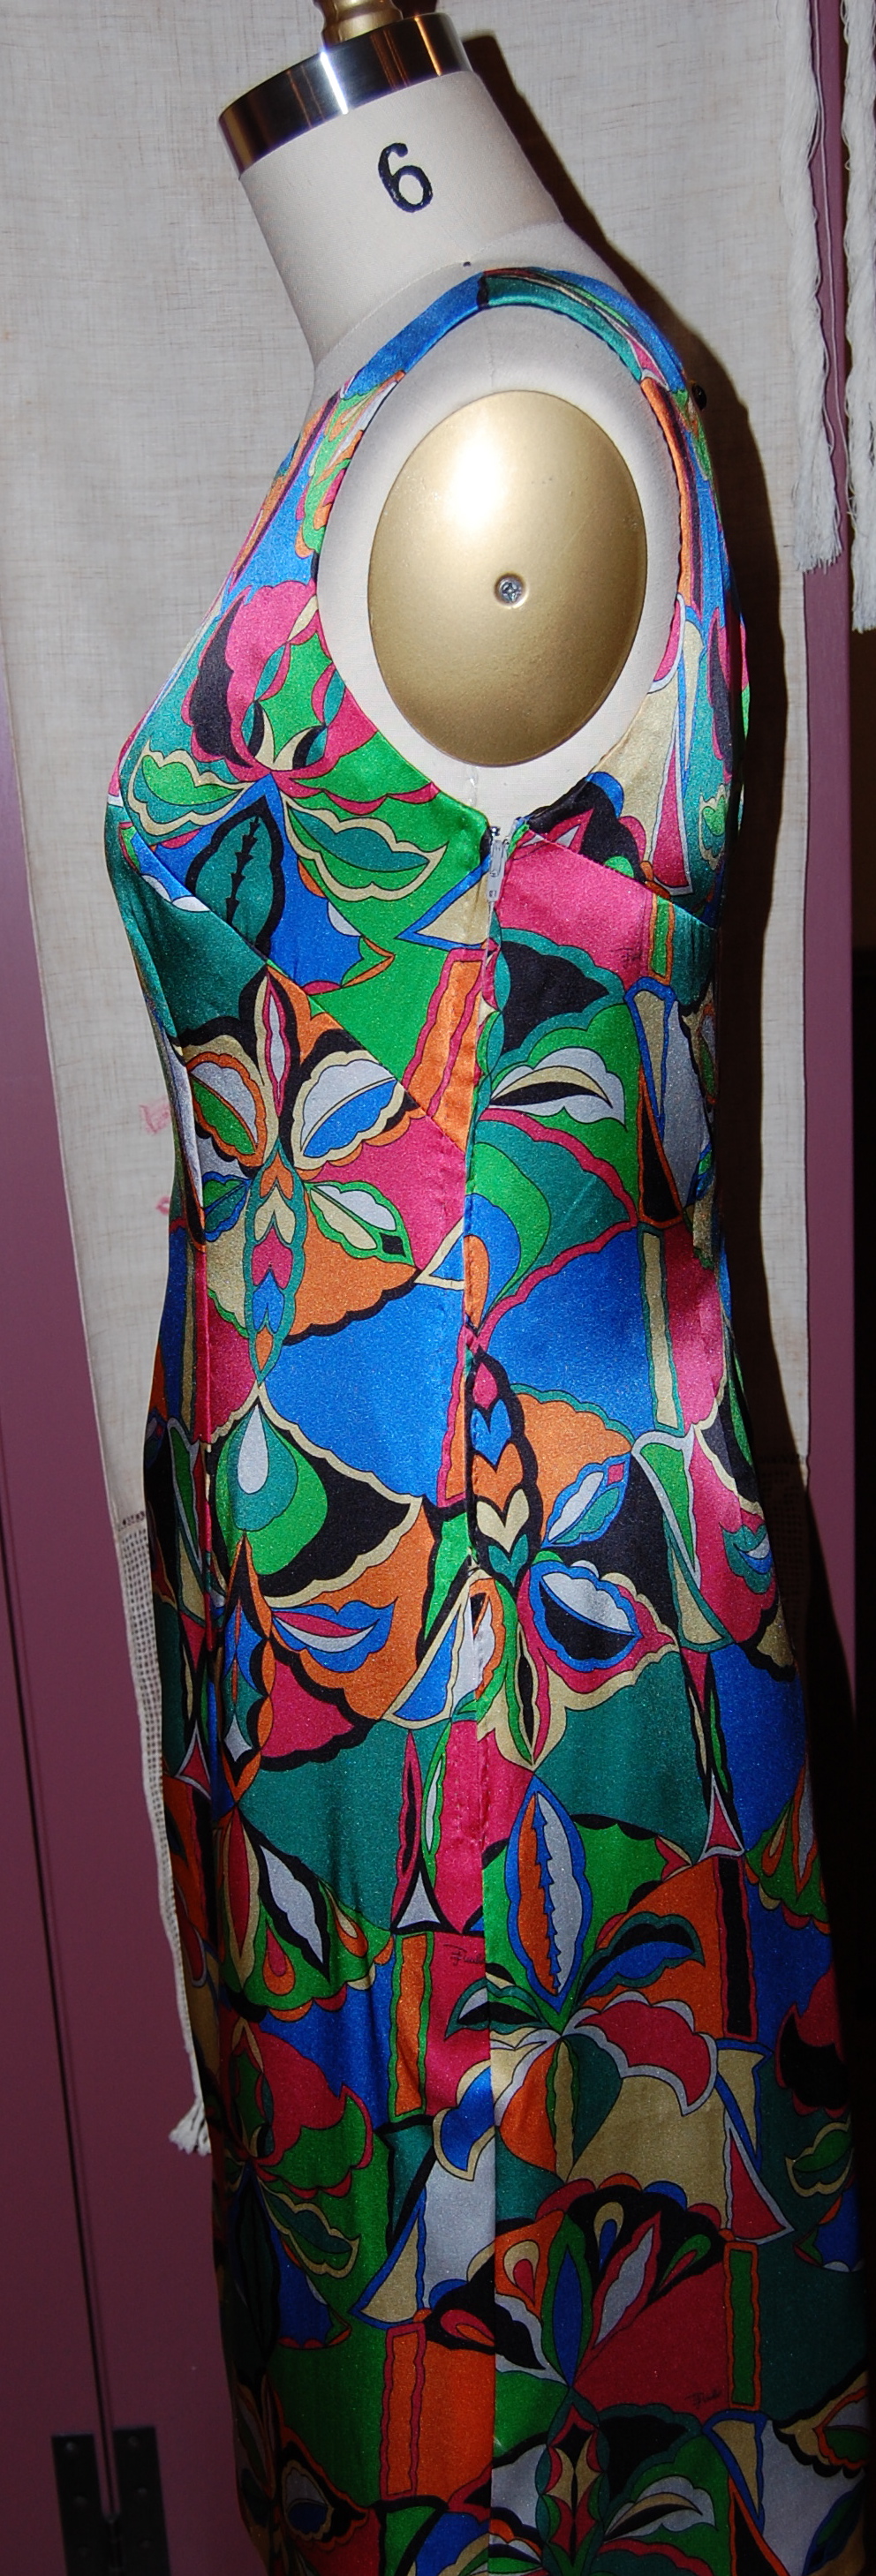
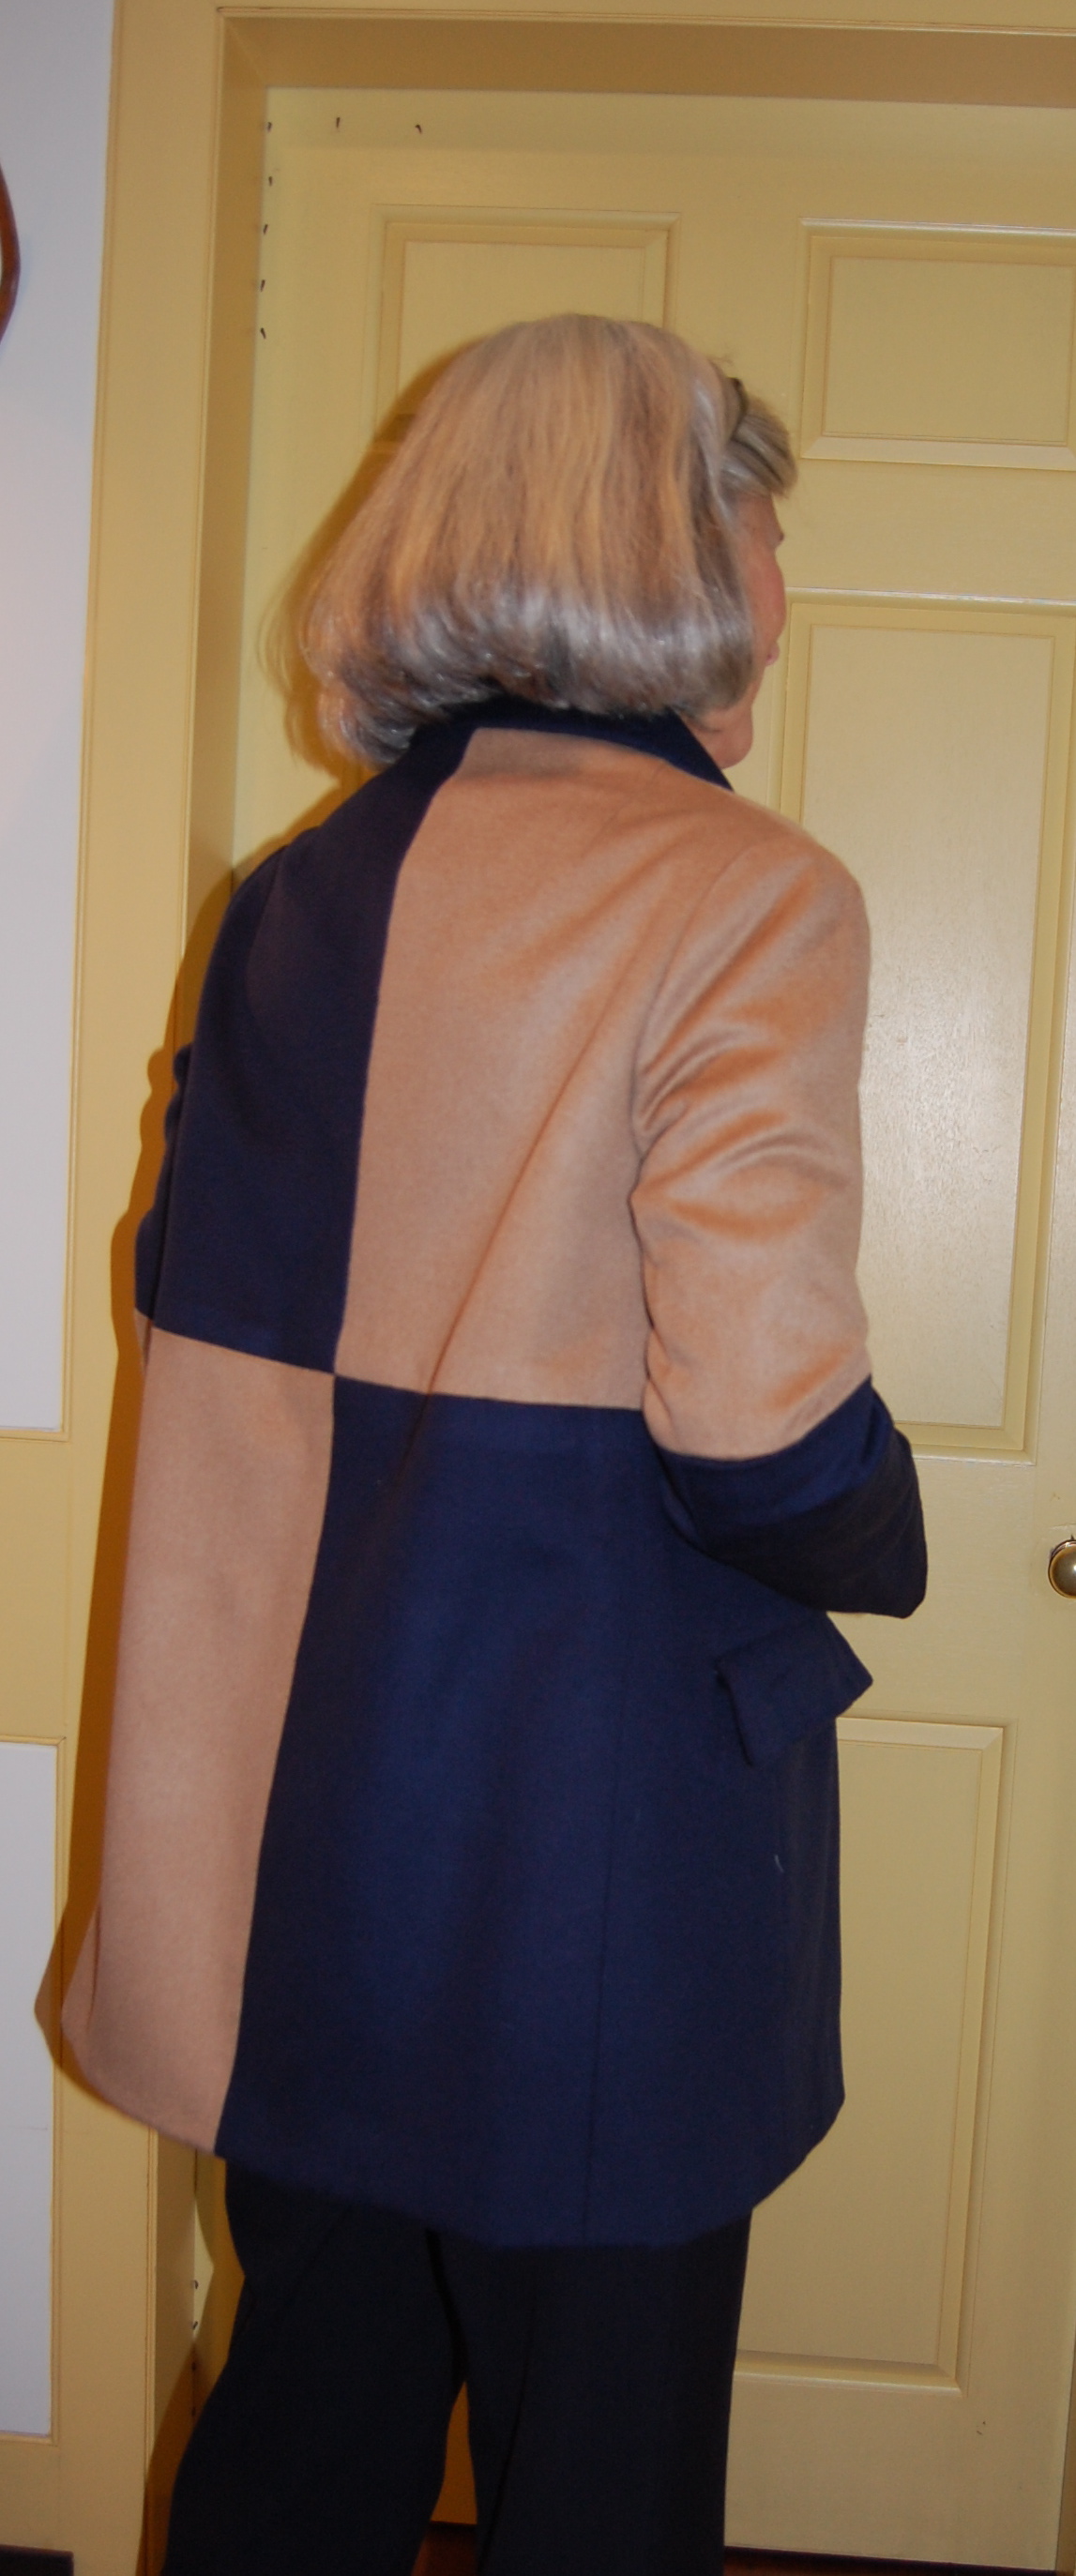
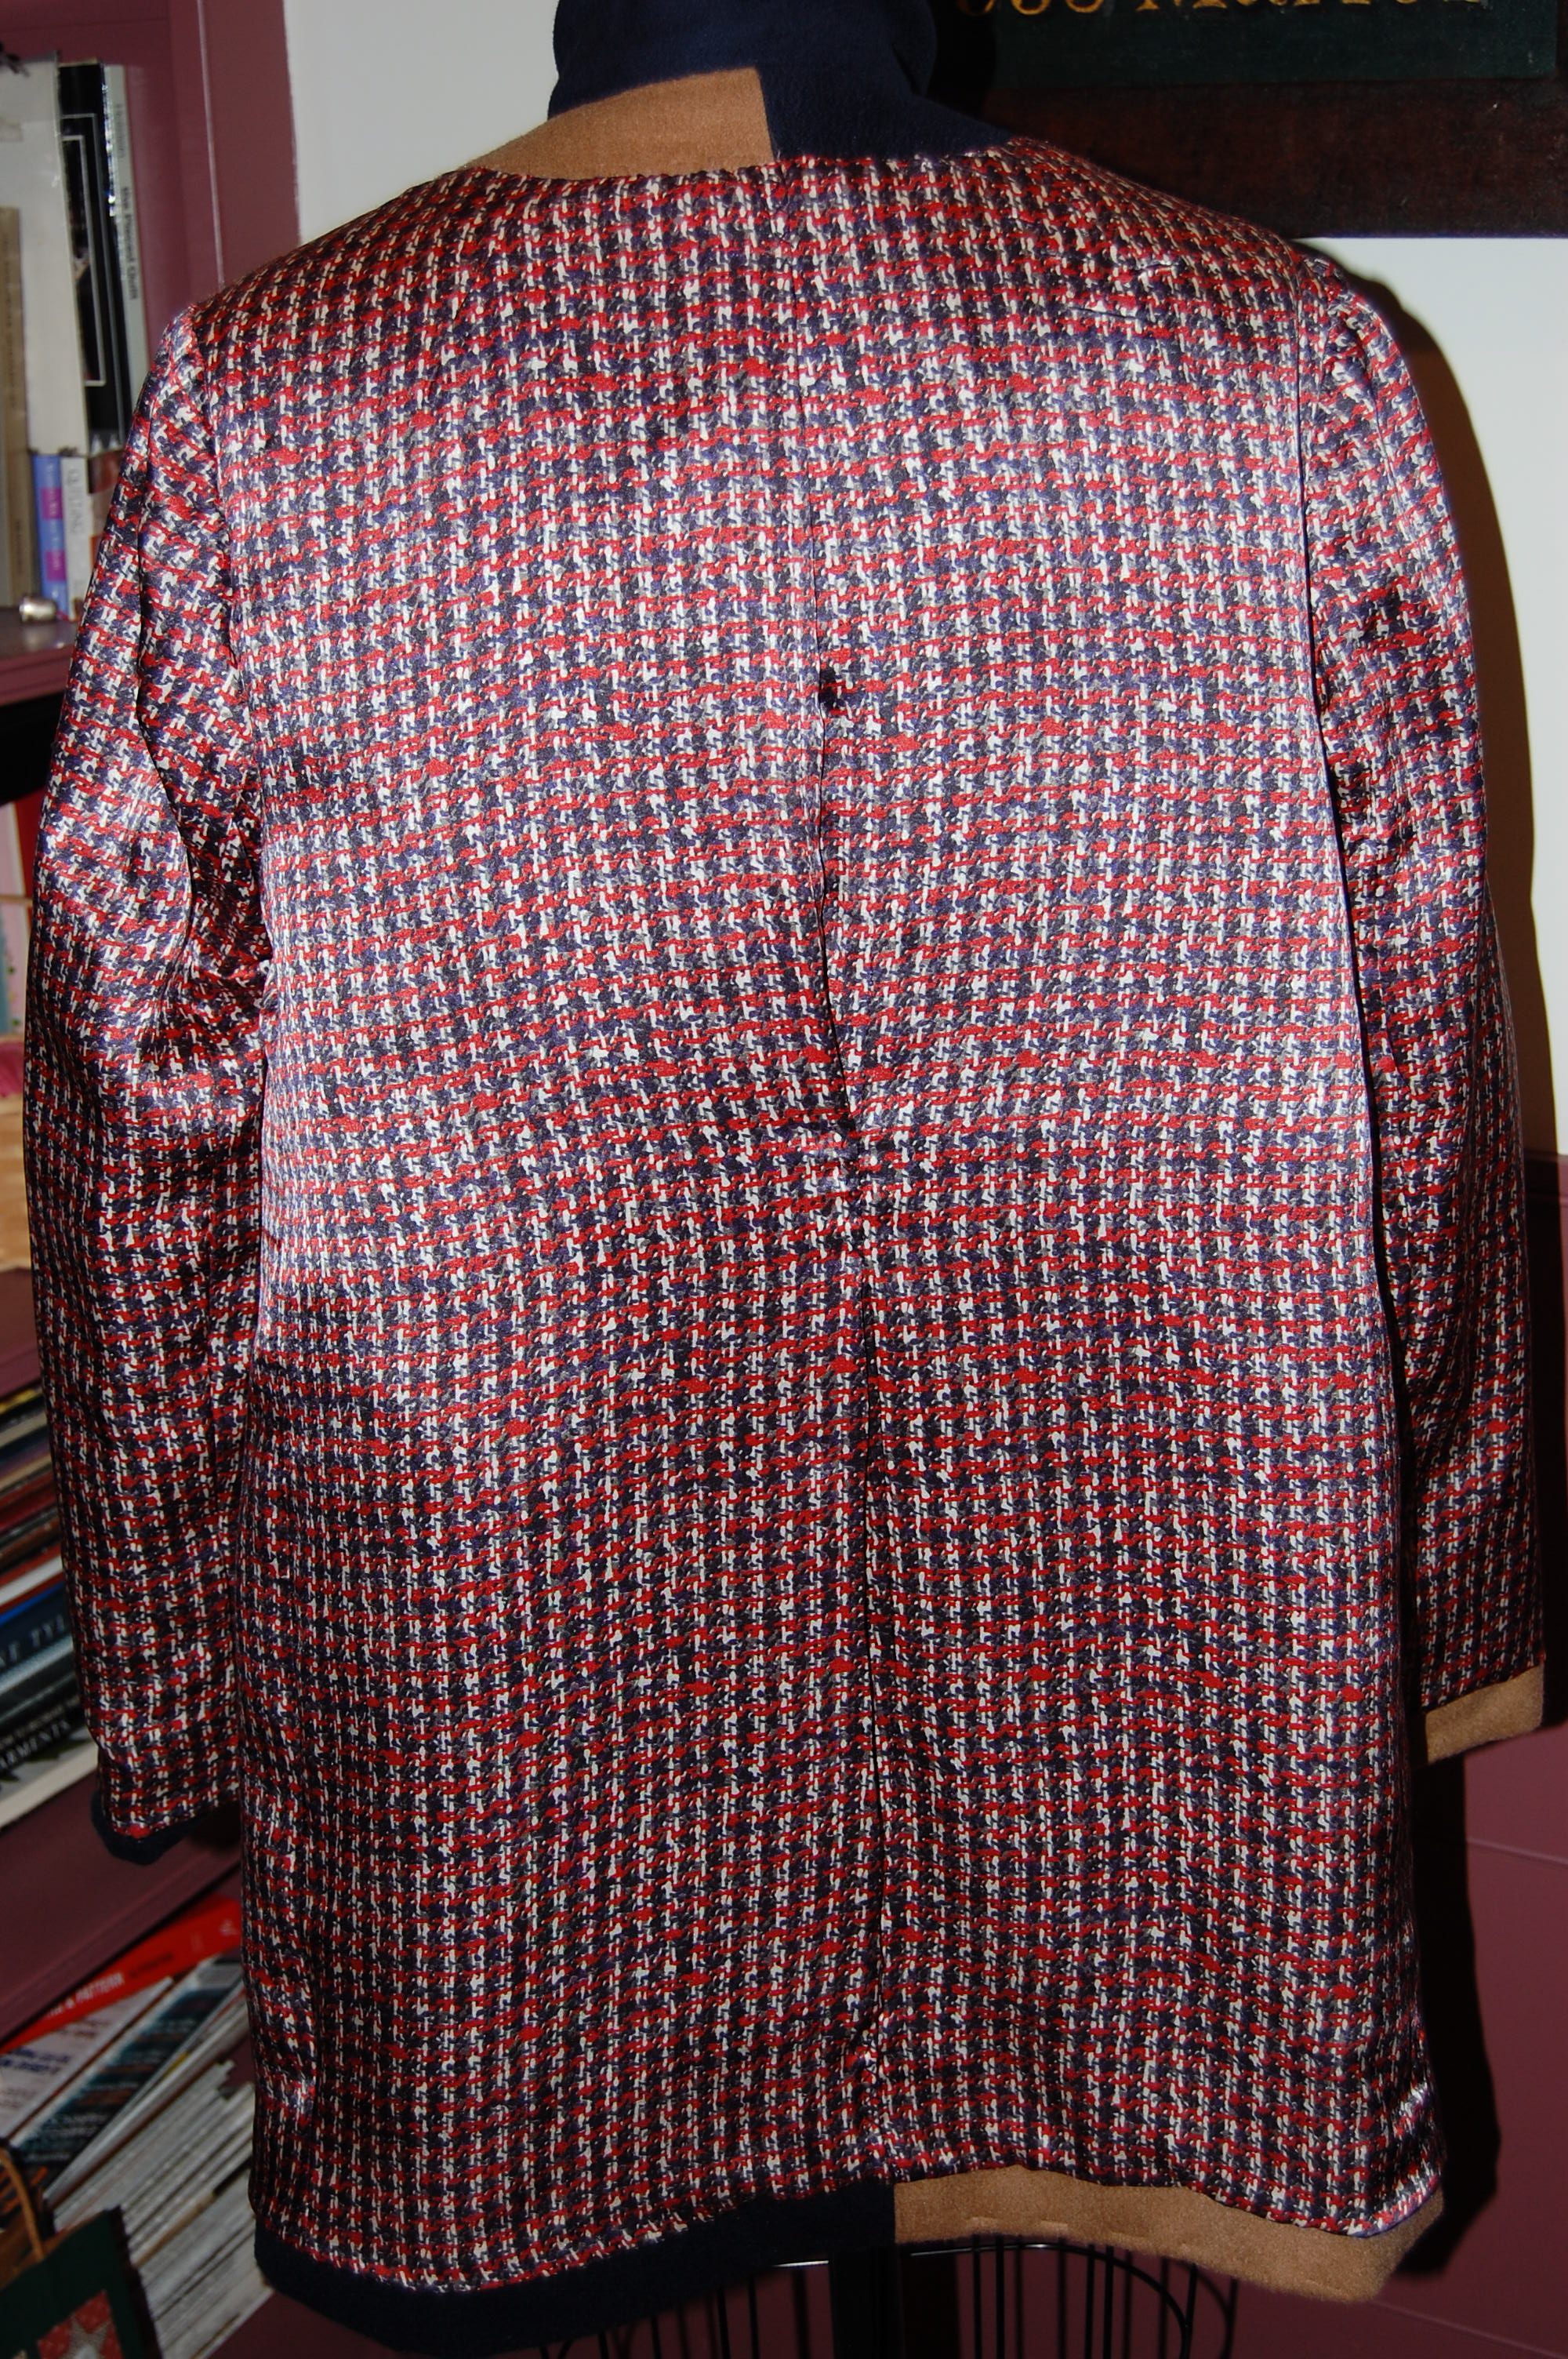
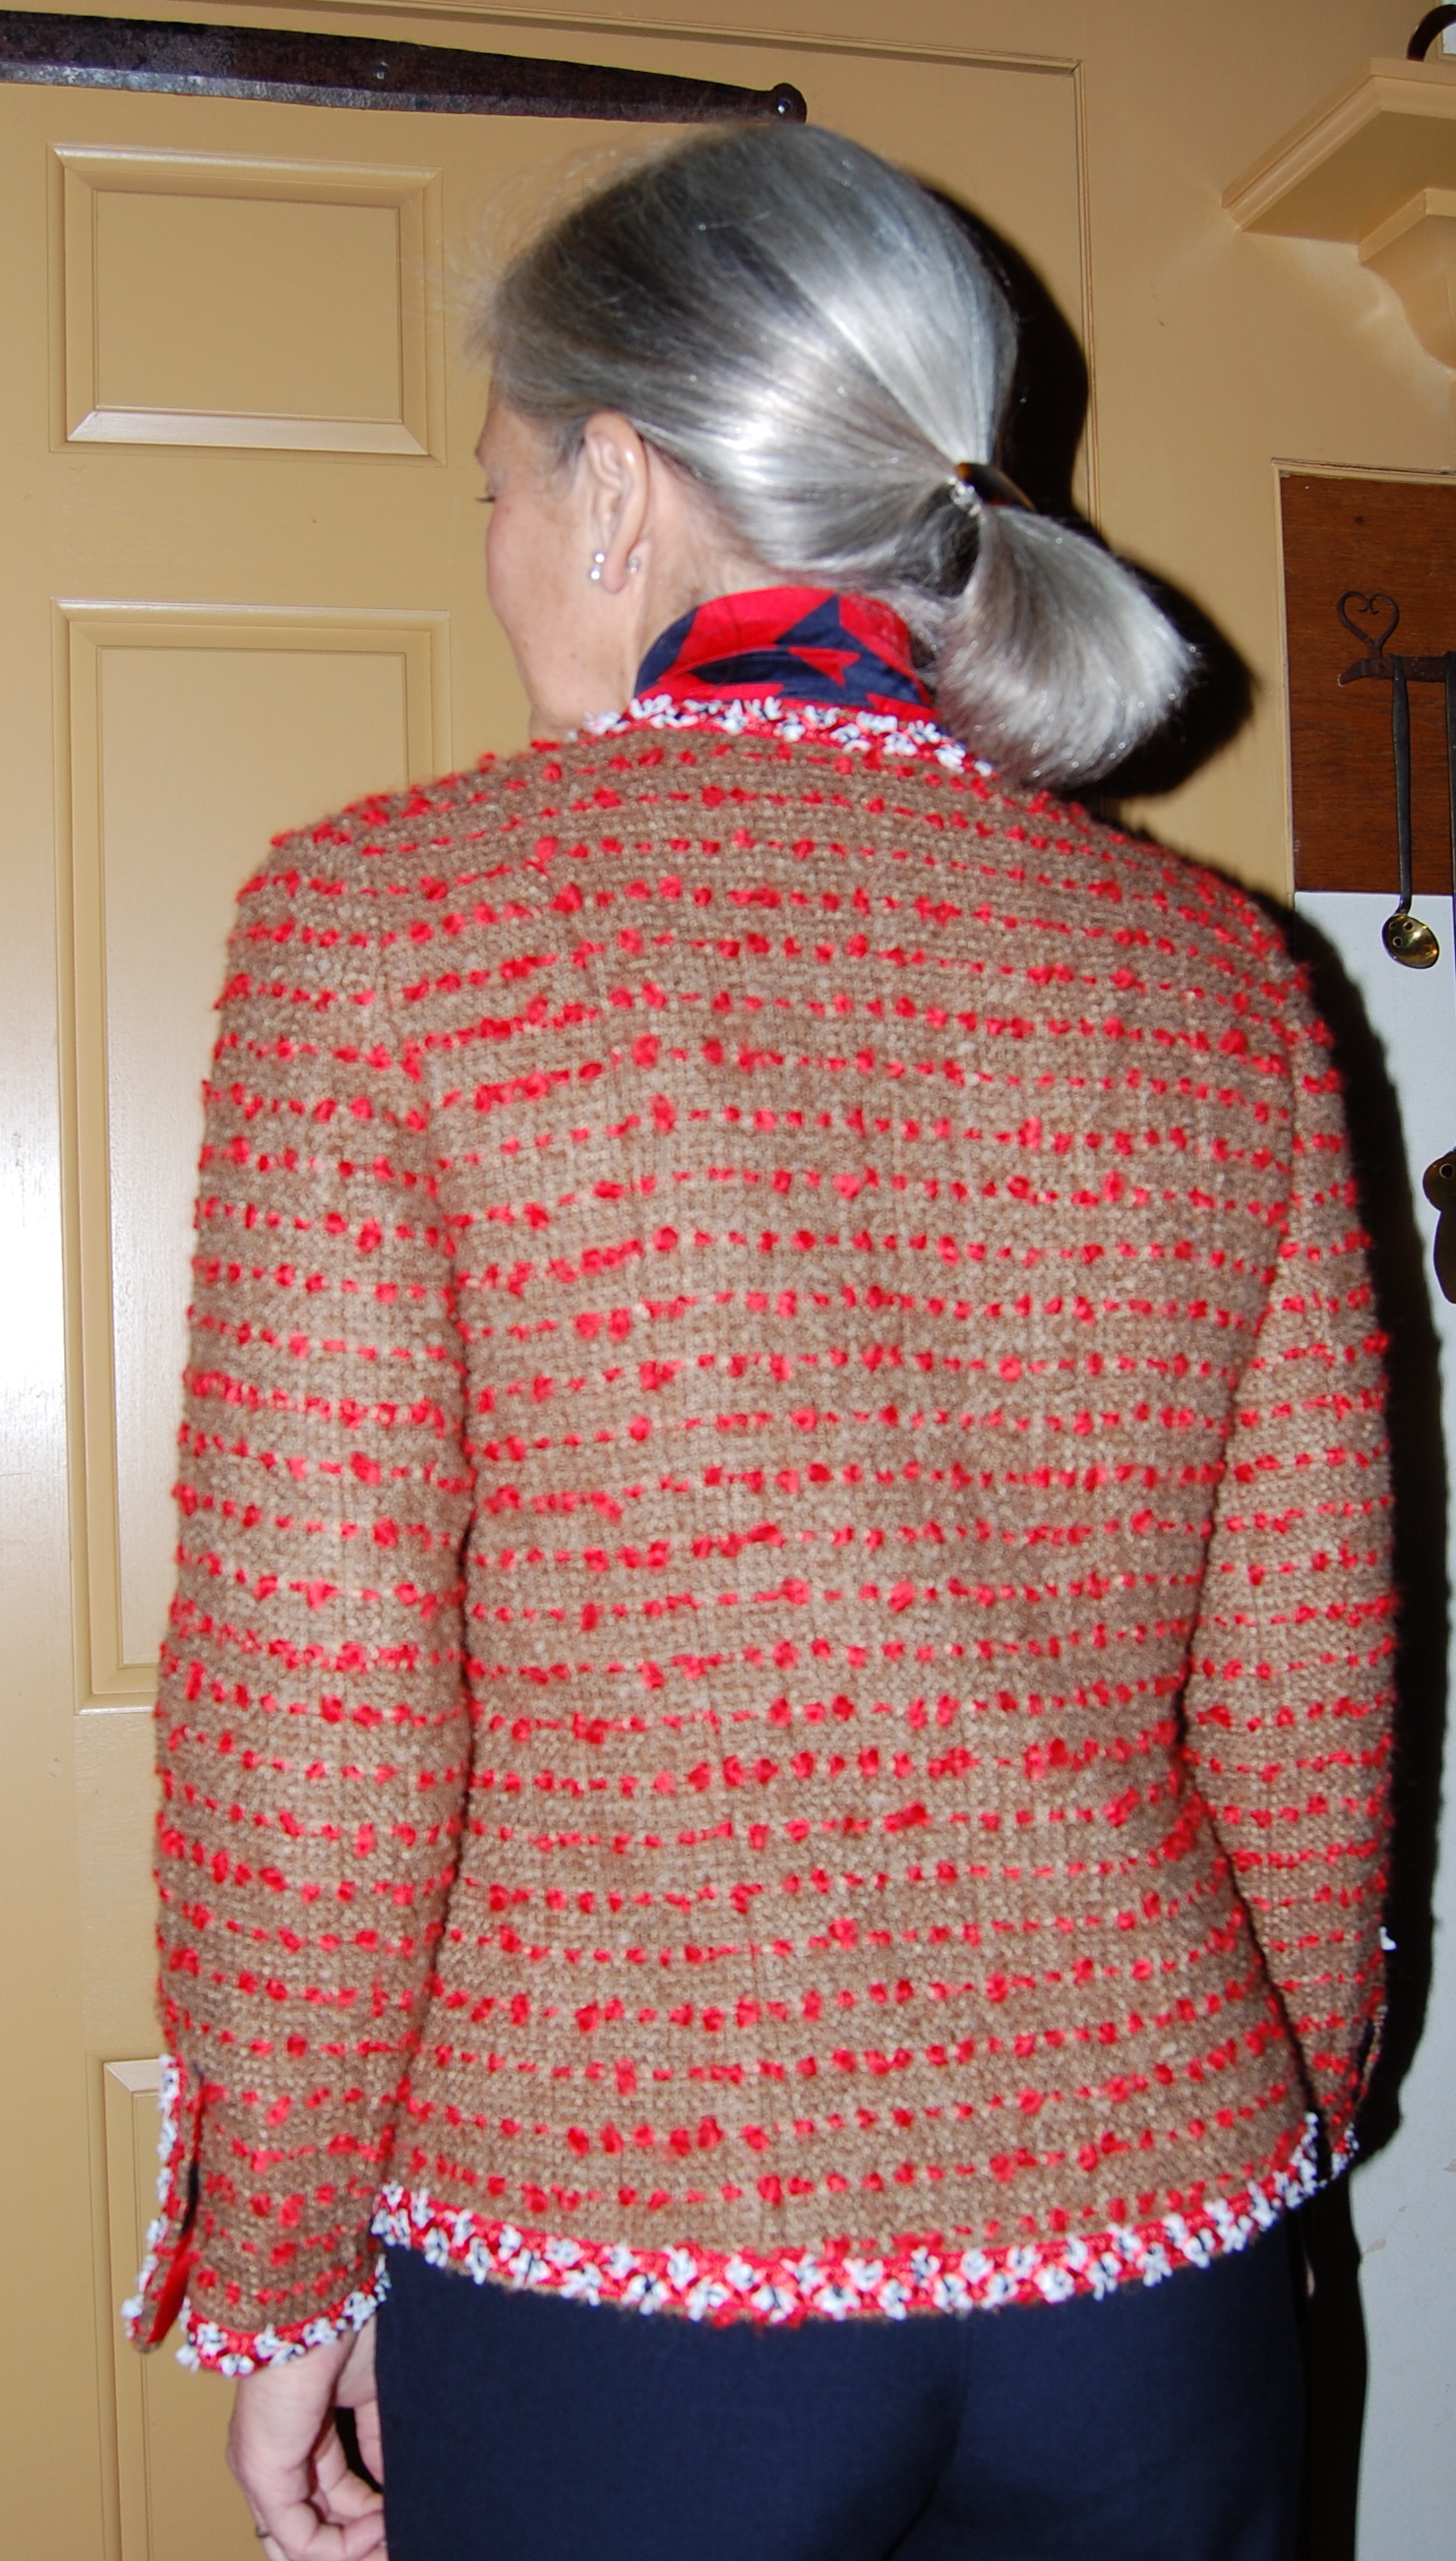
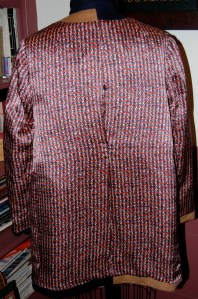
A back view.
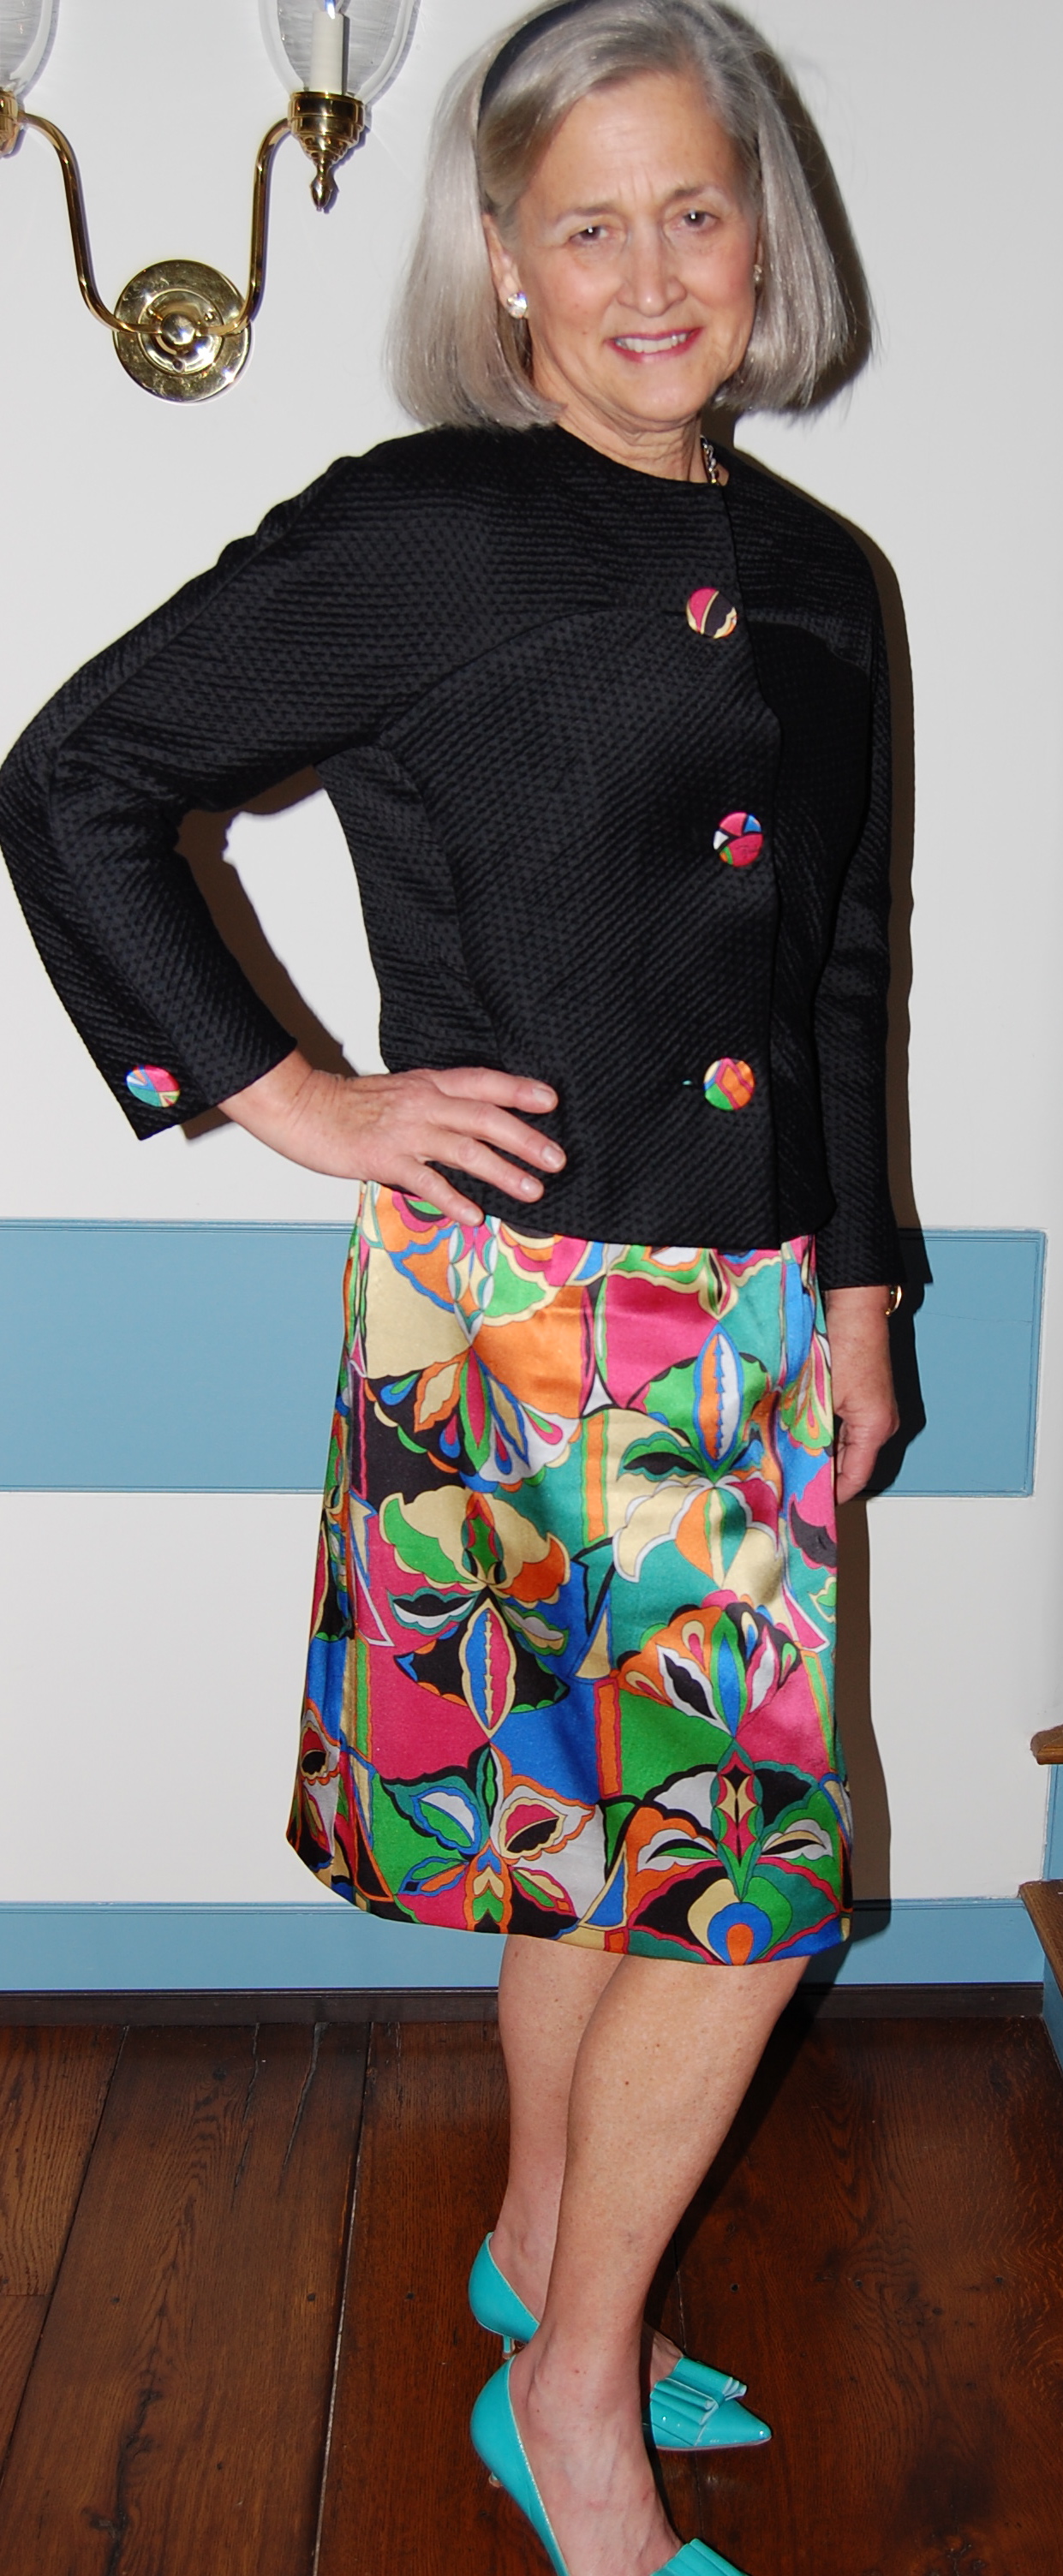
Making this was one of the most enjoyable sewing experiences I have ever had. Being privileged to get Susan’s expert guidance on some parts of the jacket certainly was part of the equation. In addition to that, however, were the preciseness and subtle design details of the pattern, which made it a pleasureable sew. A few of those details are:
1) the genius of the extra side panel, which enhances the “swing” line of the coat.
2) that side panel also allows the use of a Dior dart which adds just enough to the bust to keep the line smooth, but ample.
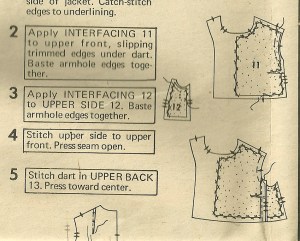
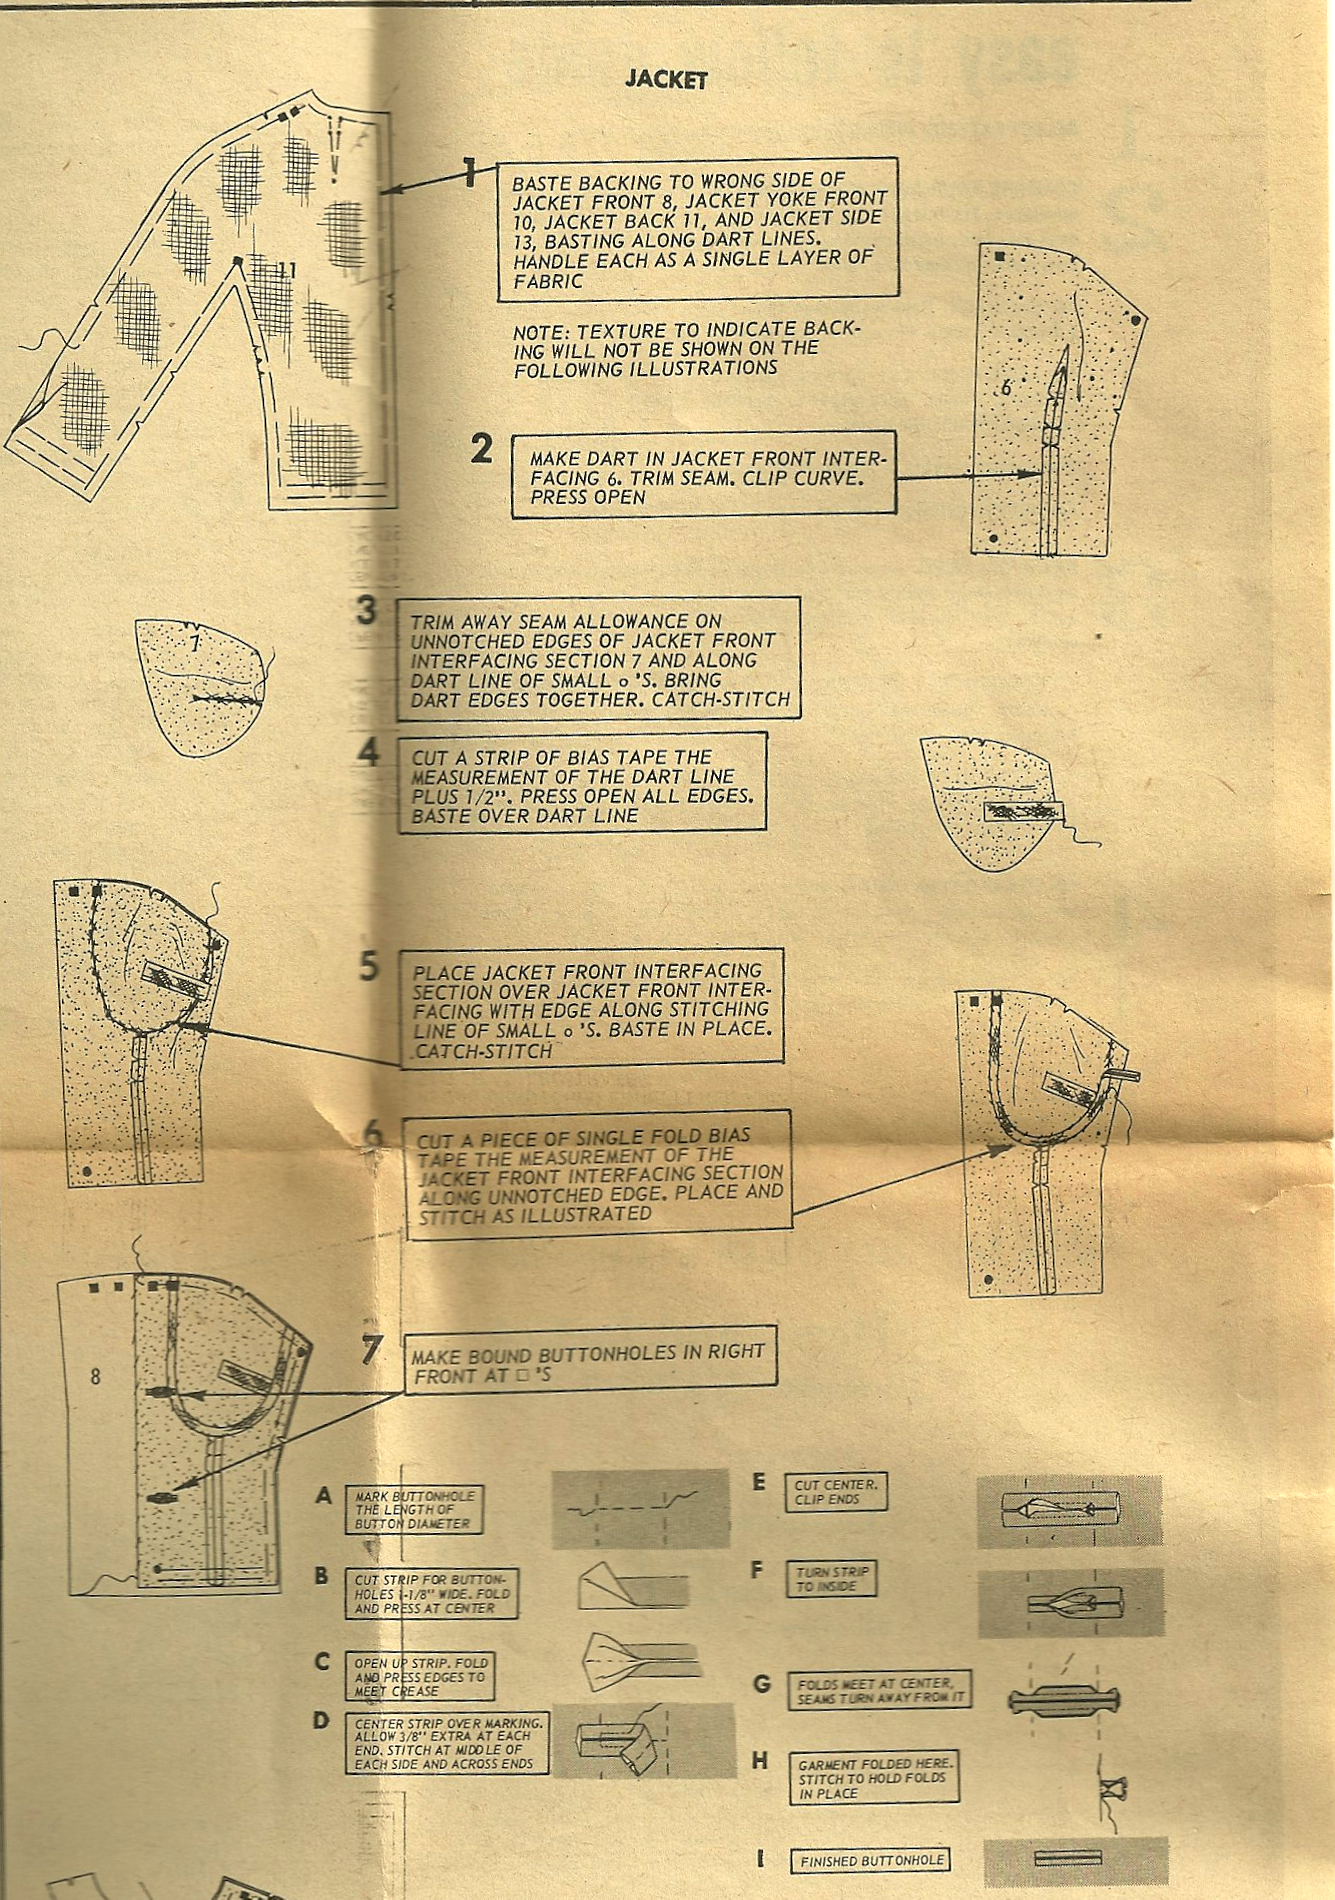
The instruction sheet gives a good diagram of the small Dior dart tucked into that front side seam.
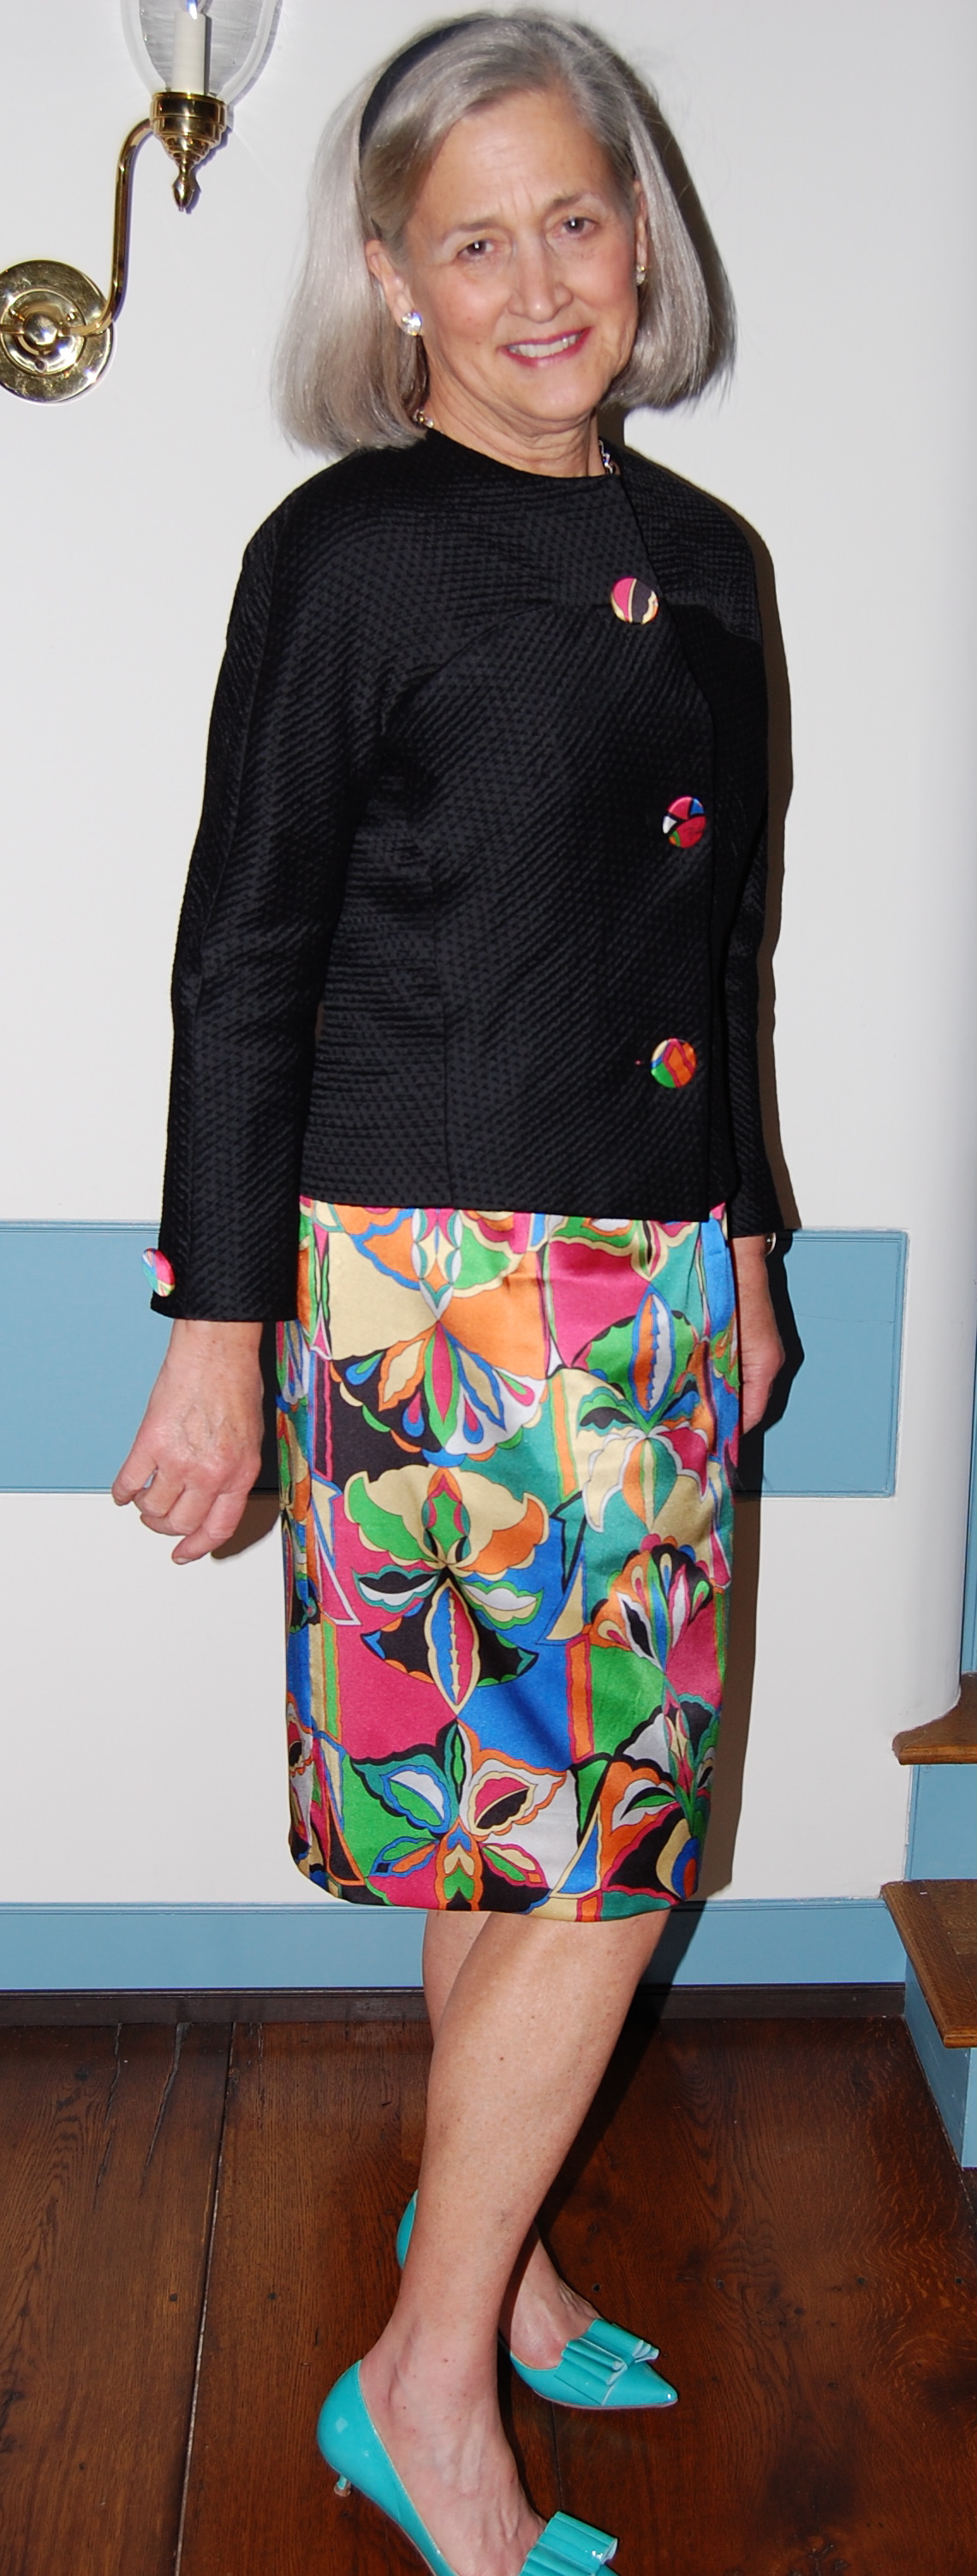
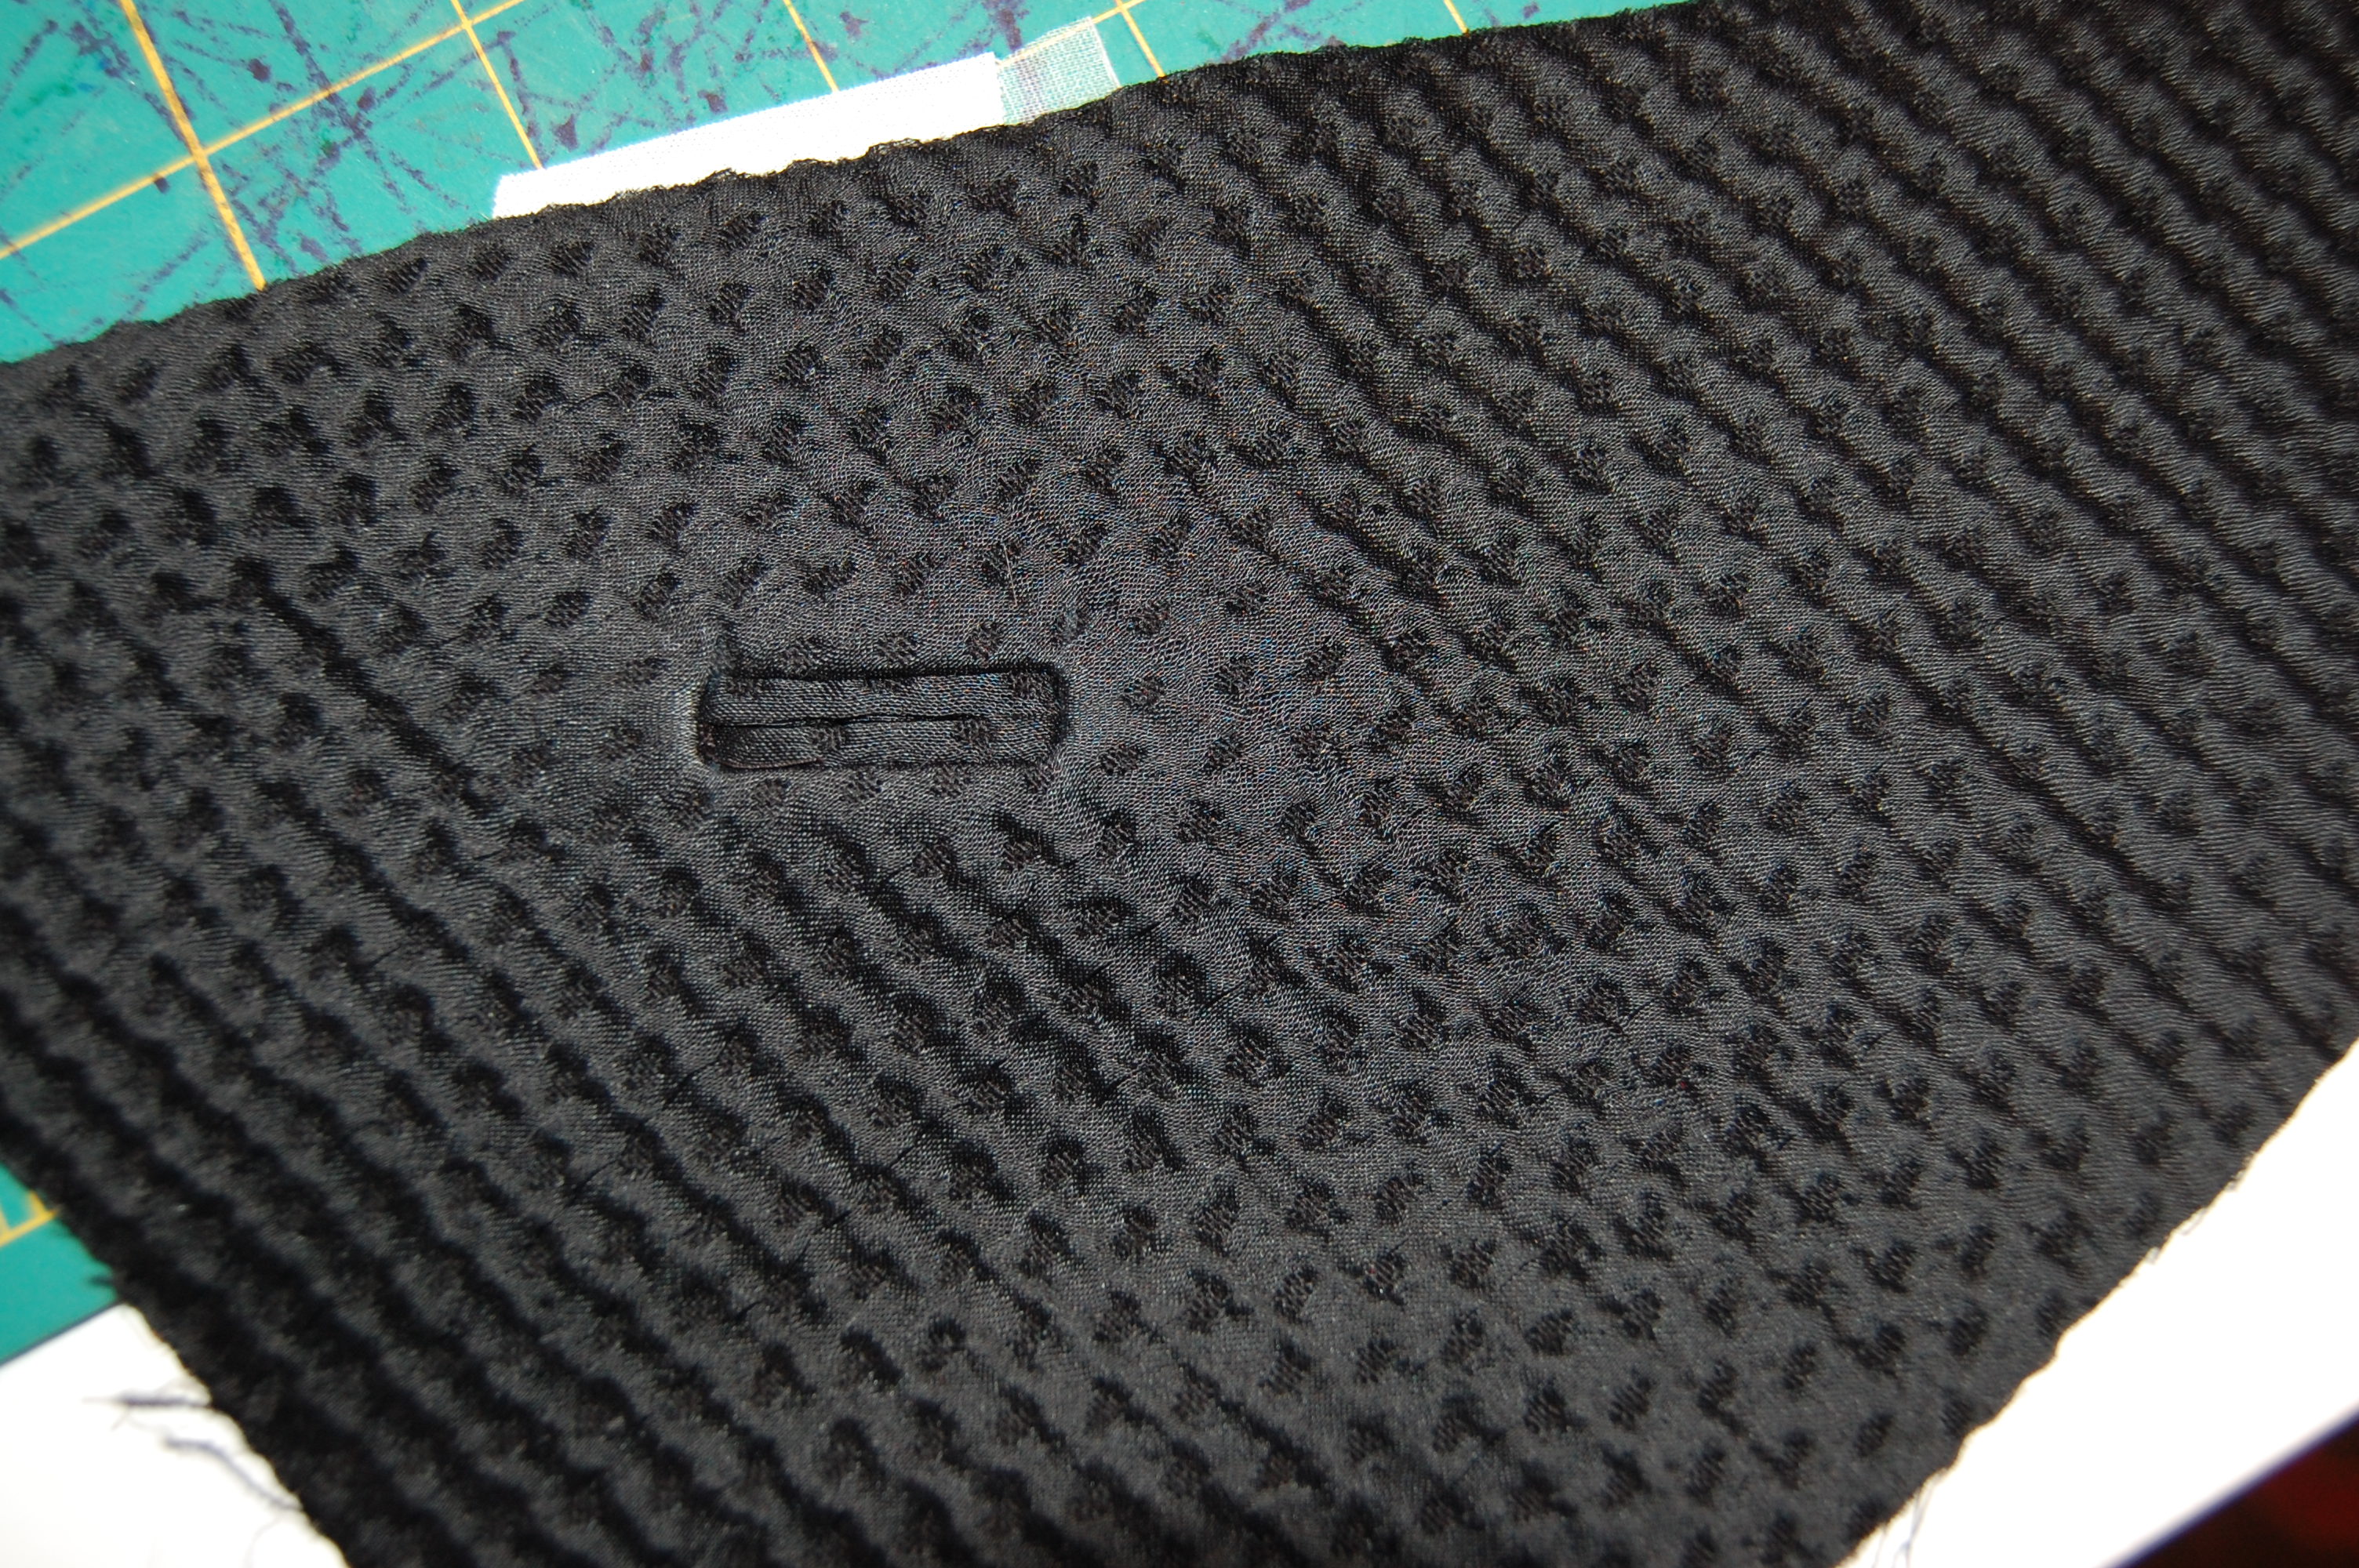
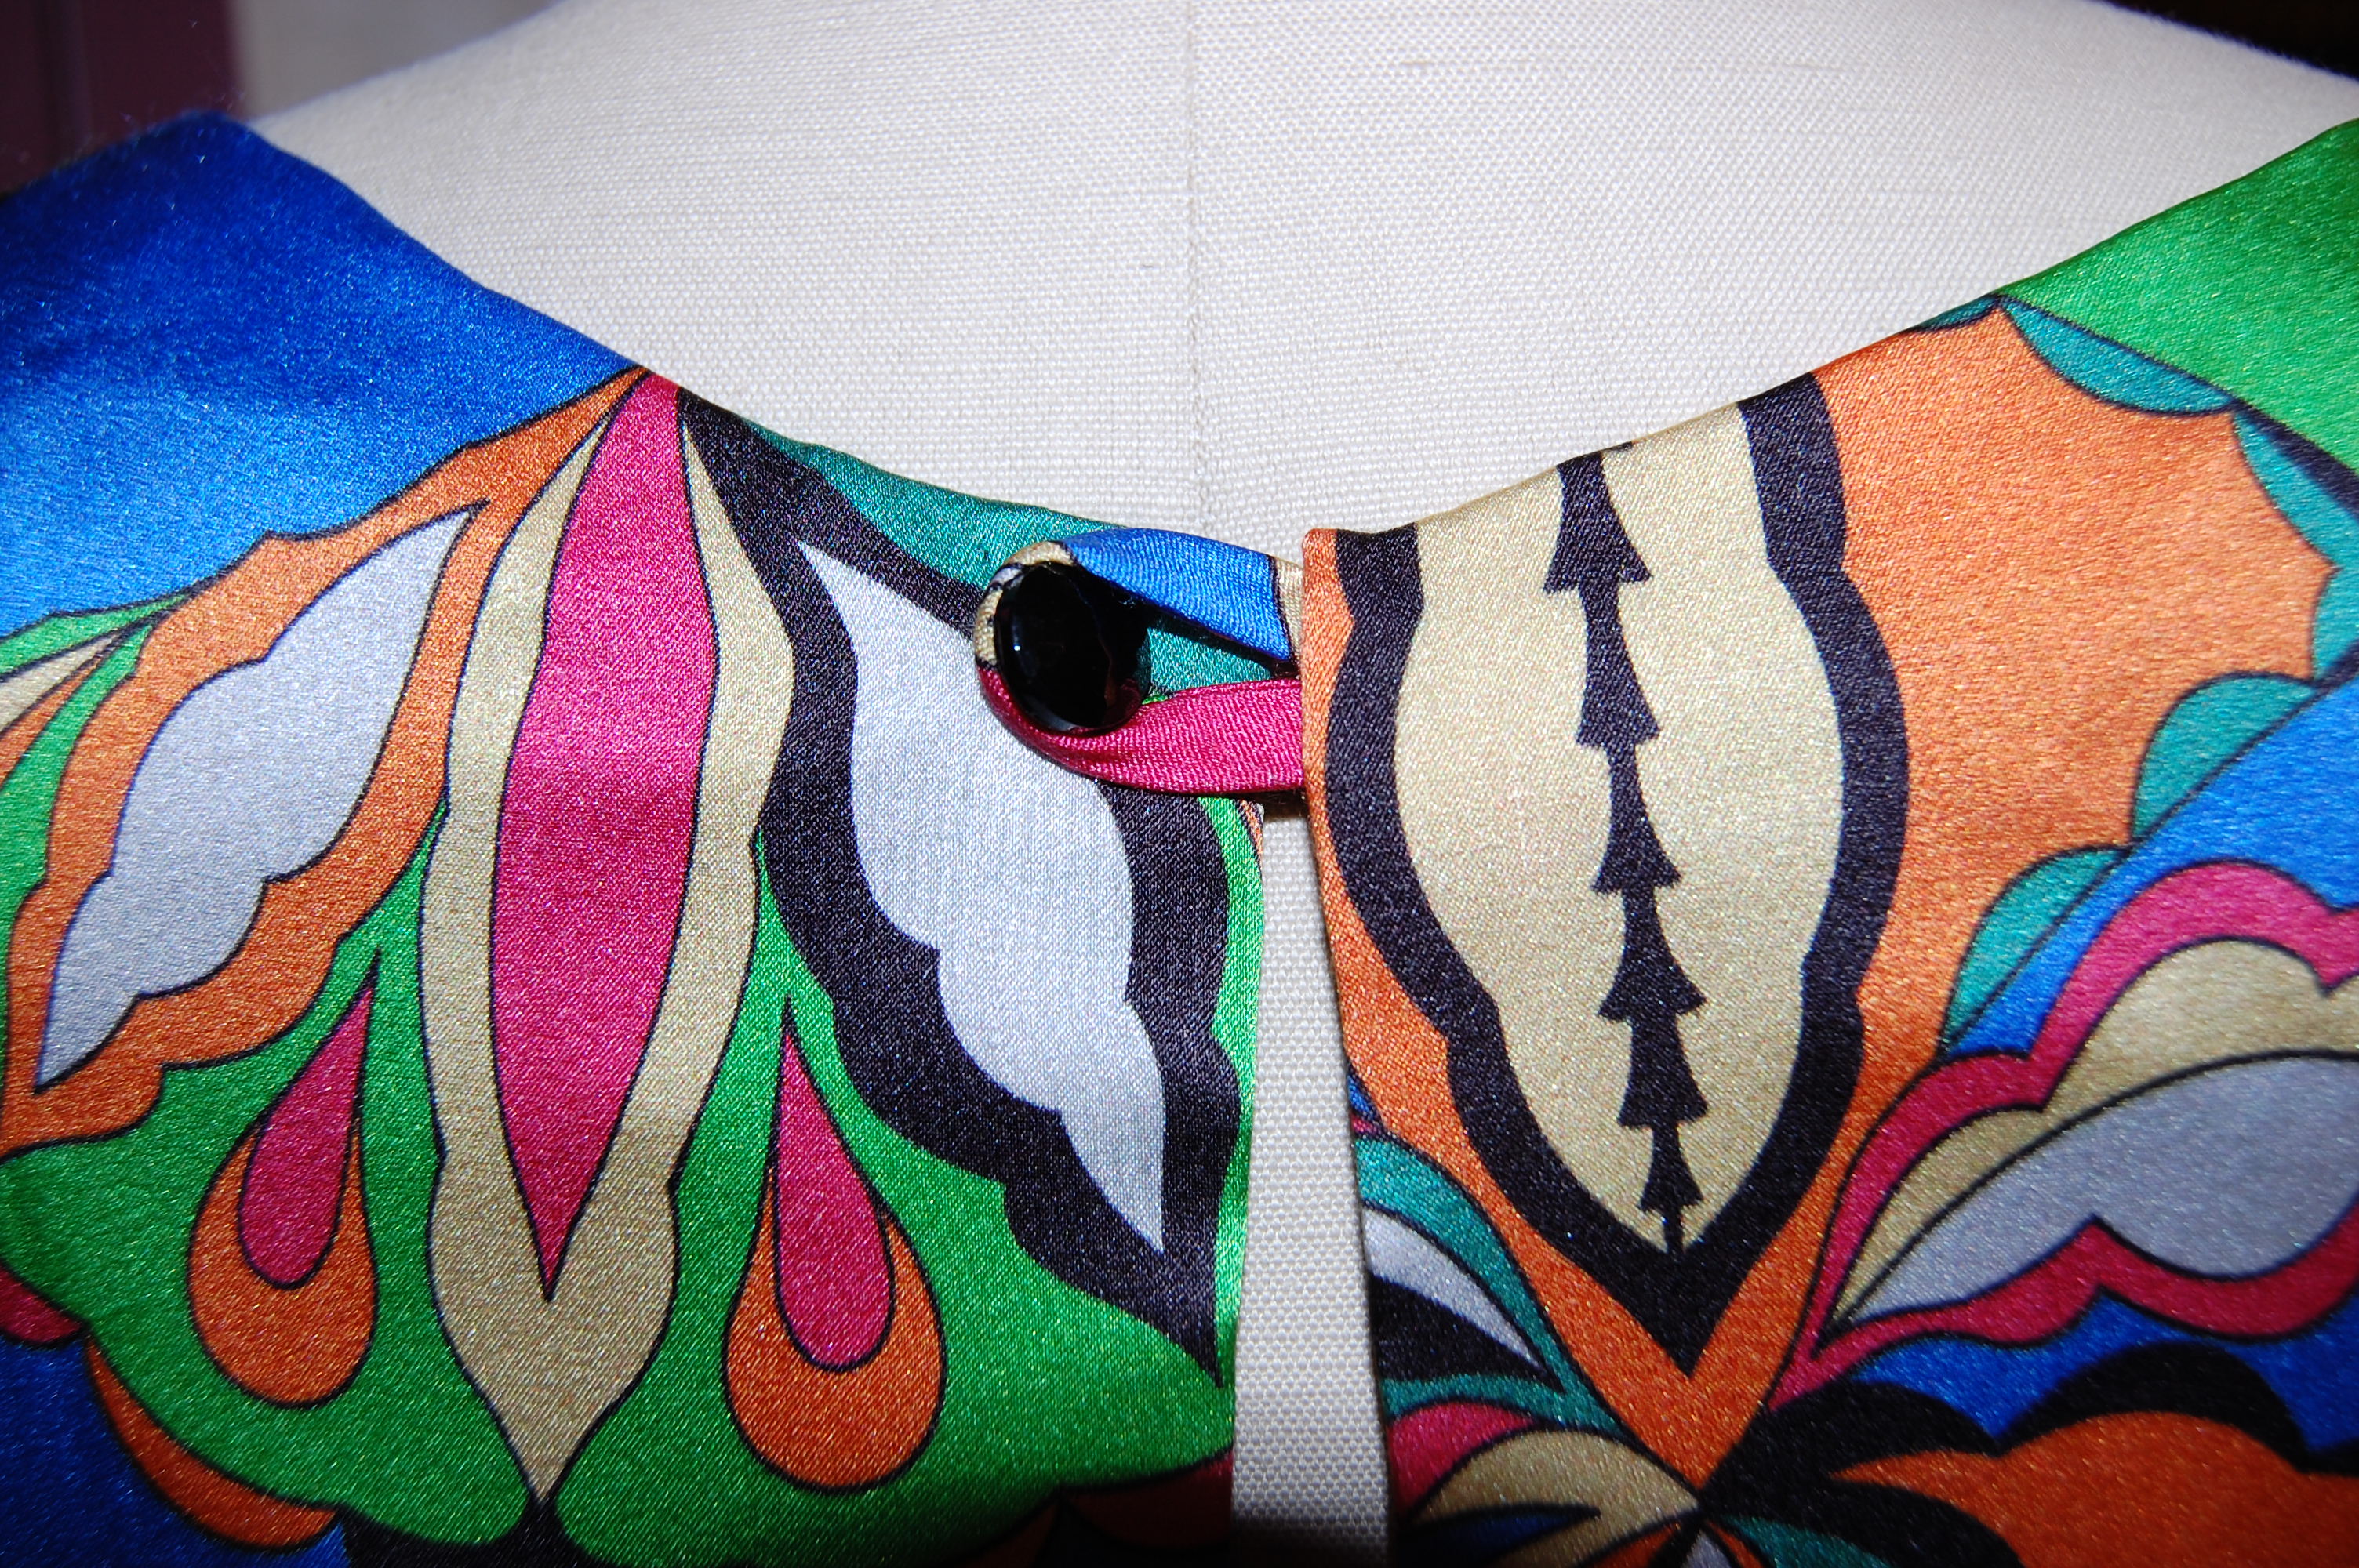
3) the concealed front allows the clean appearance of the coat to be unencumbered by buttons.
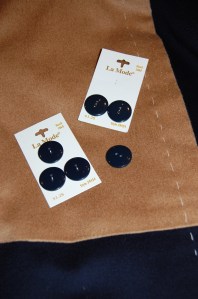
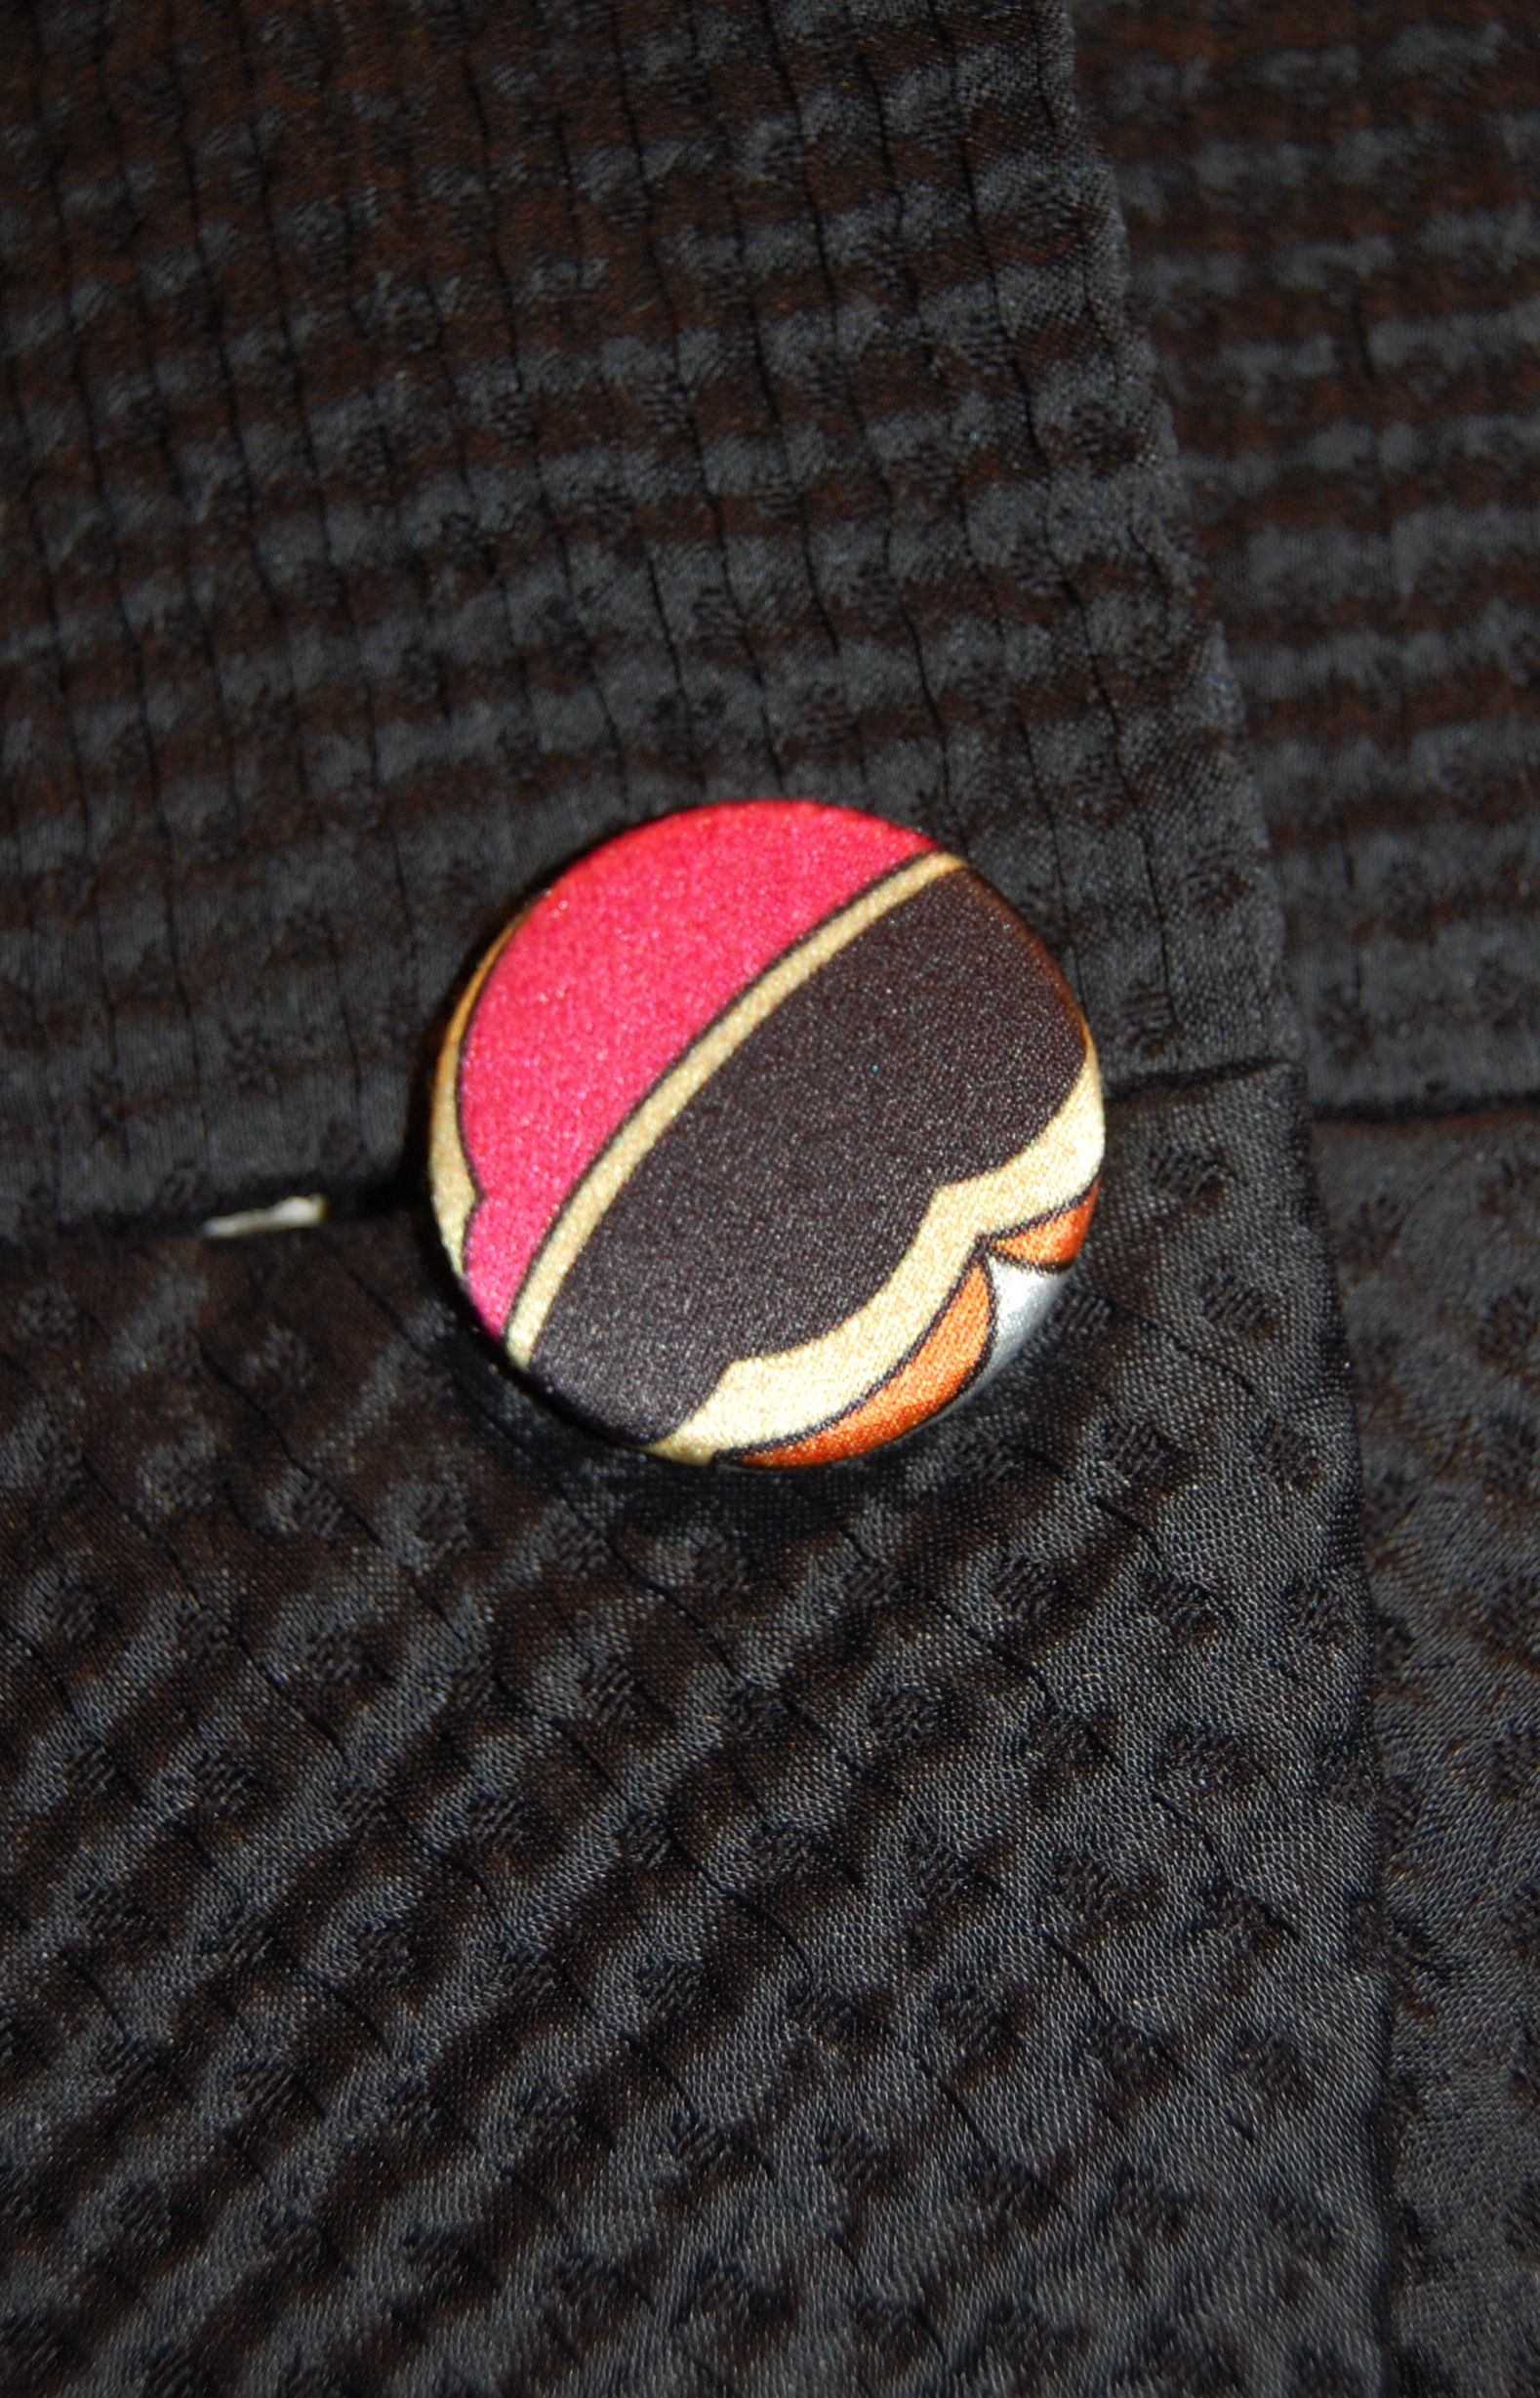
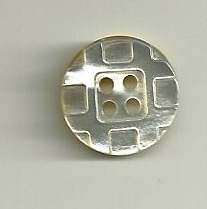
I chose these navy blue buttons for the concealed front. They are flat, simple, and match the blue exactly.
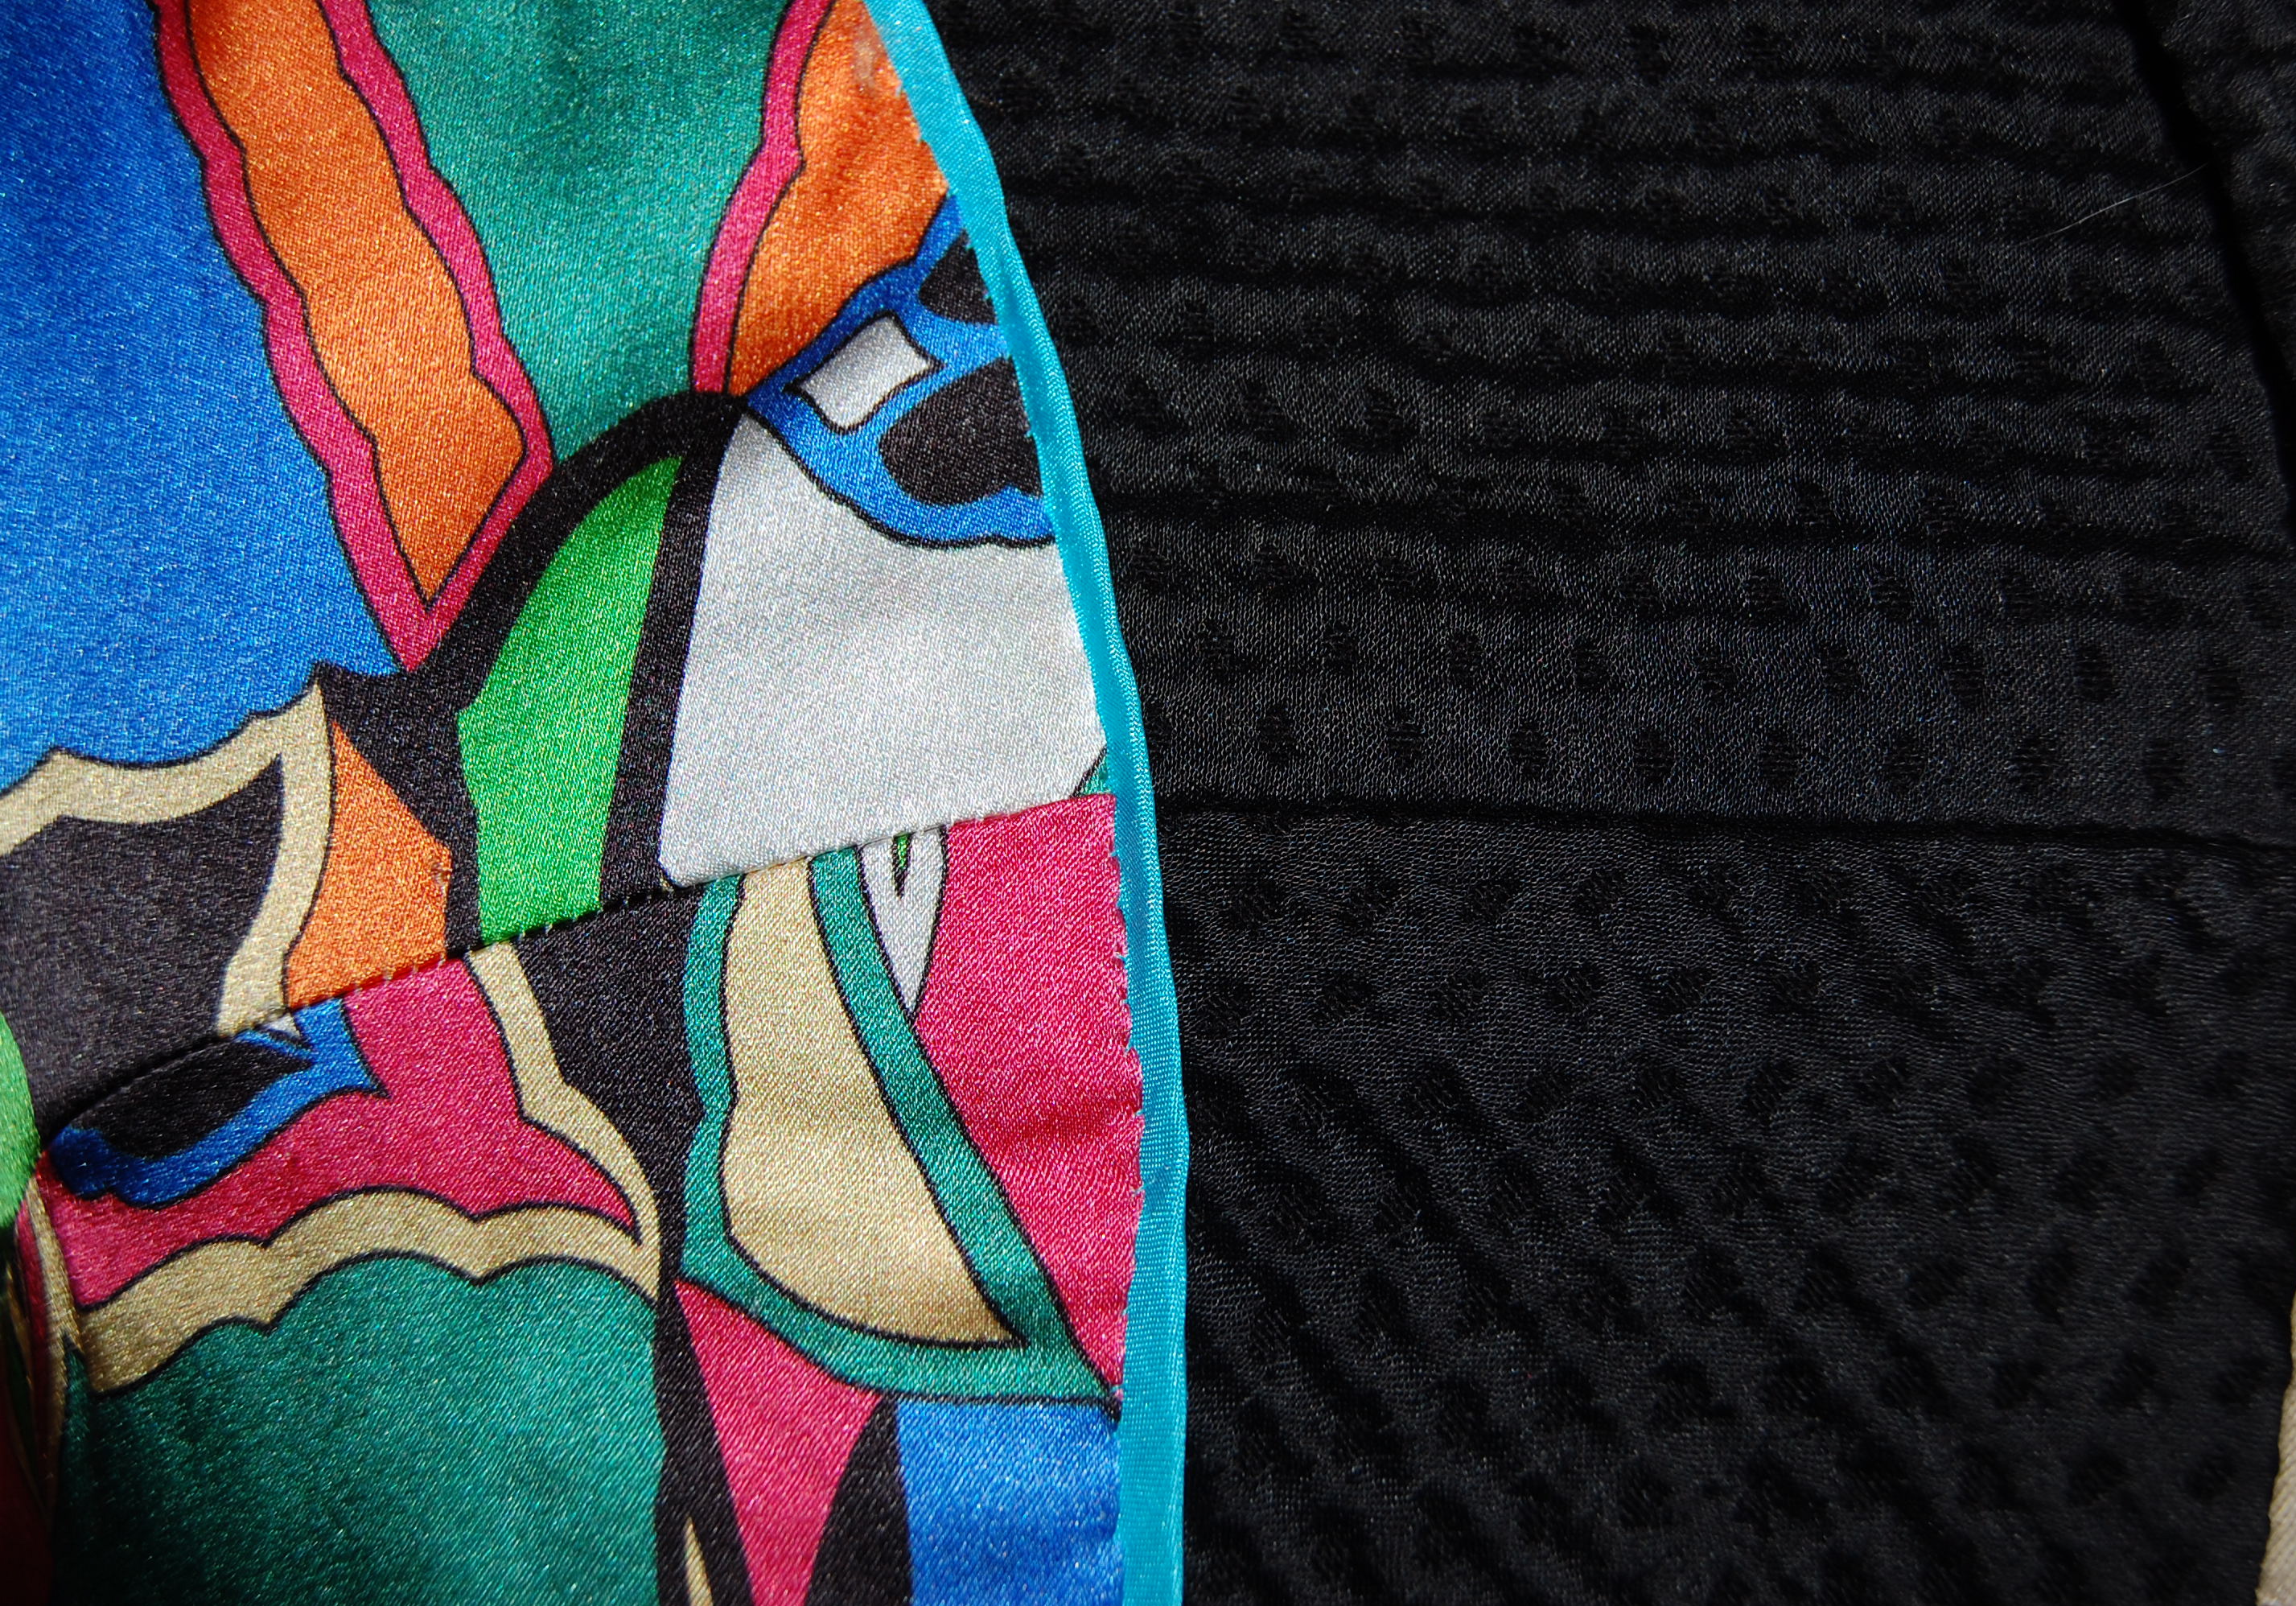
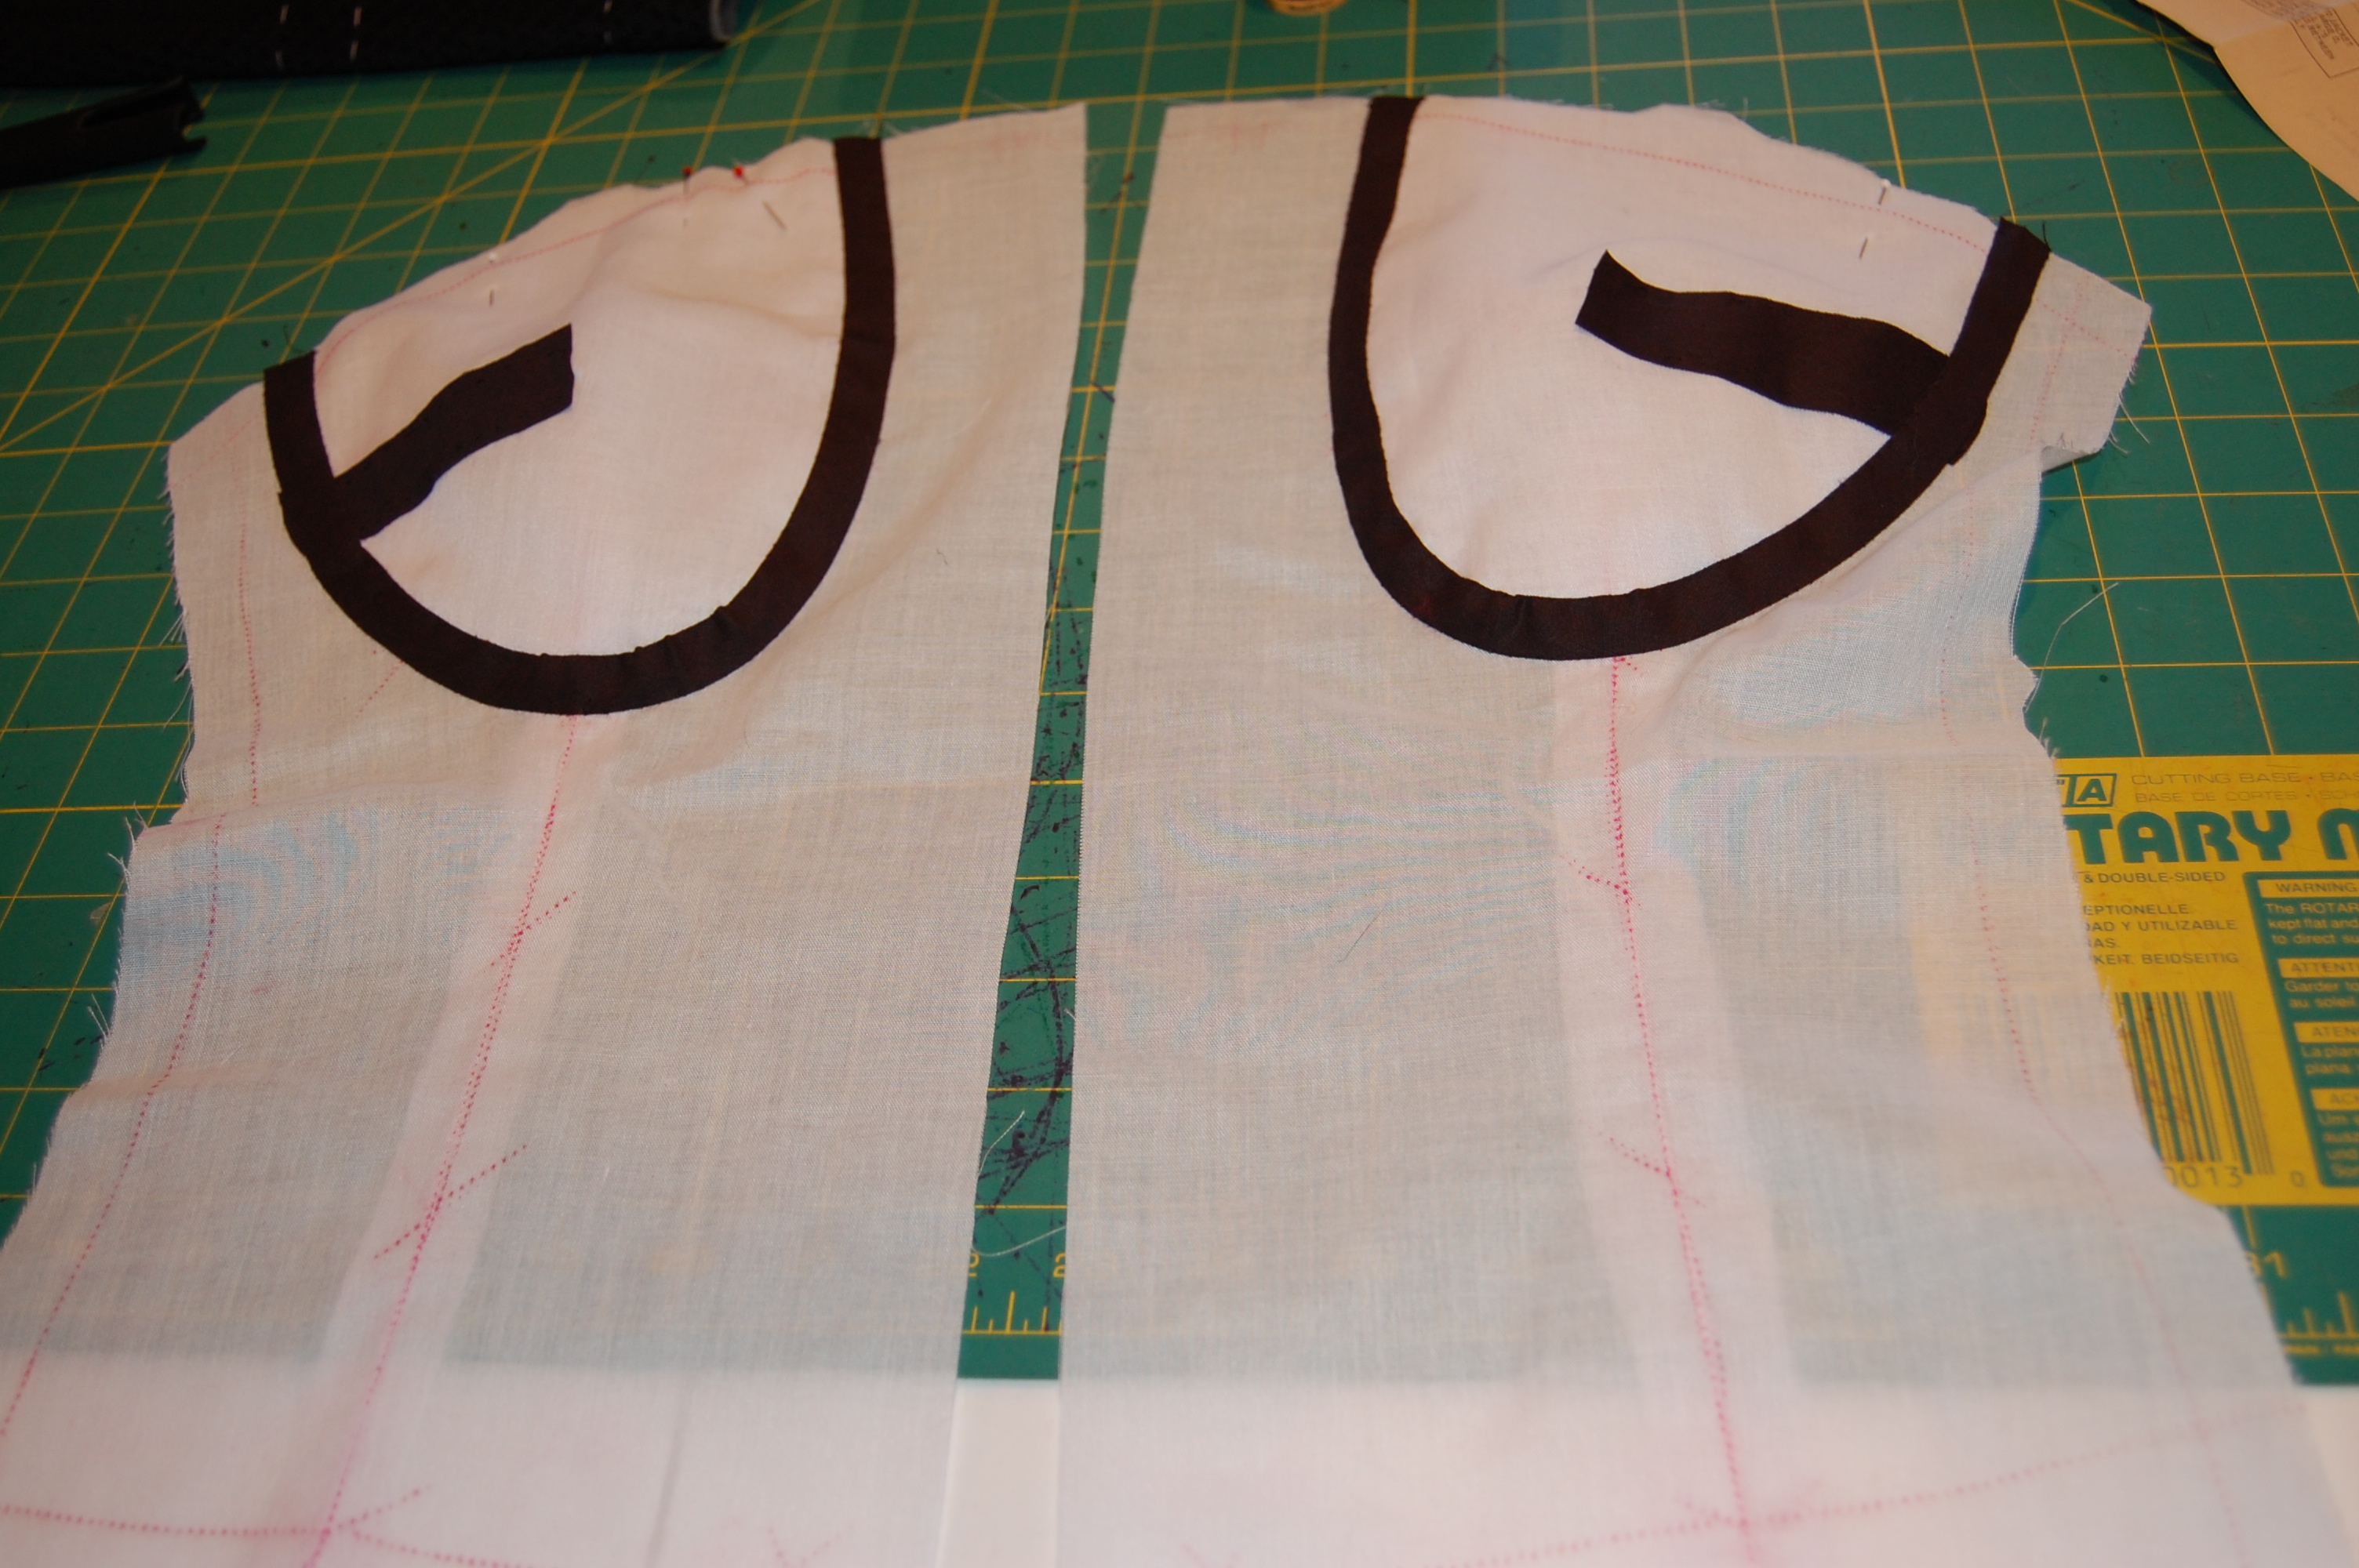
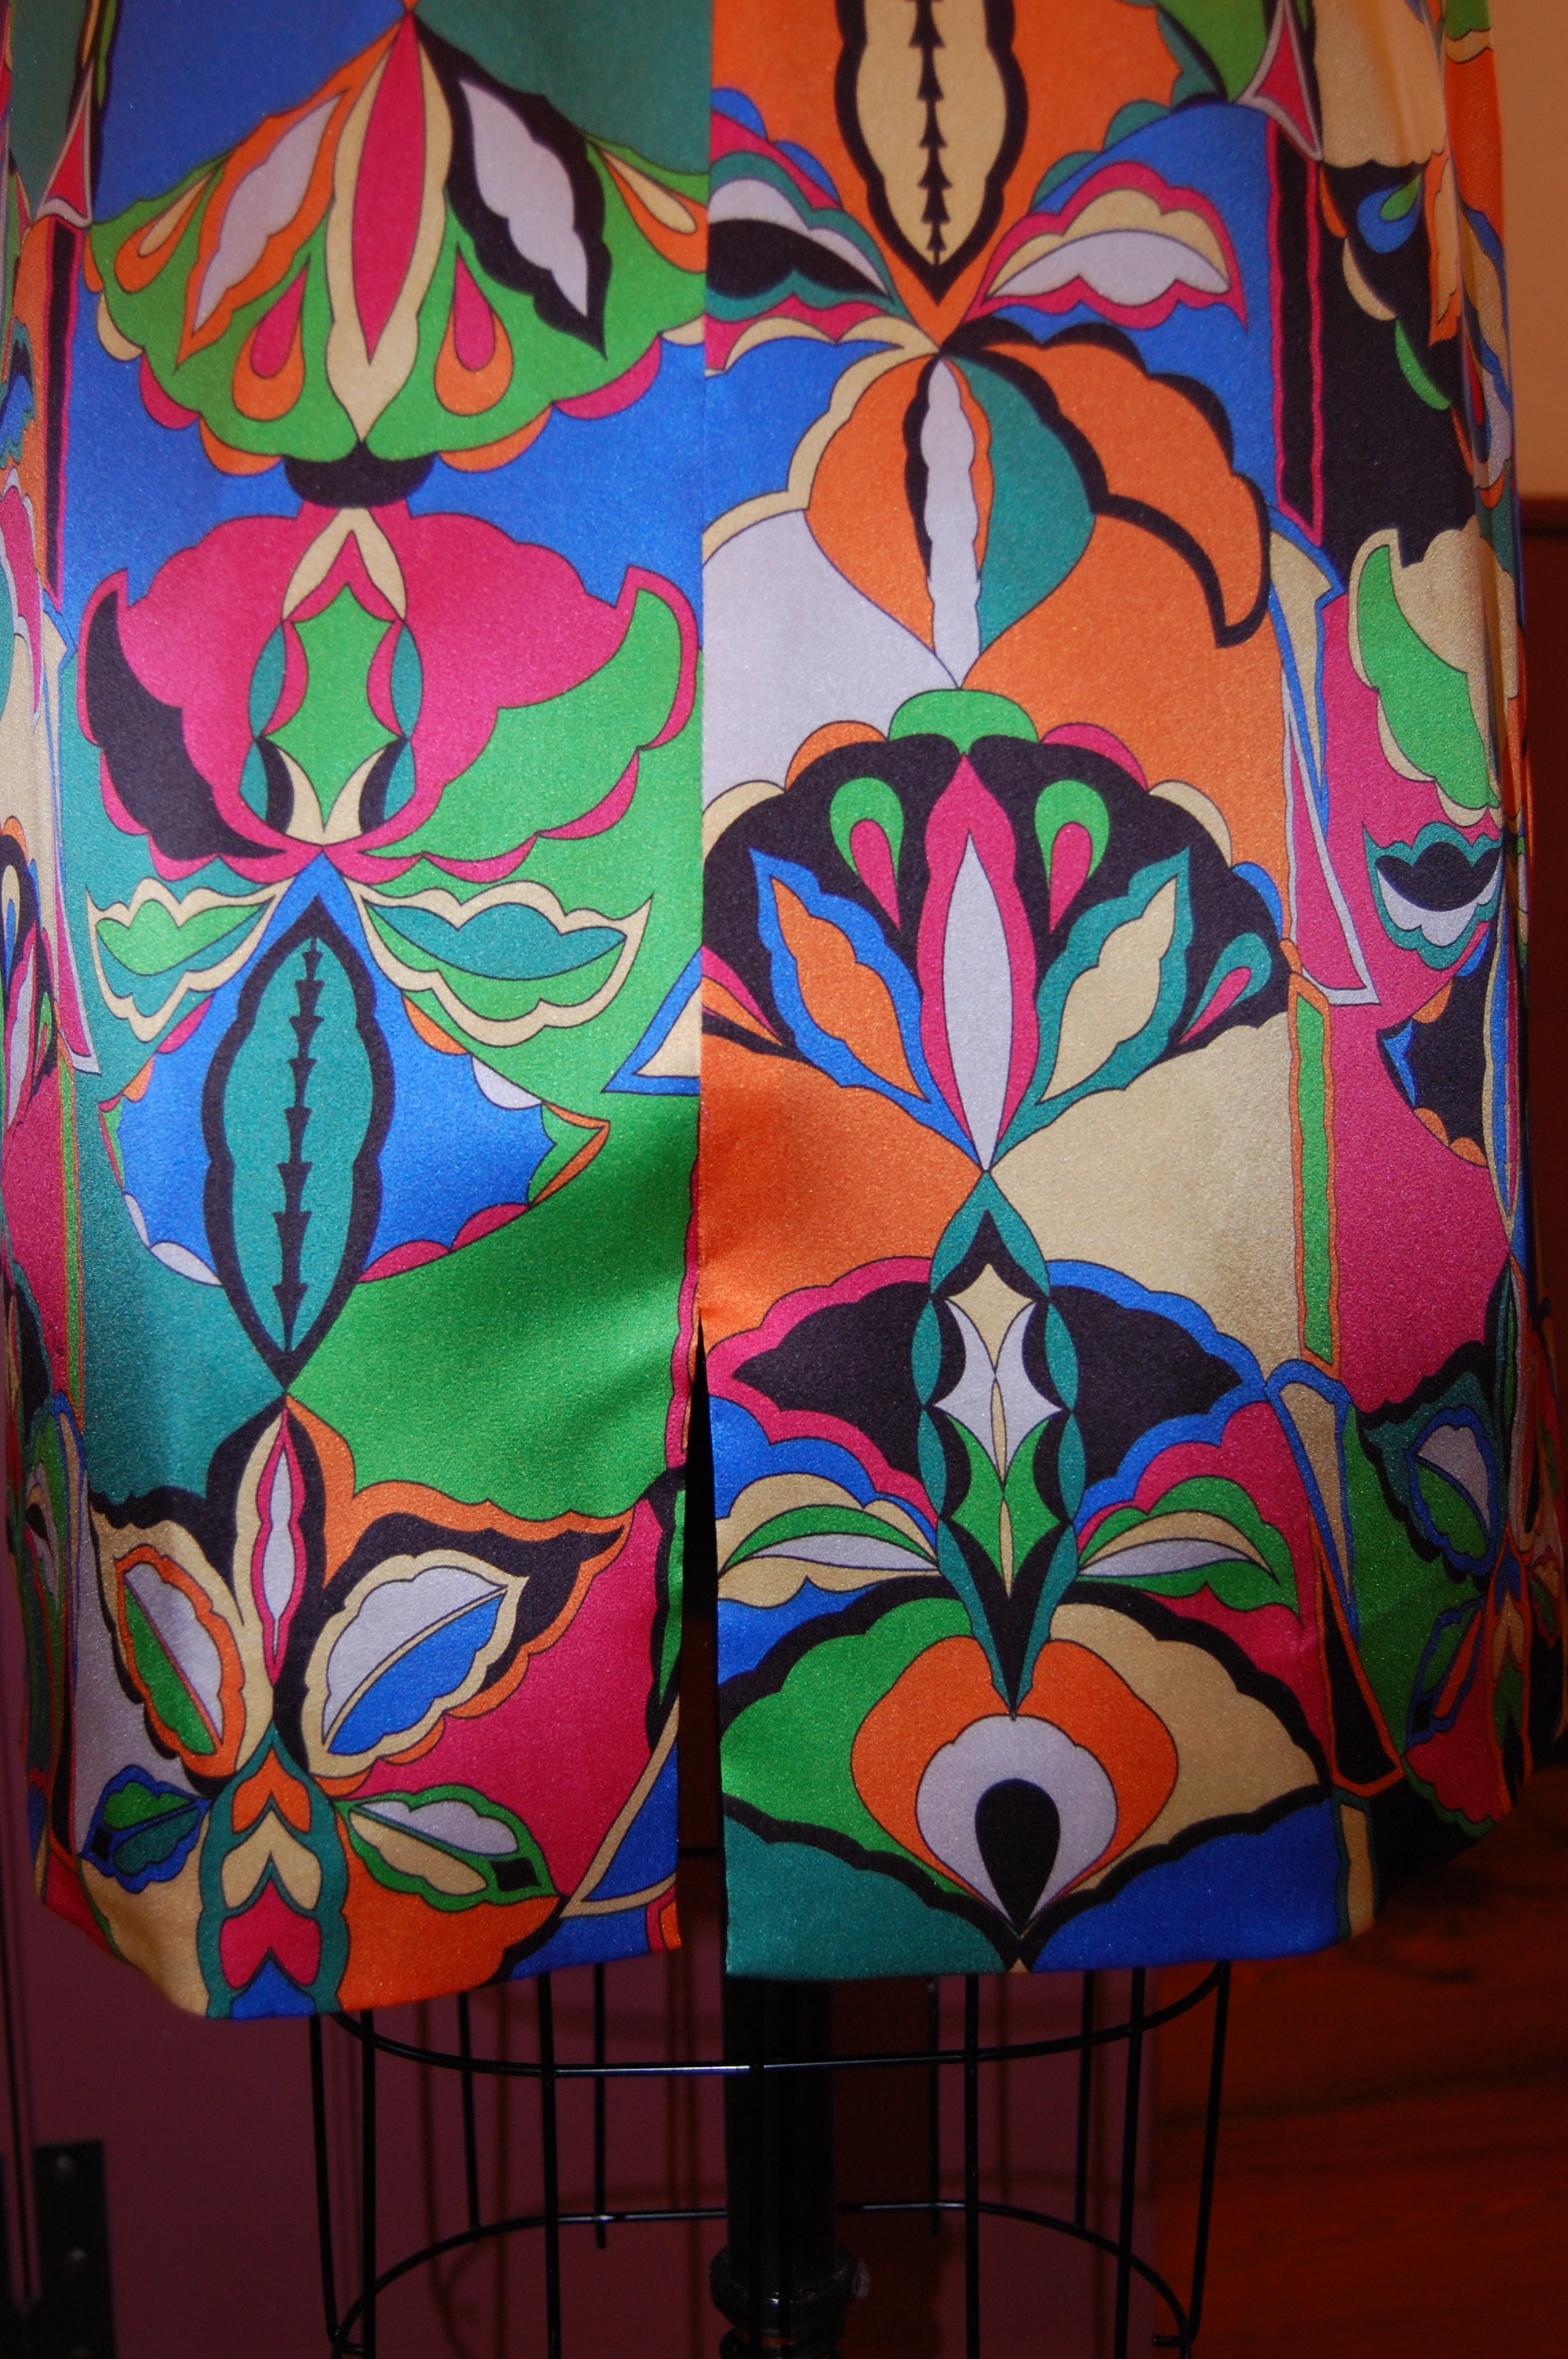
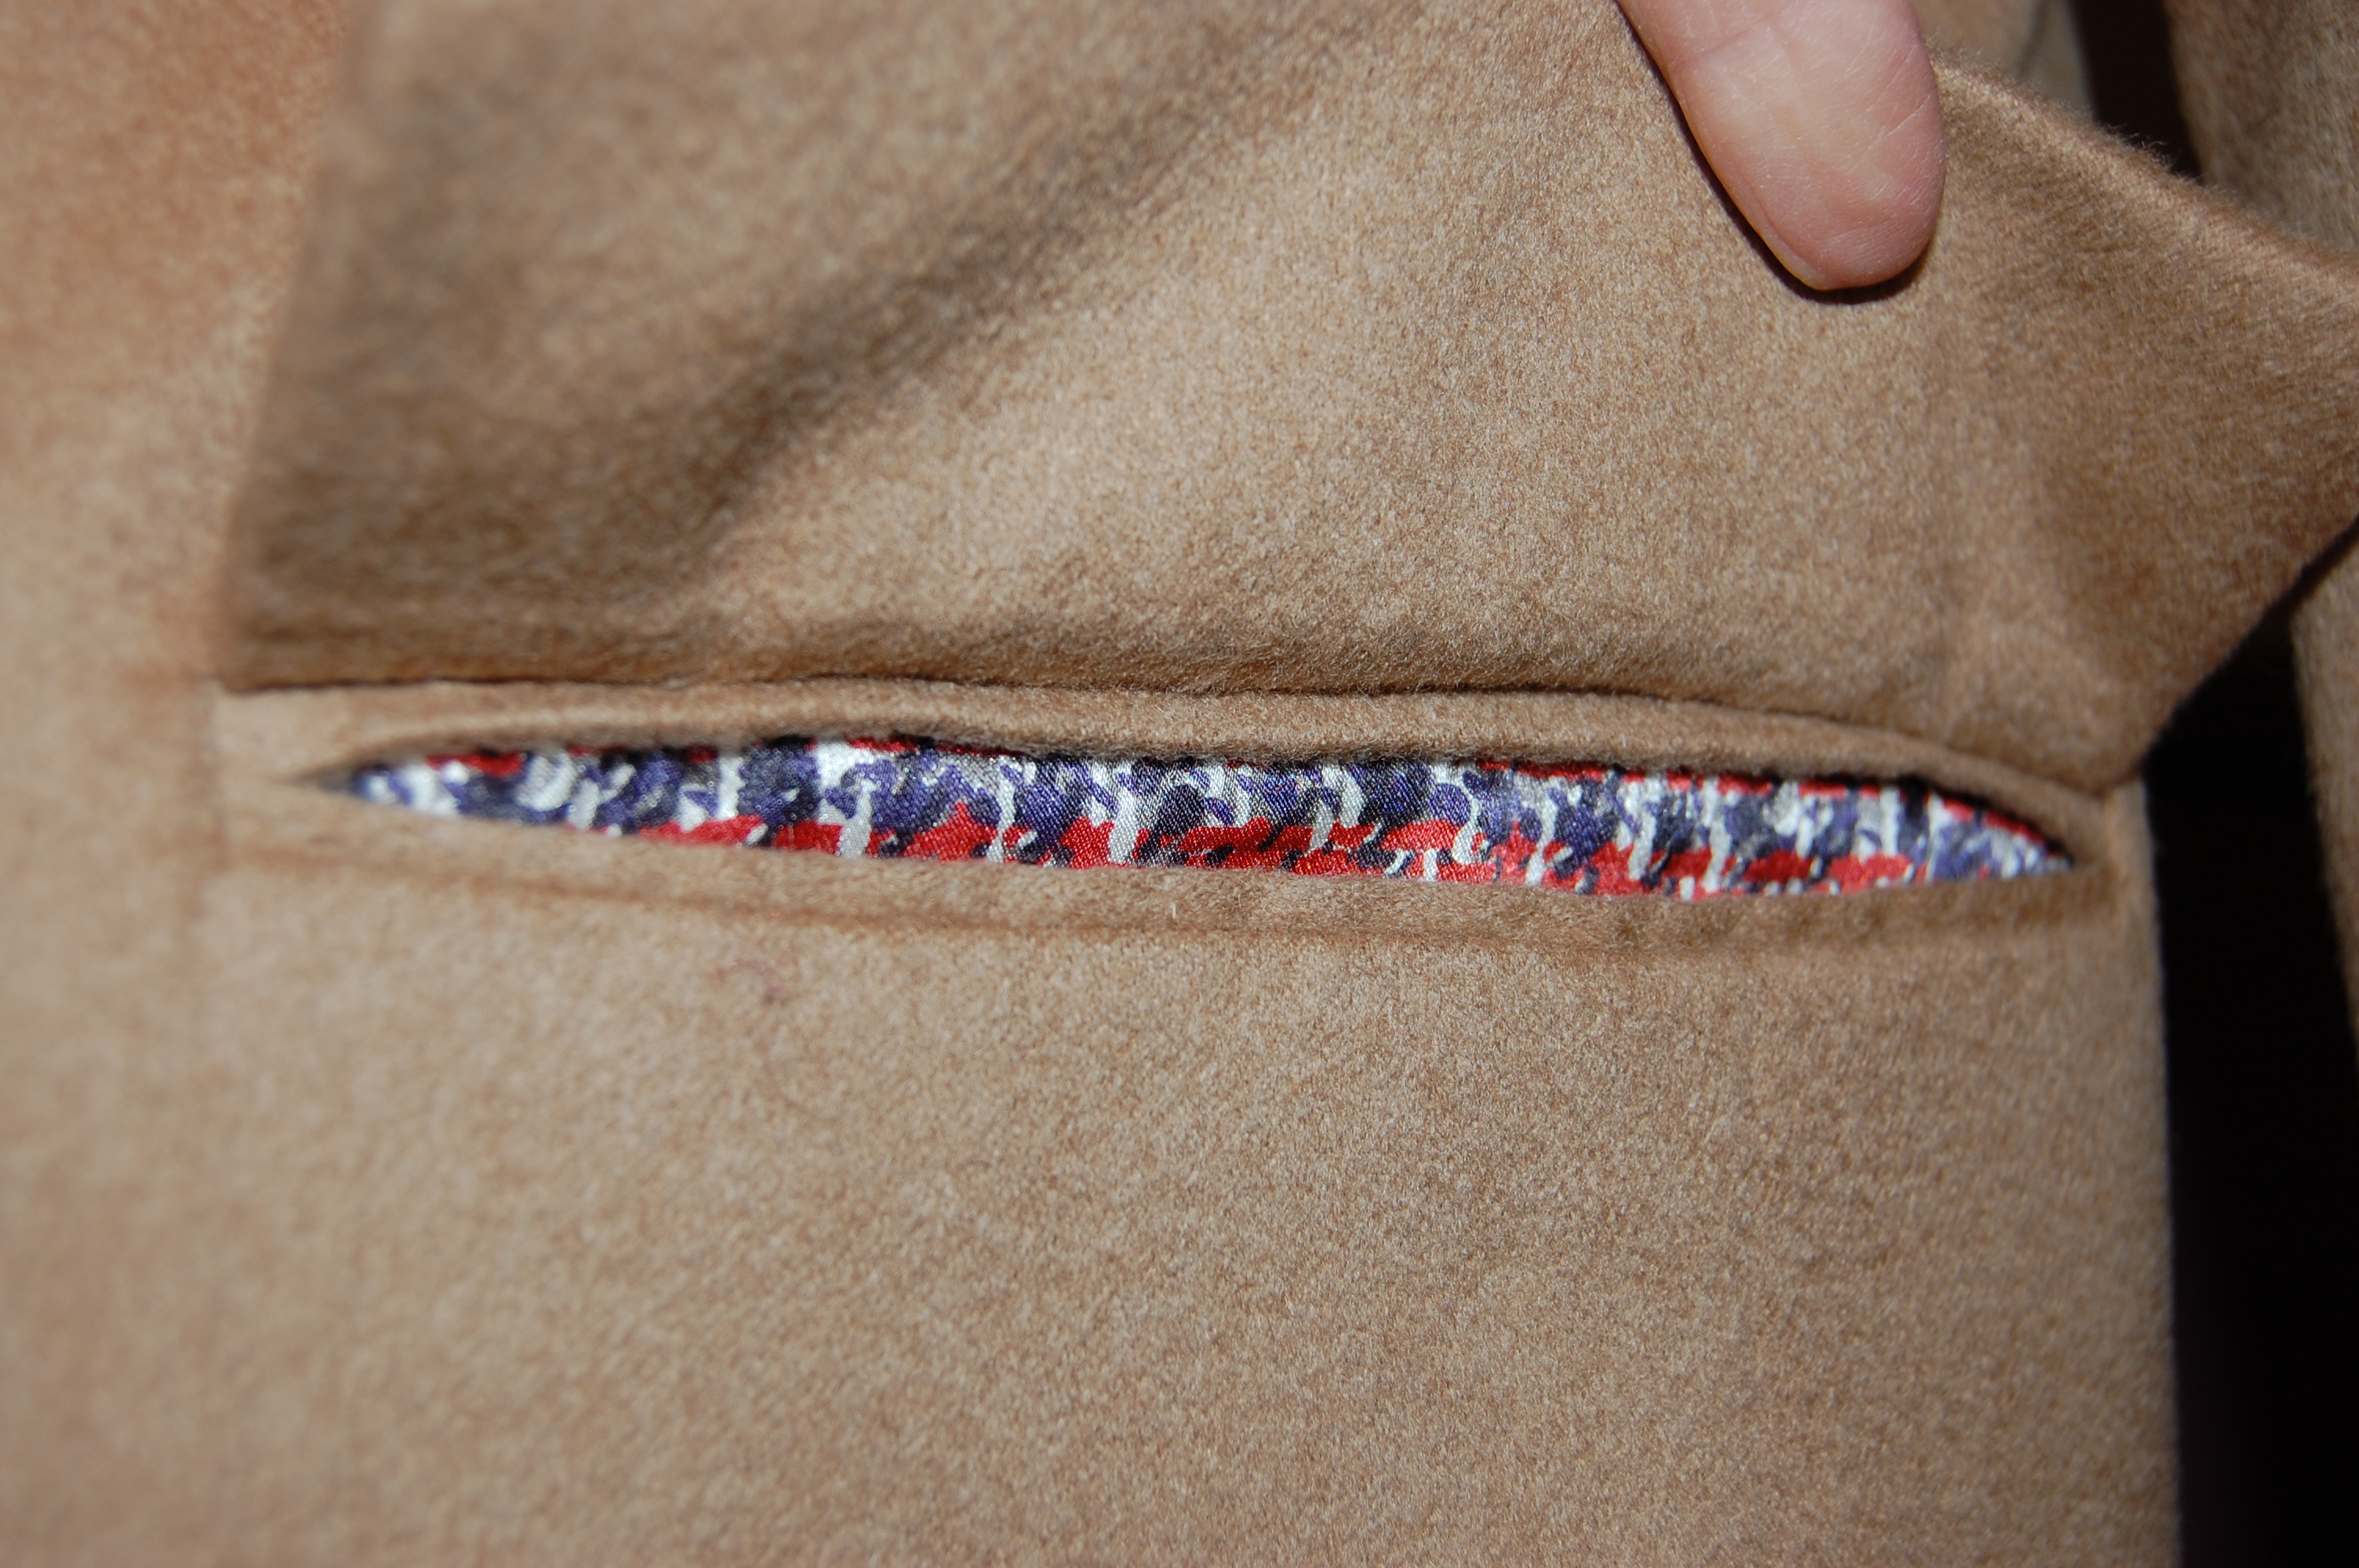
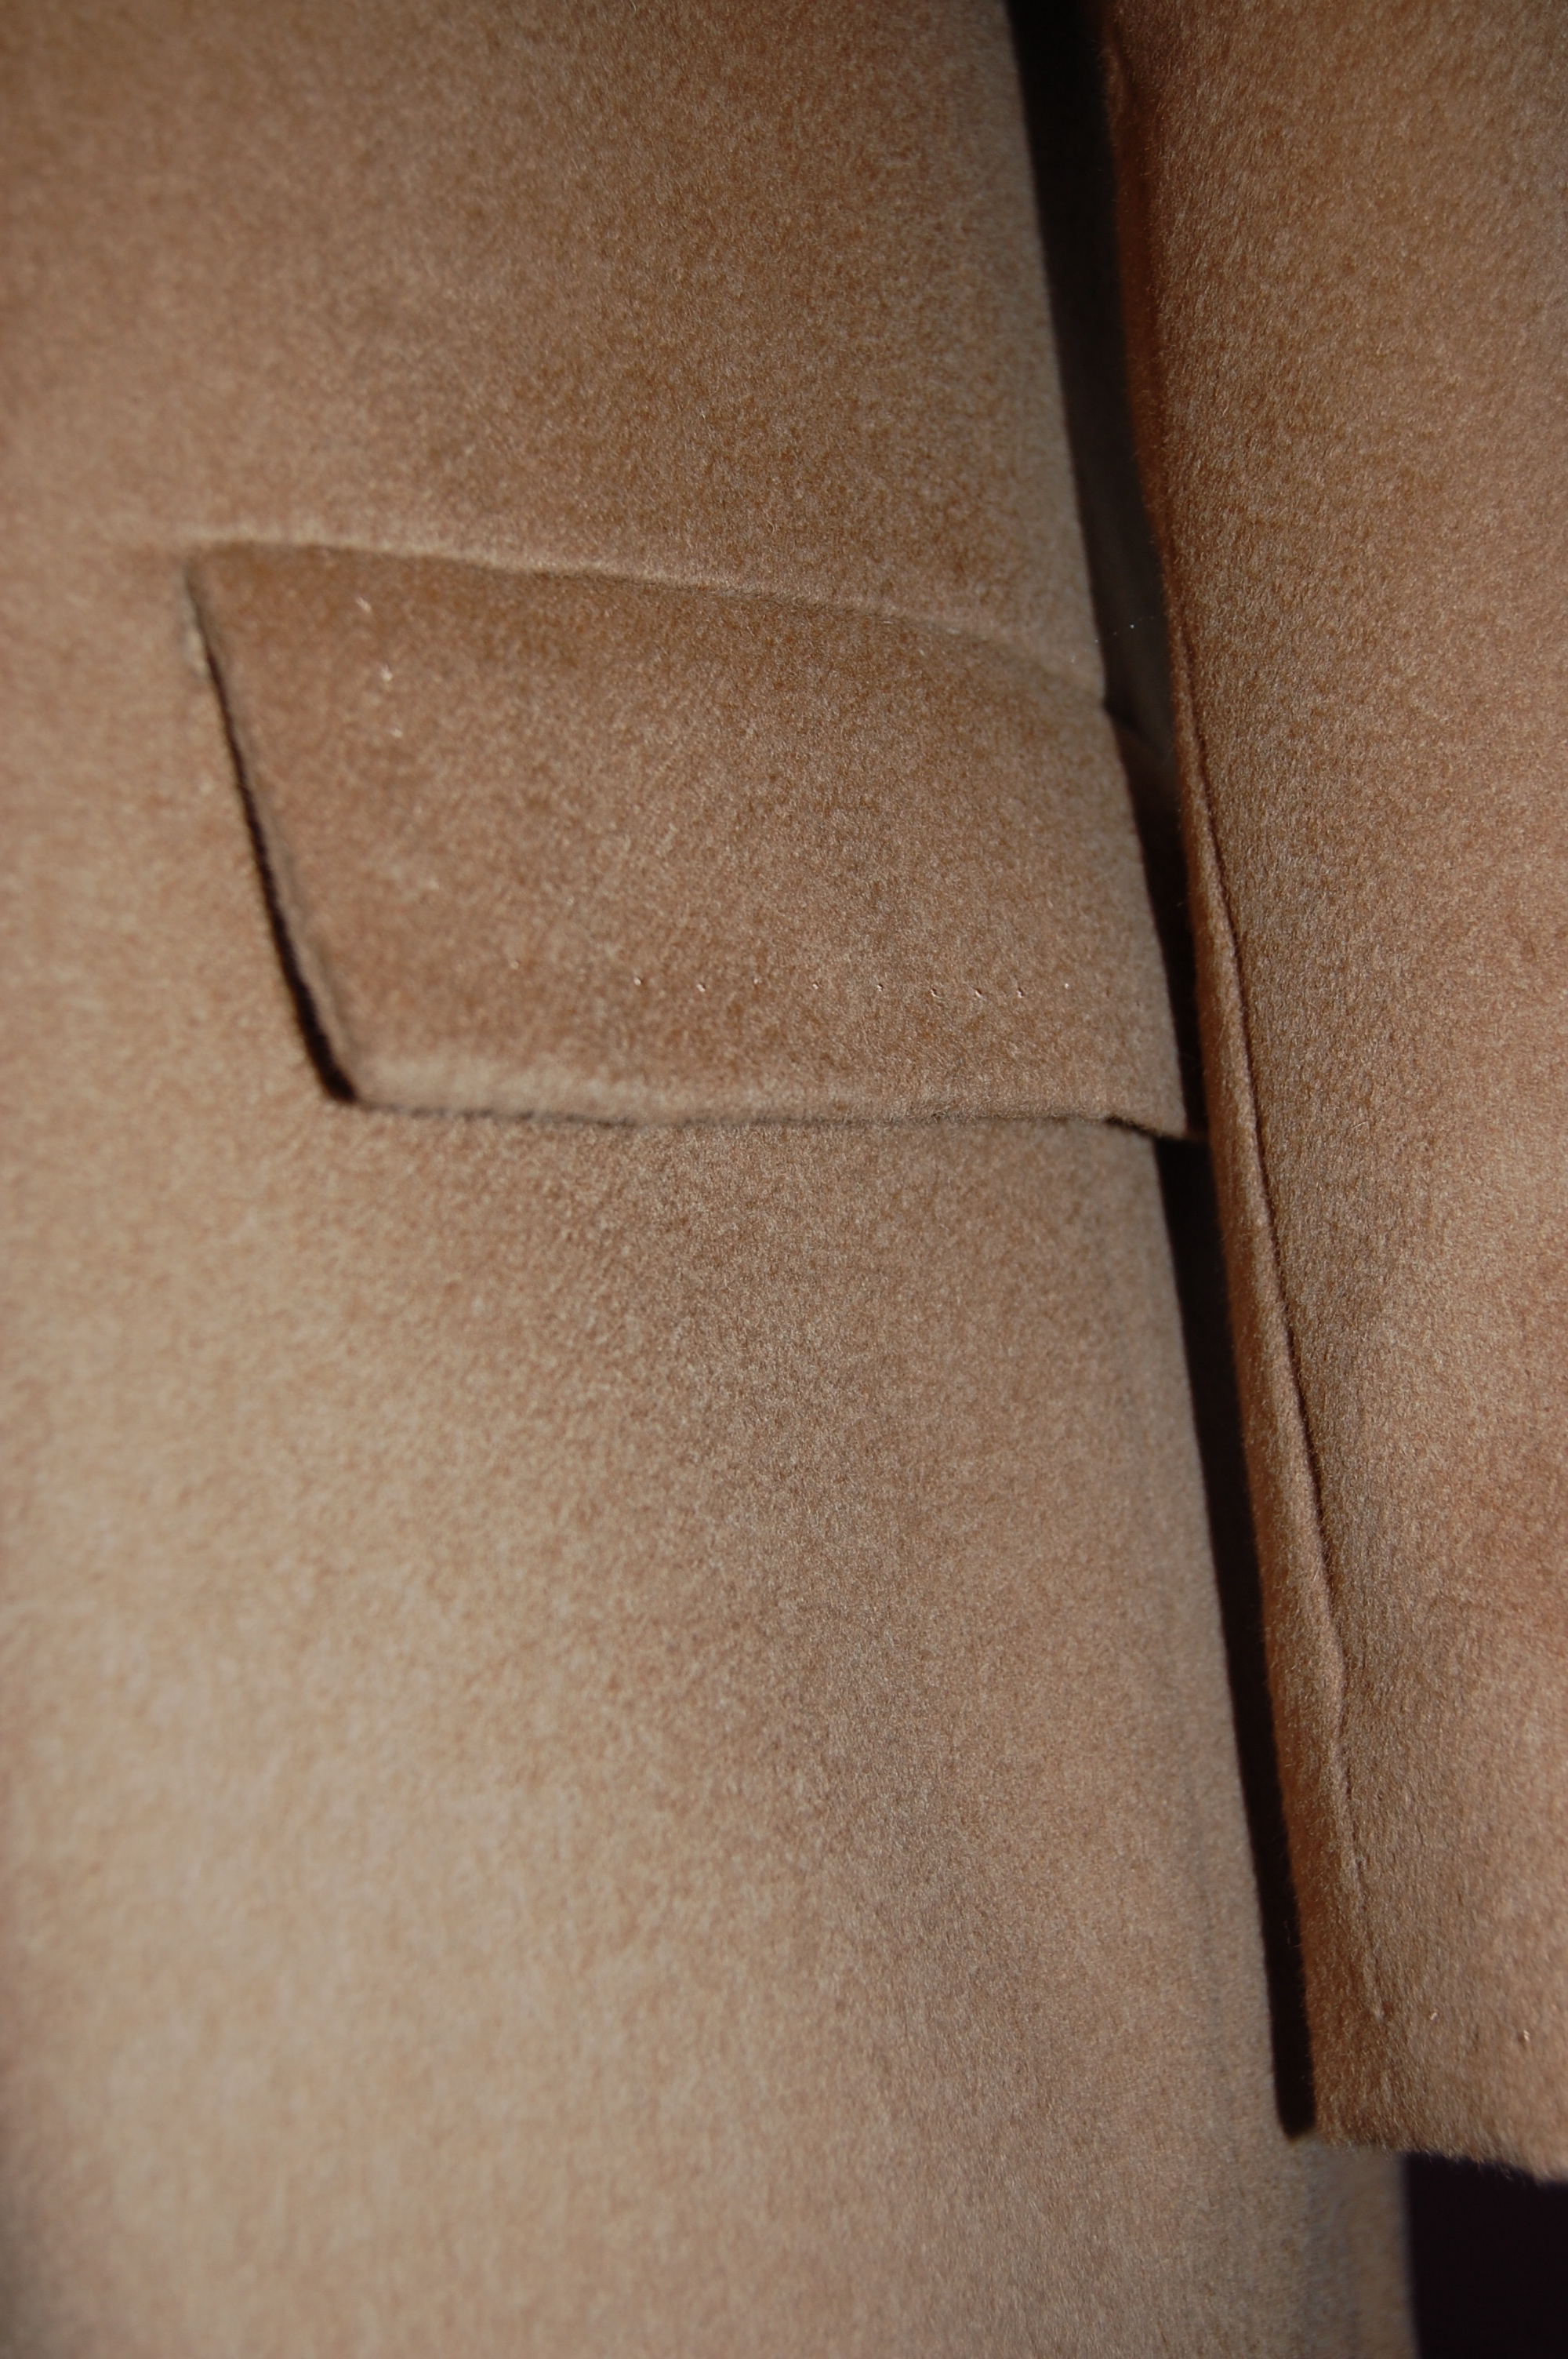
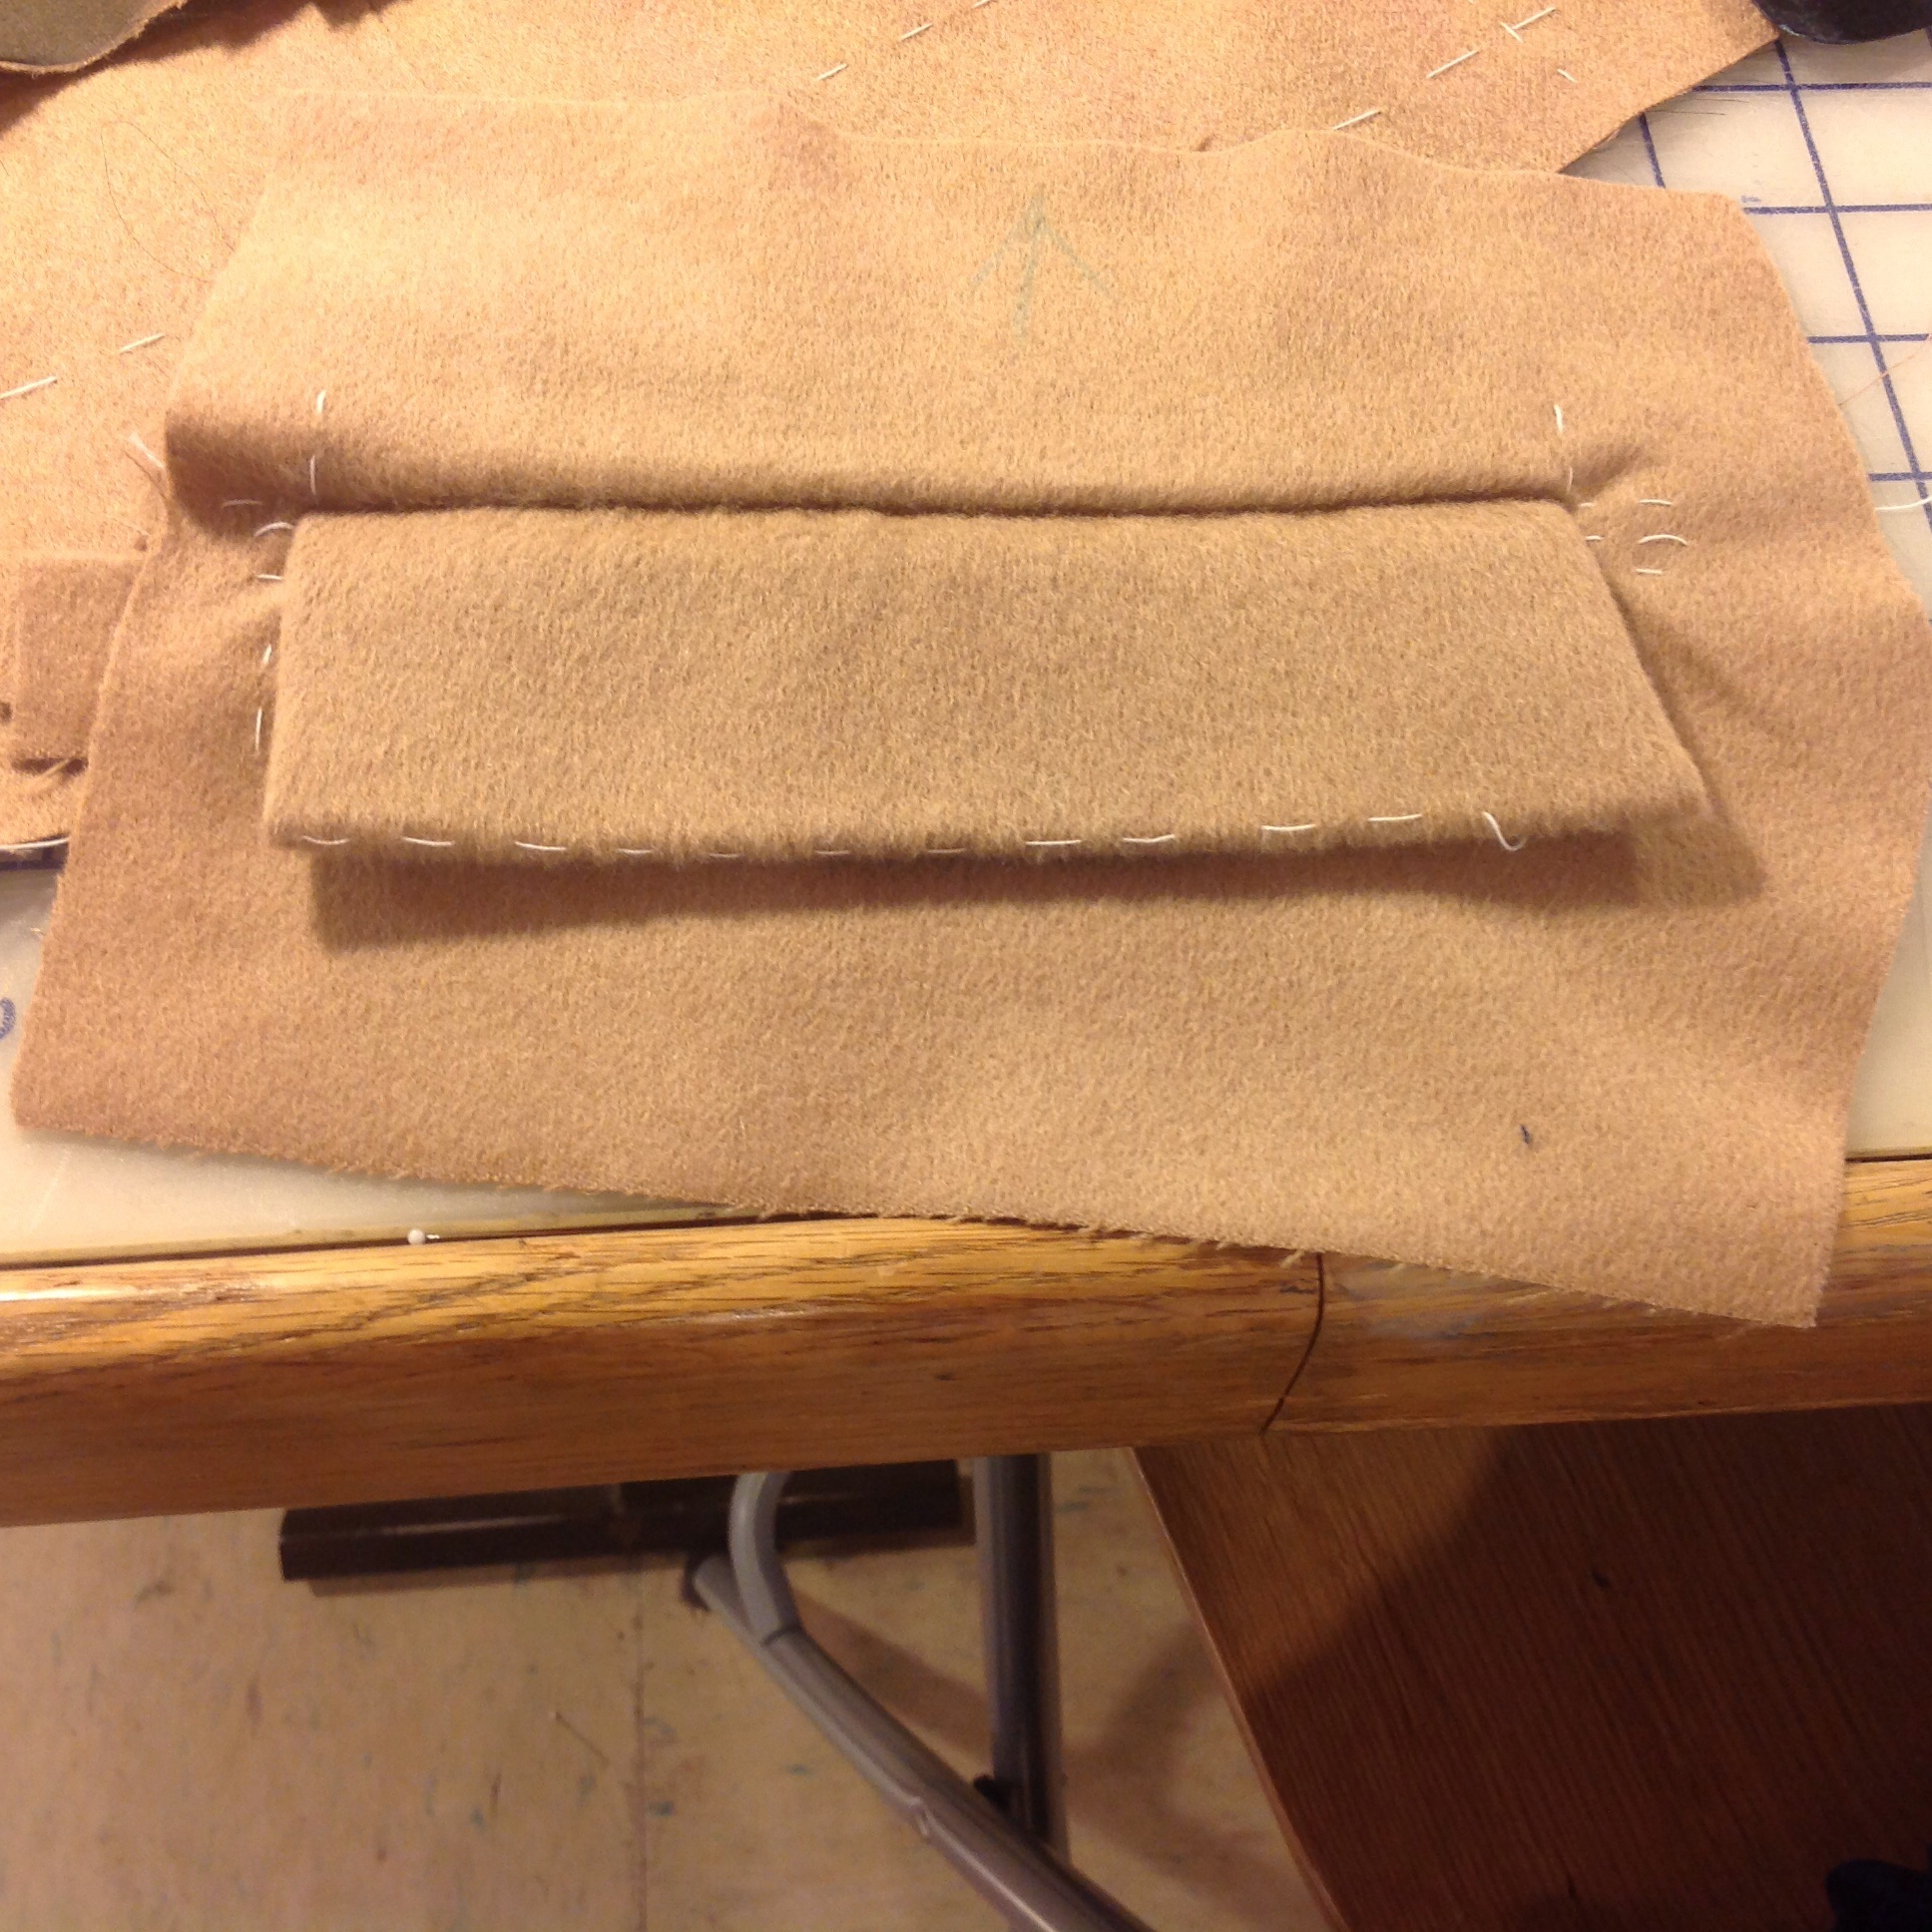
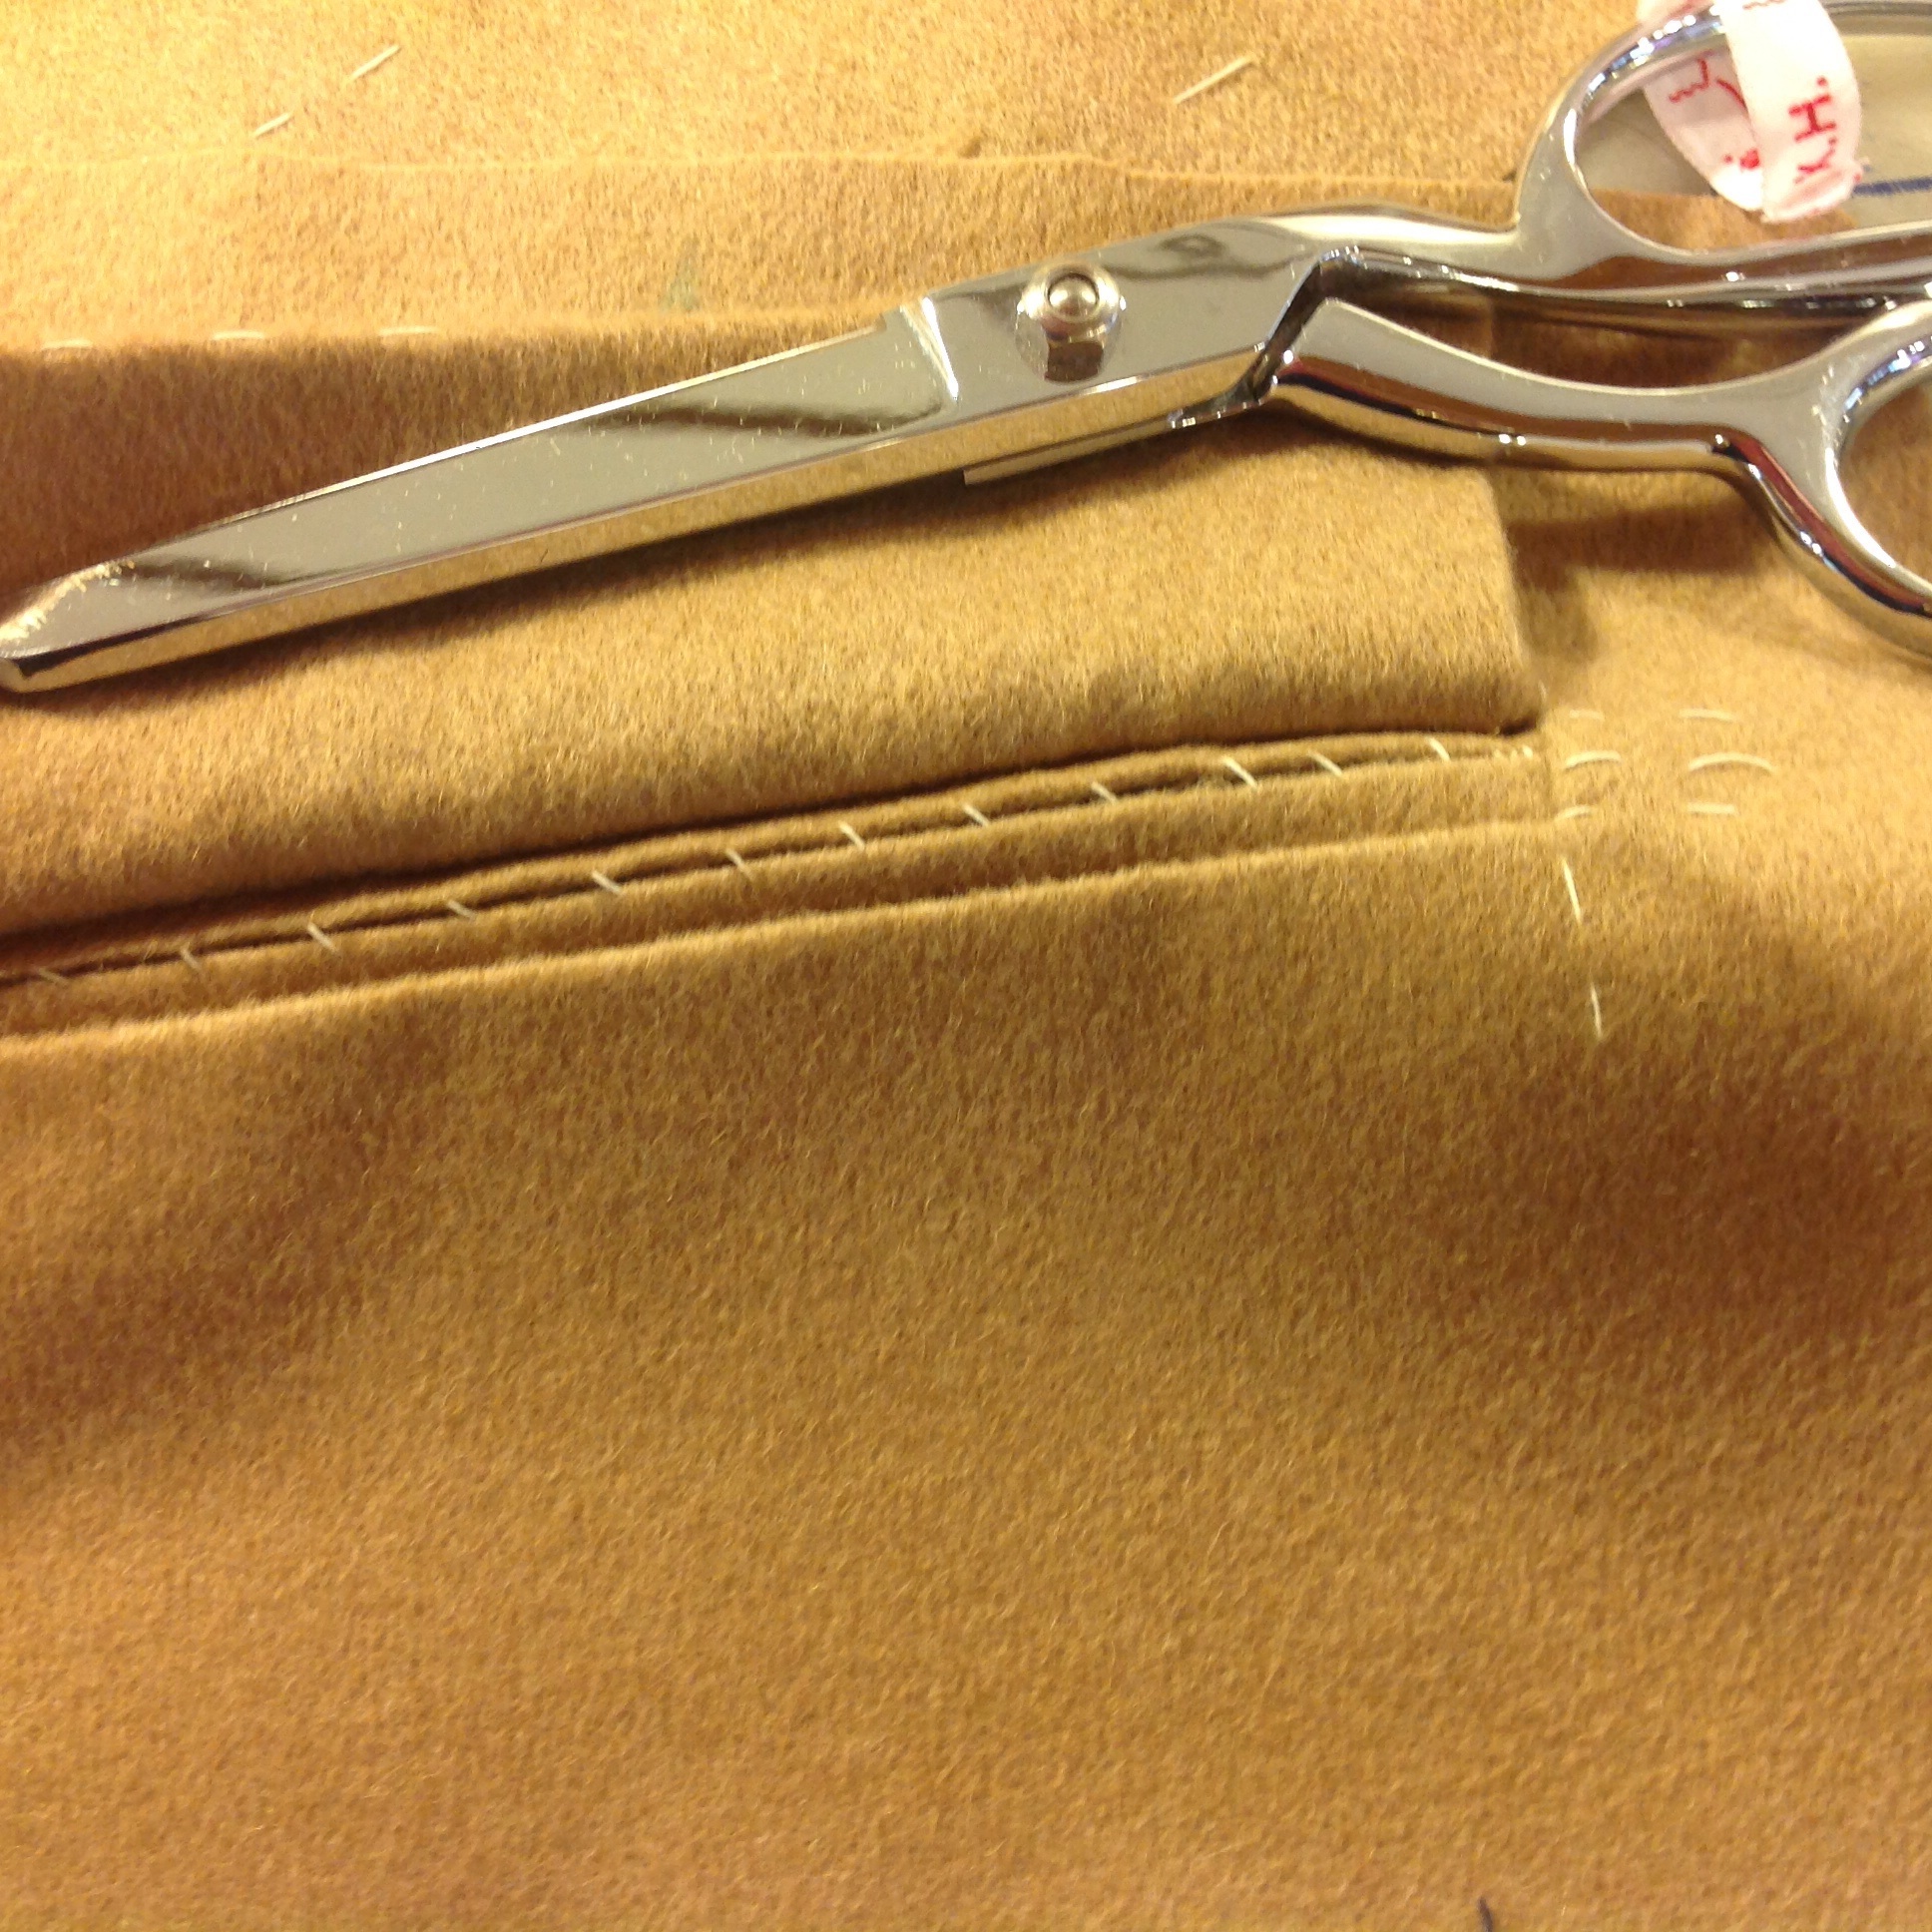
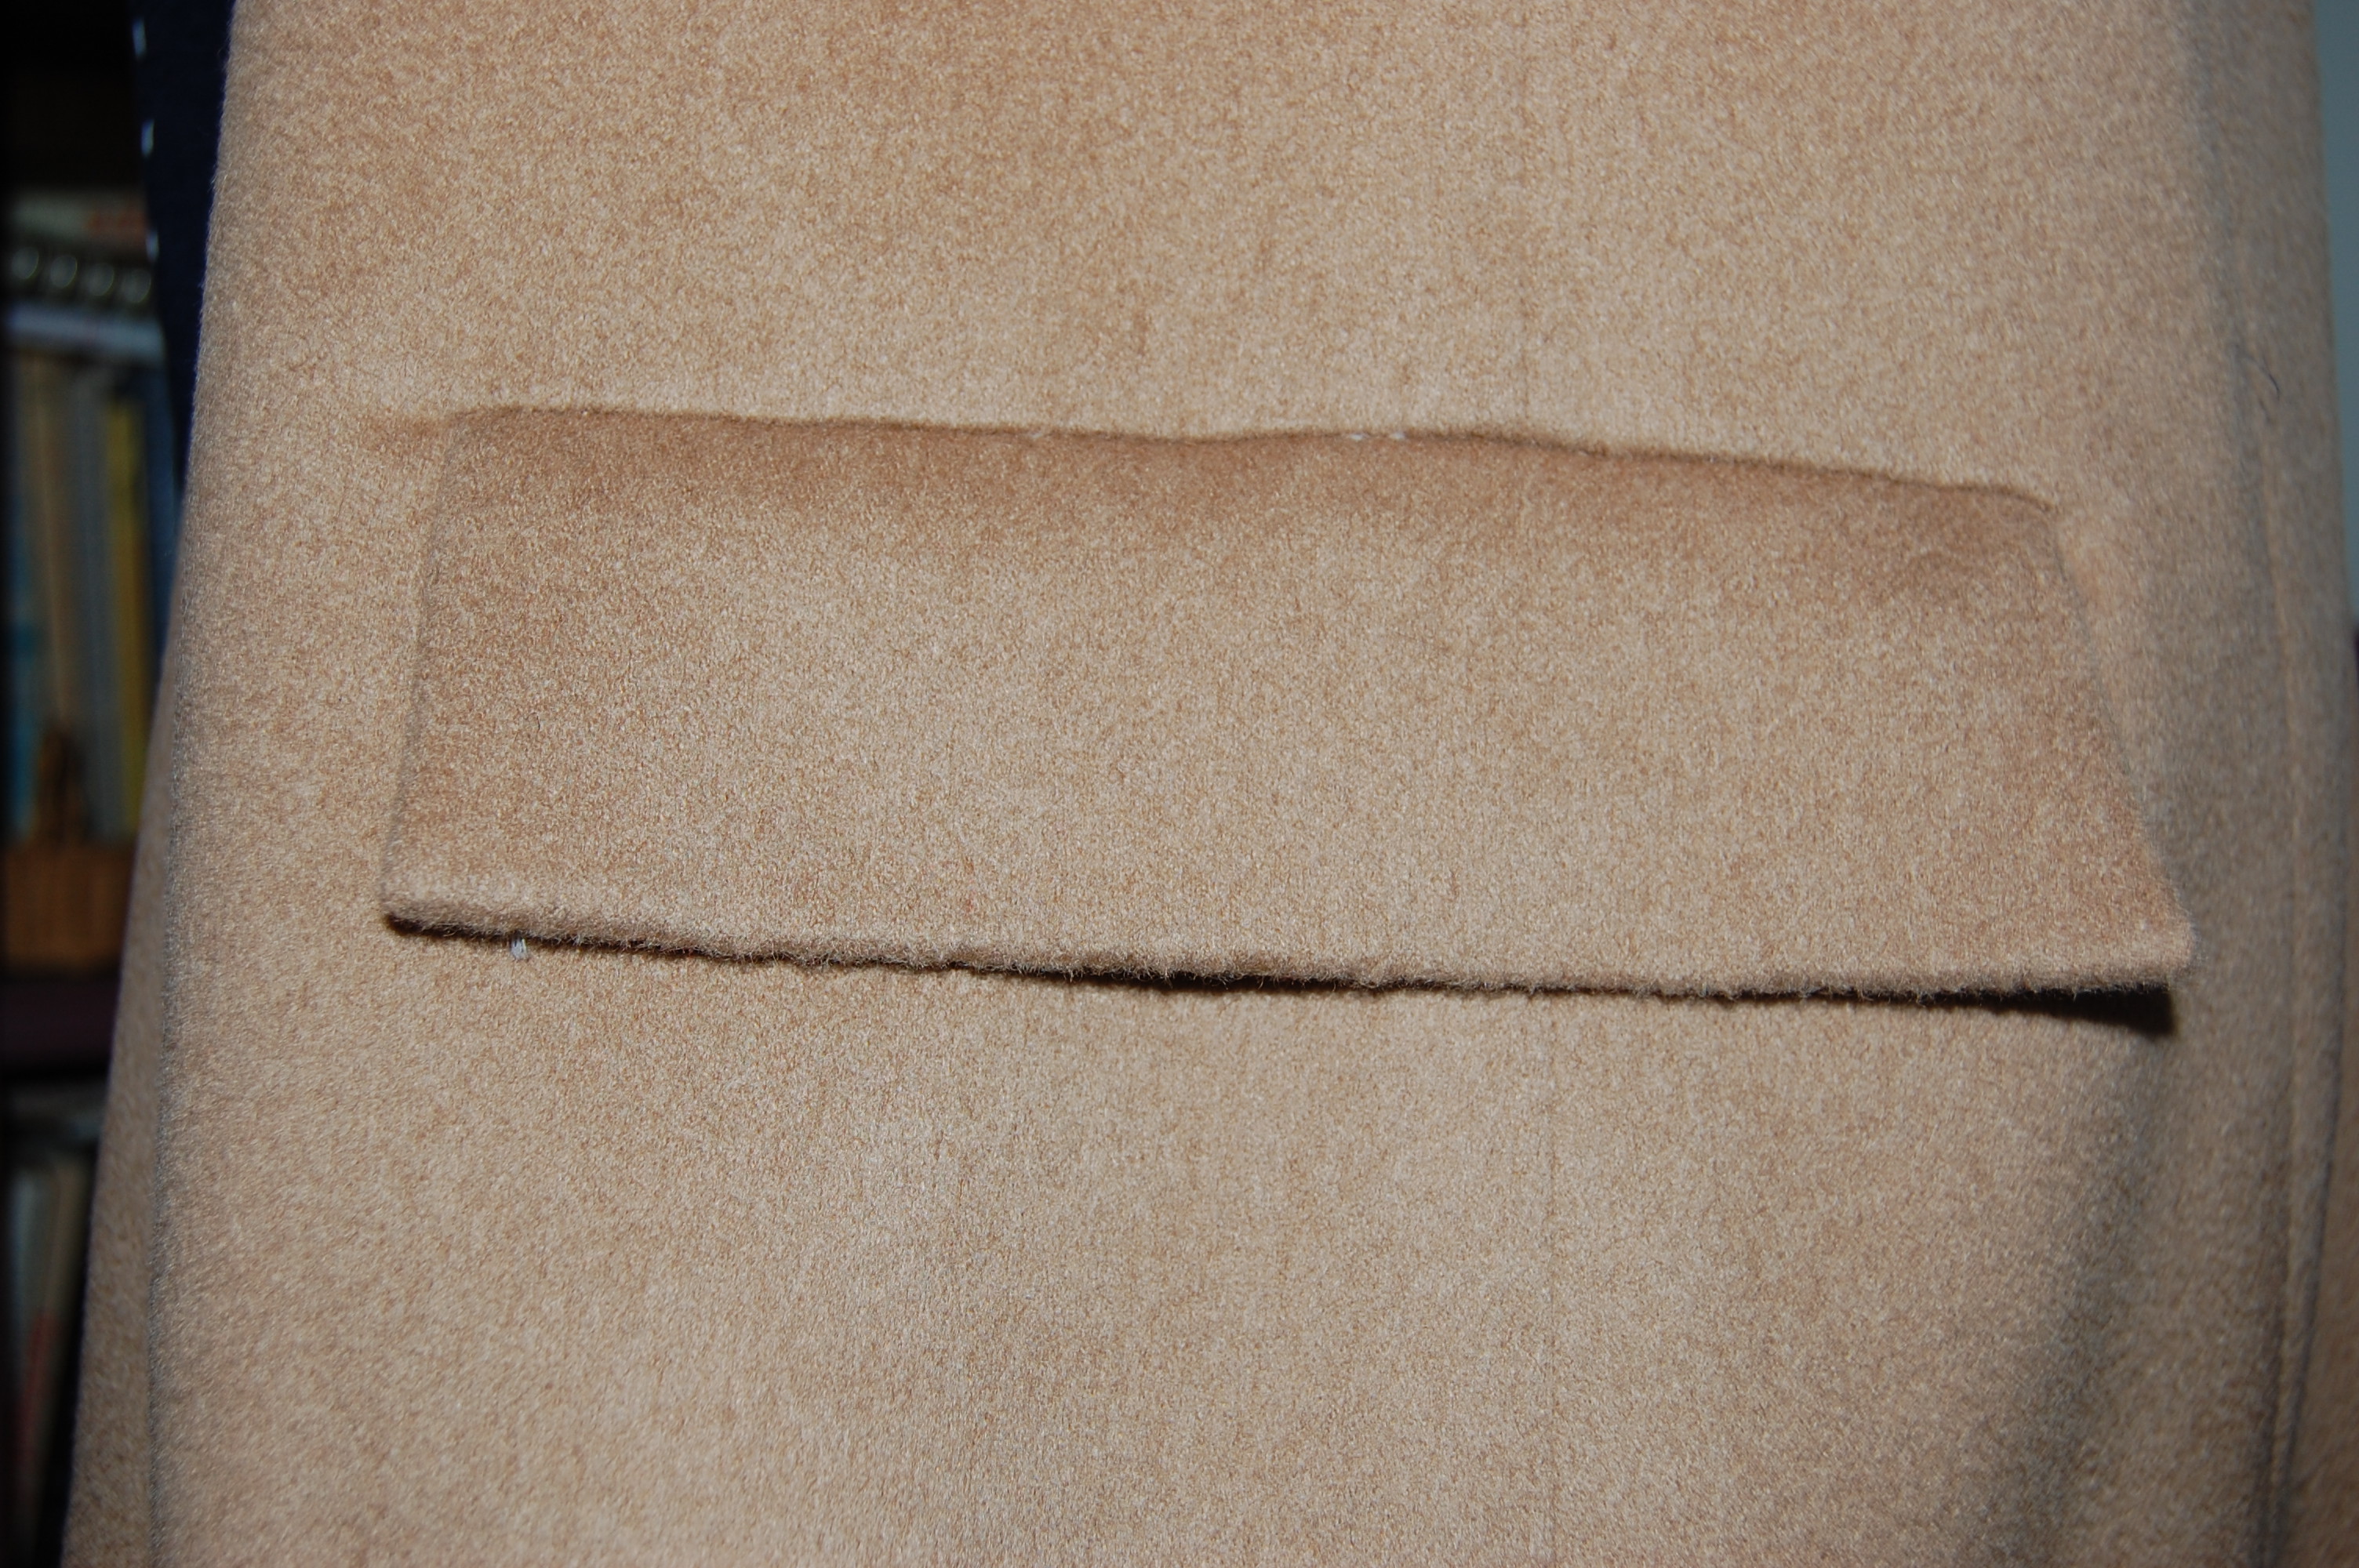
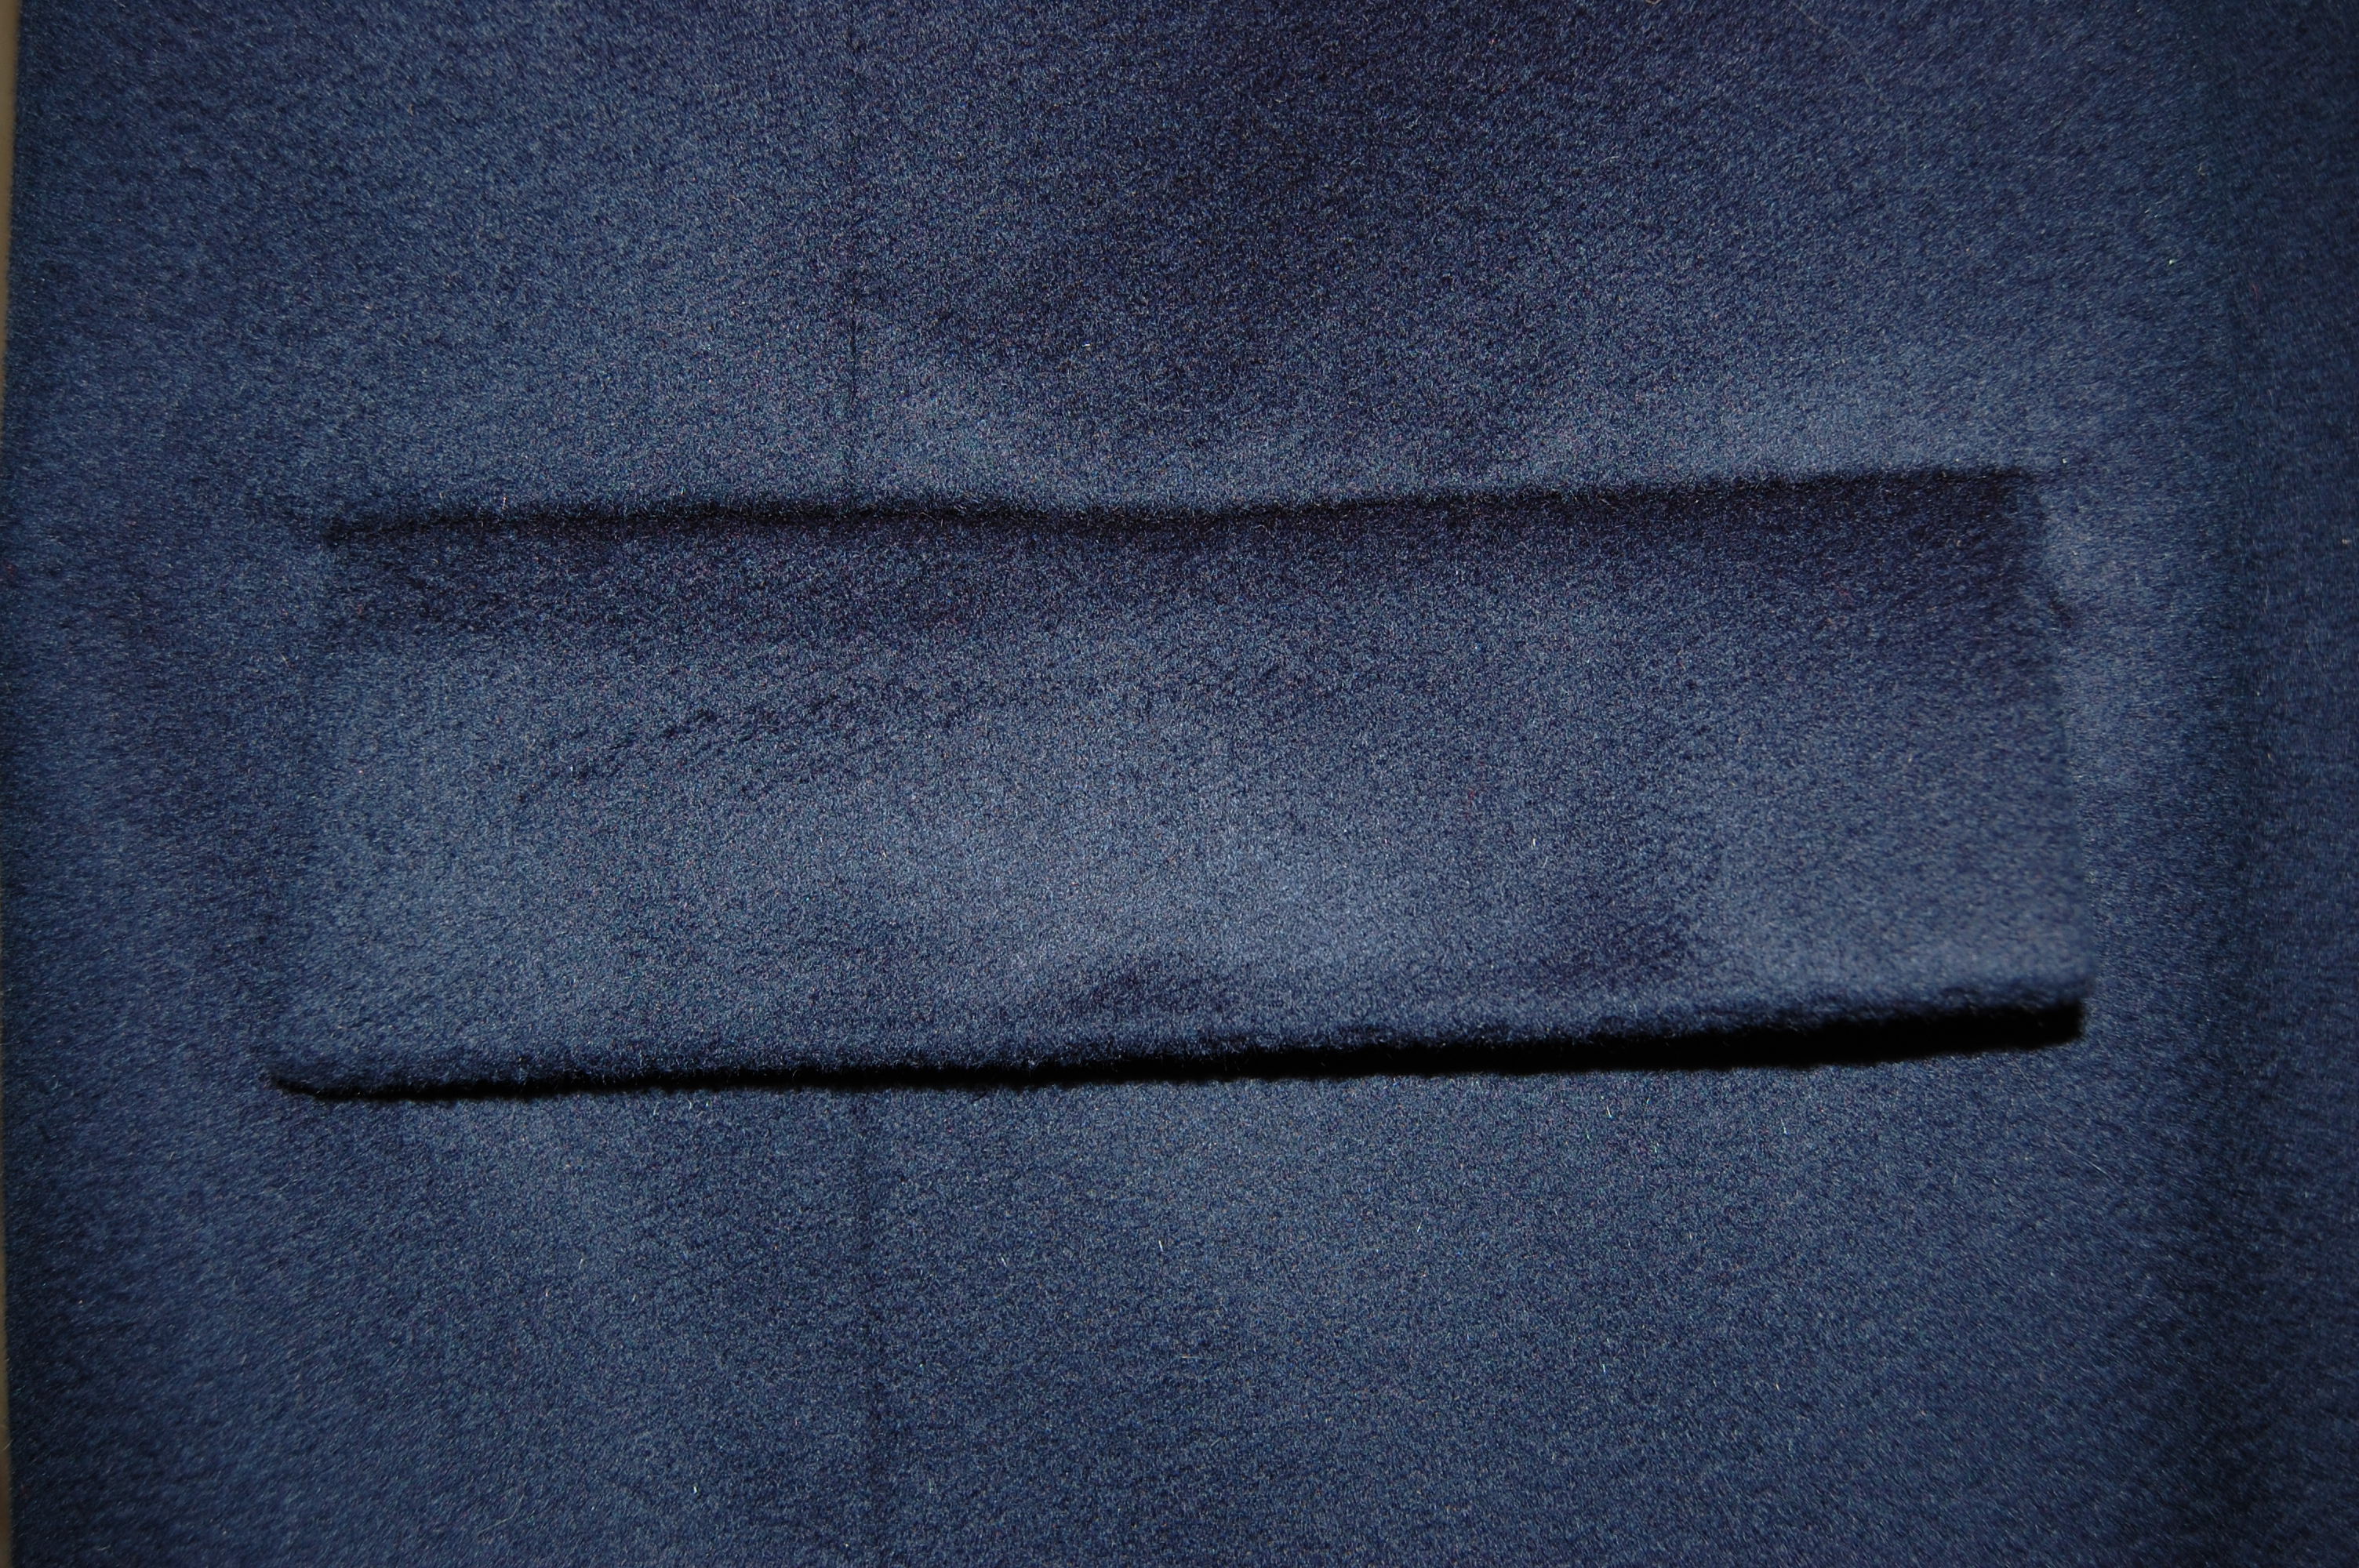
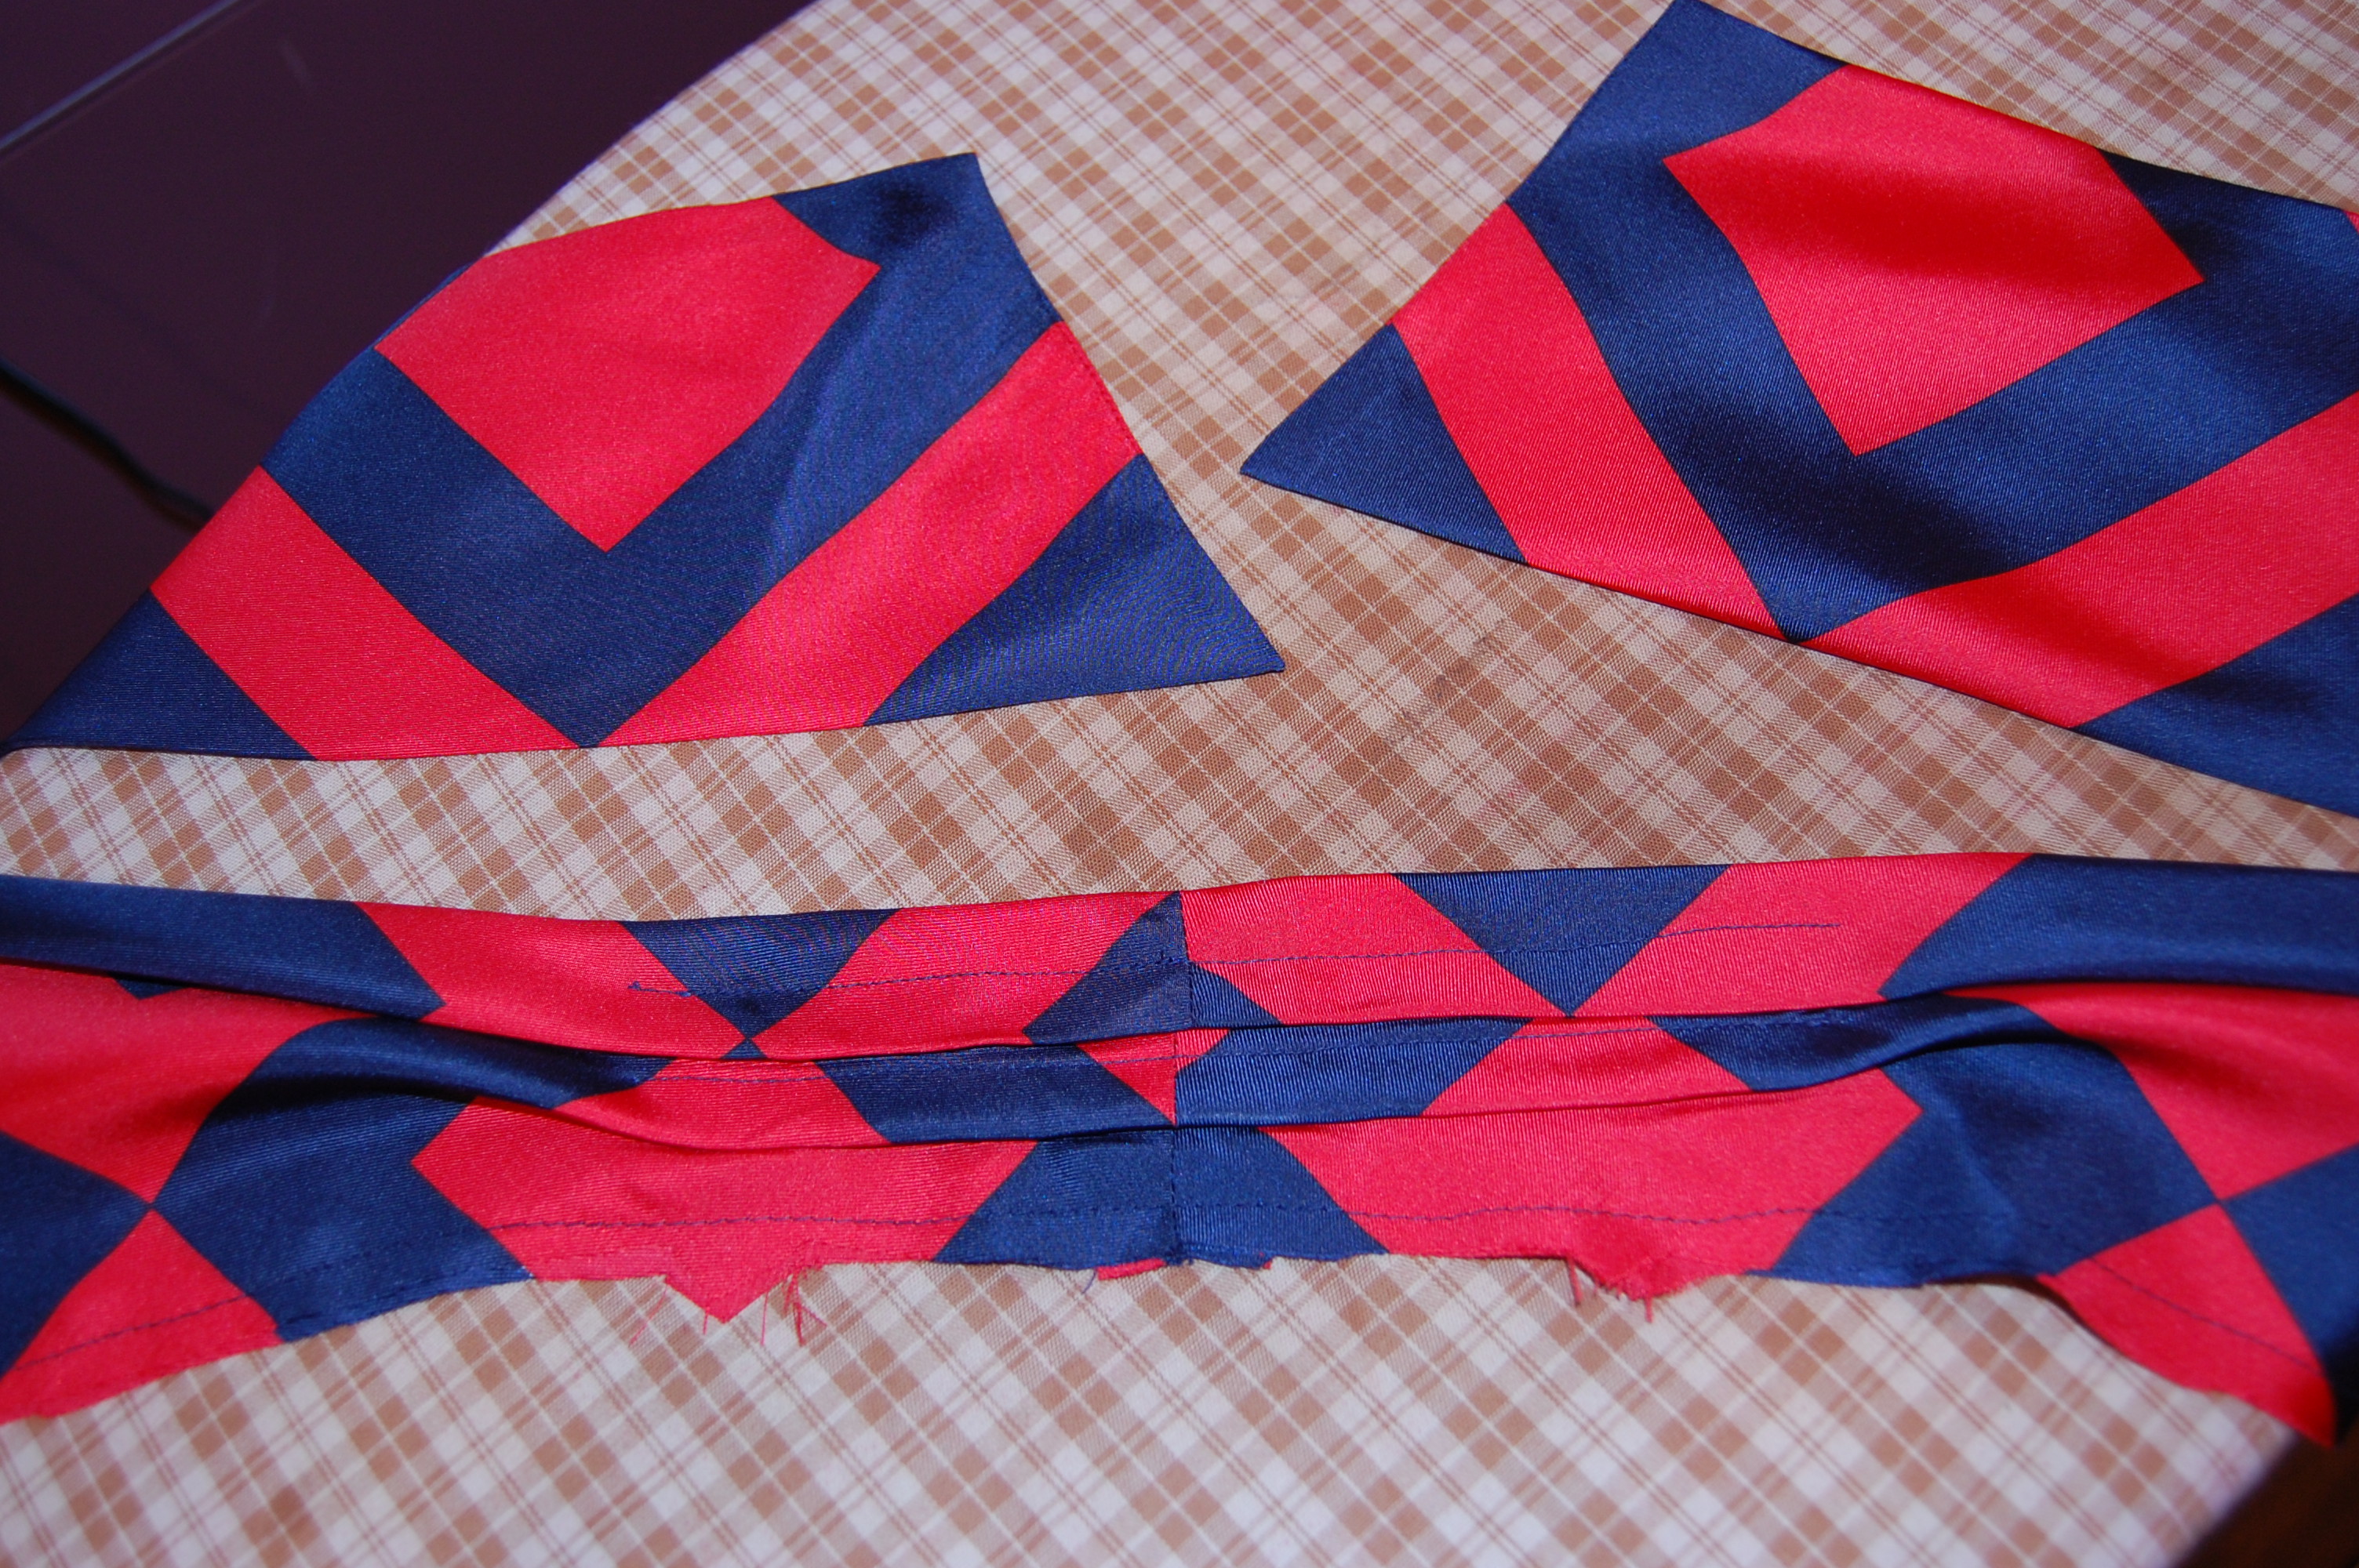
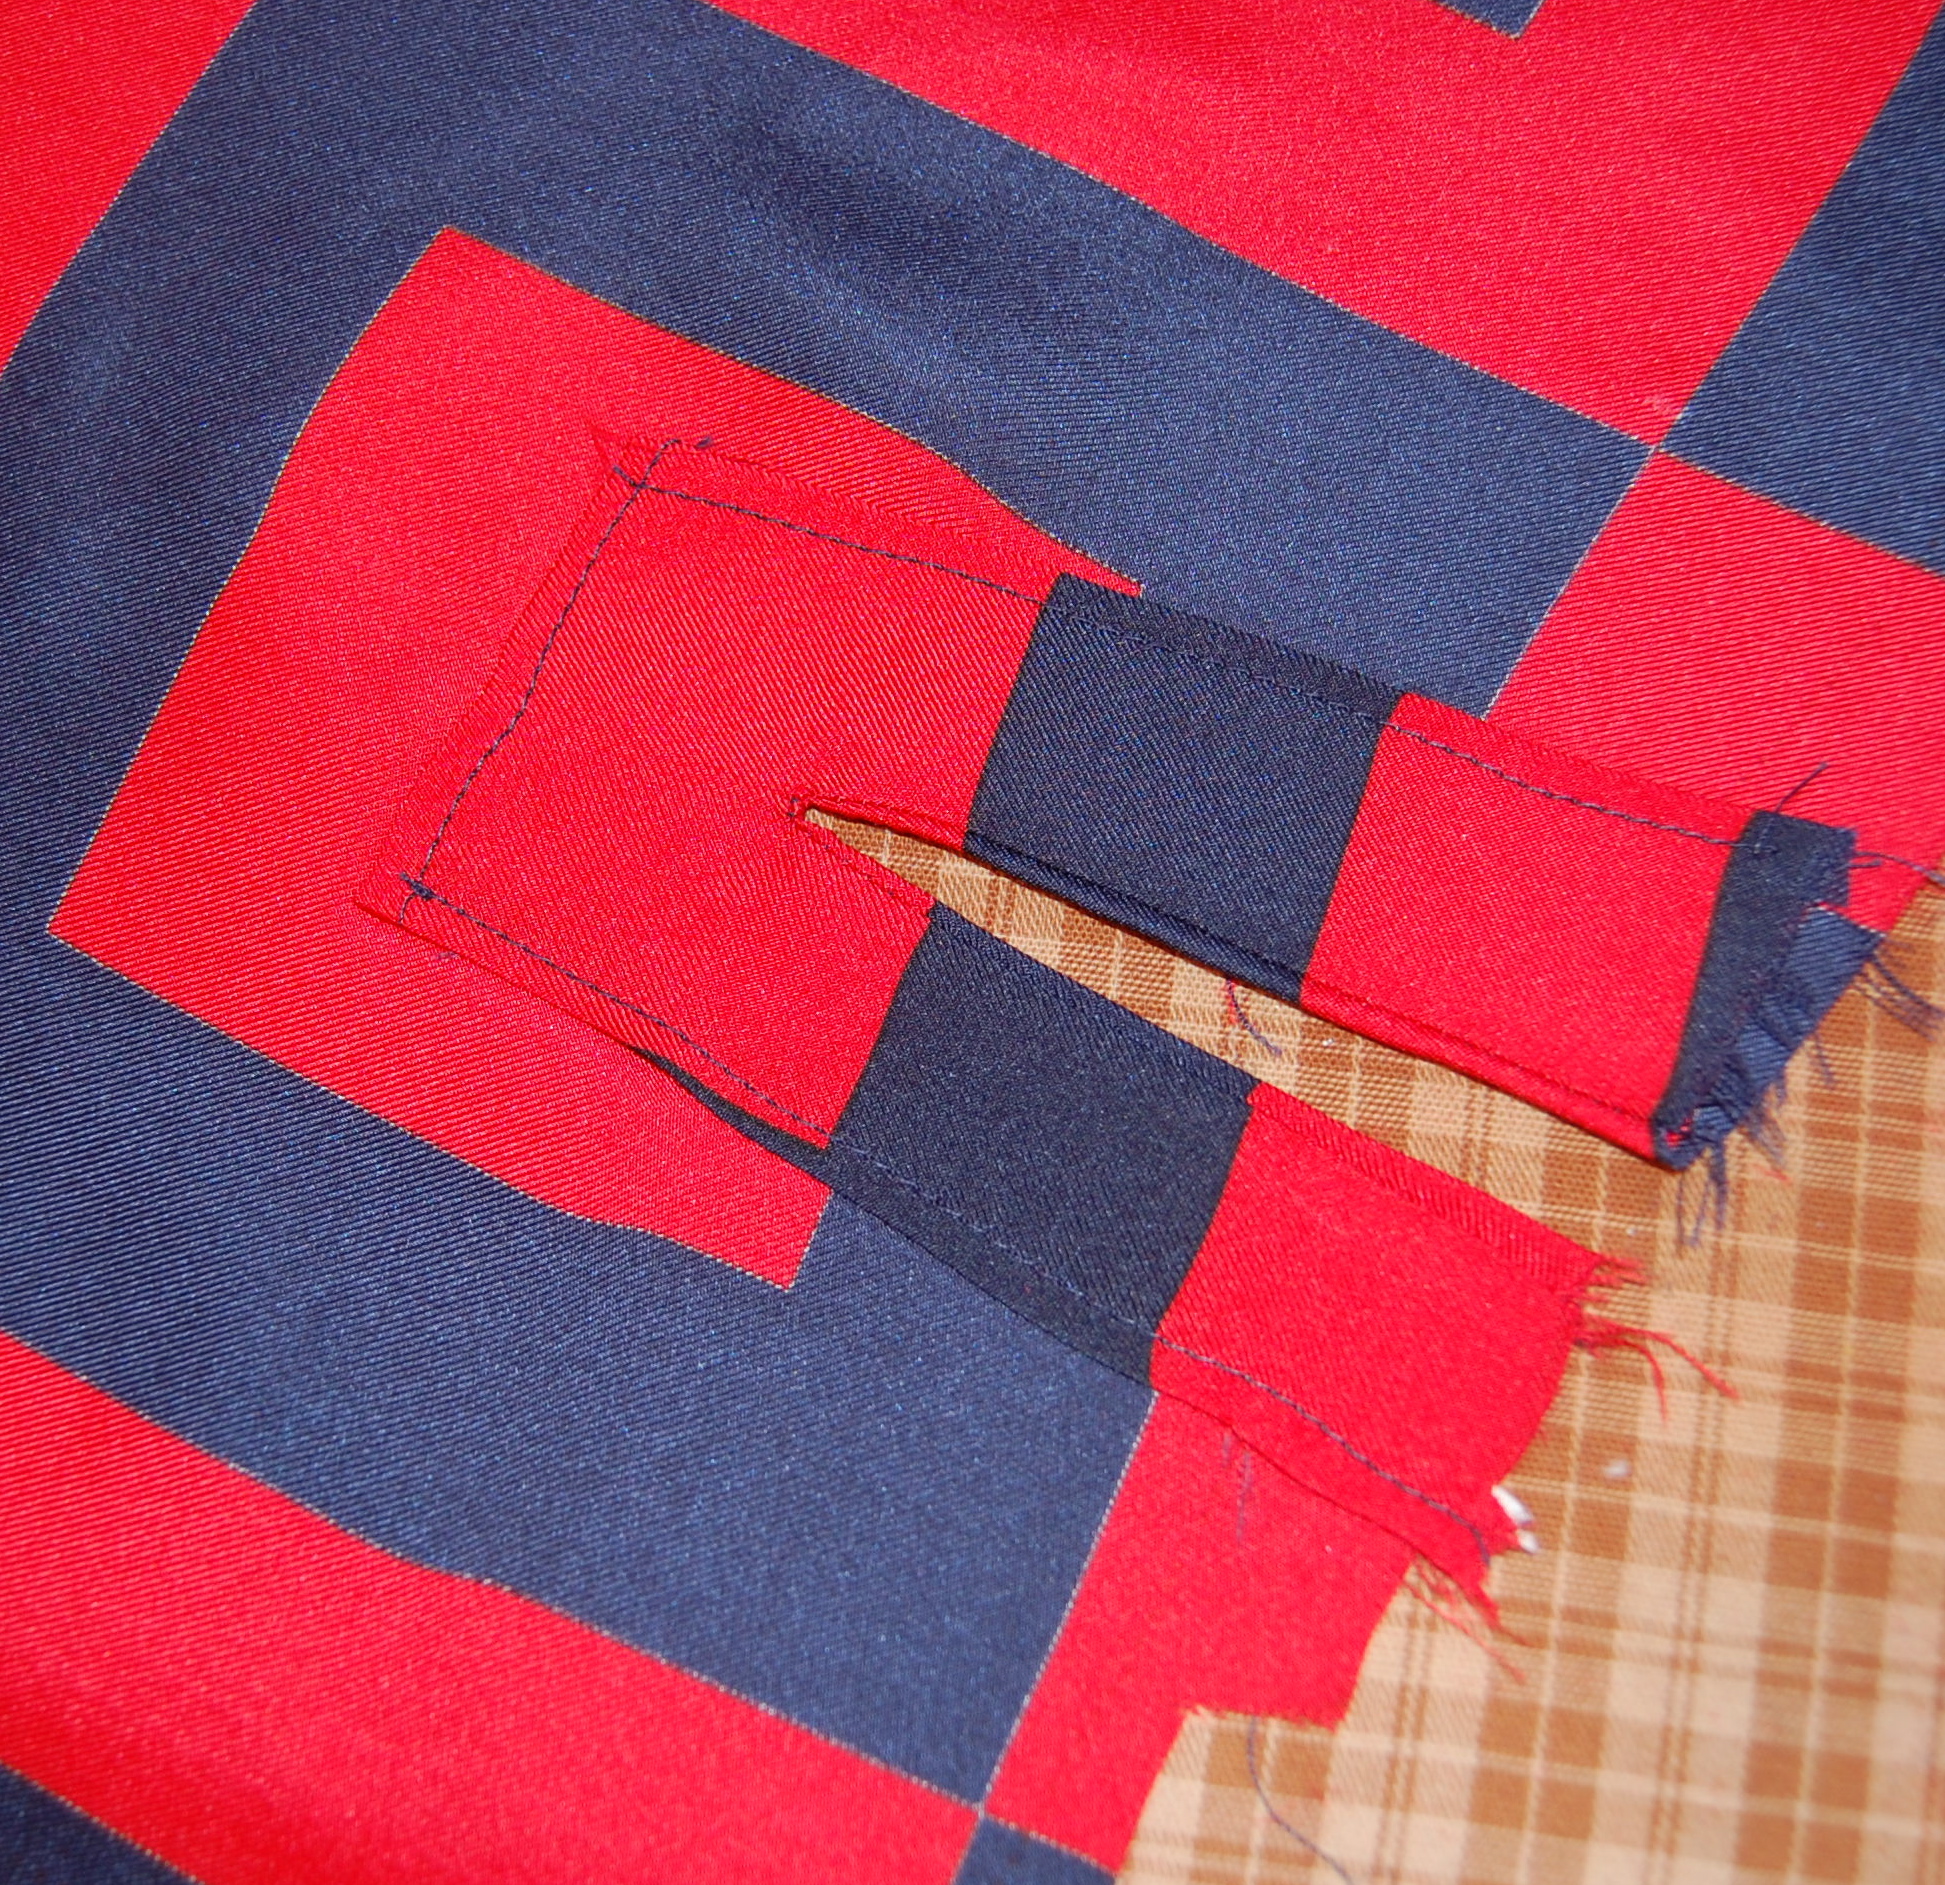
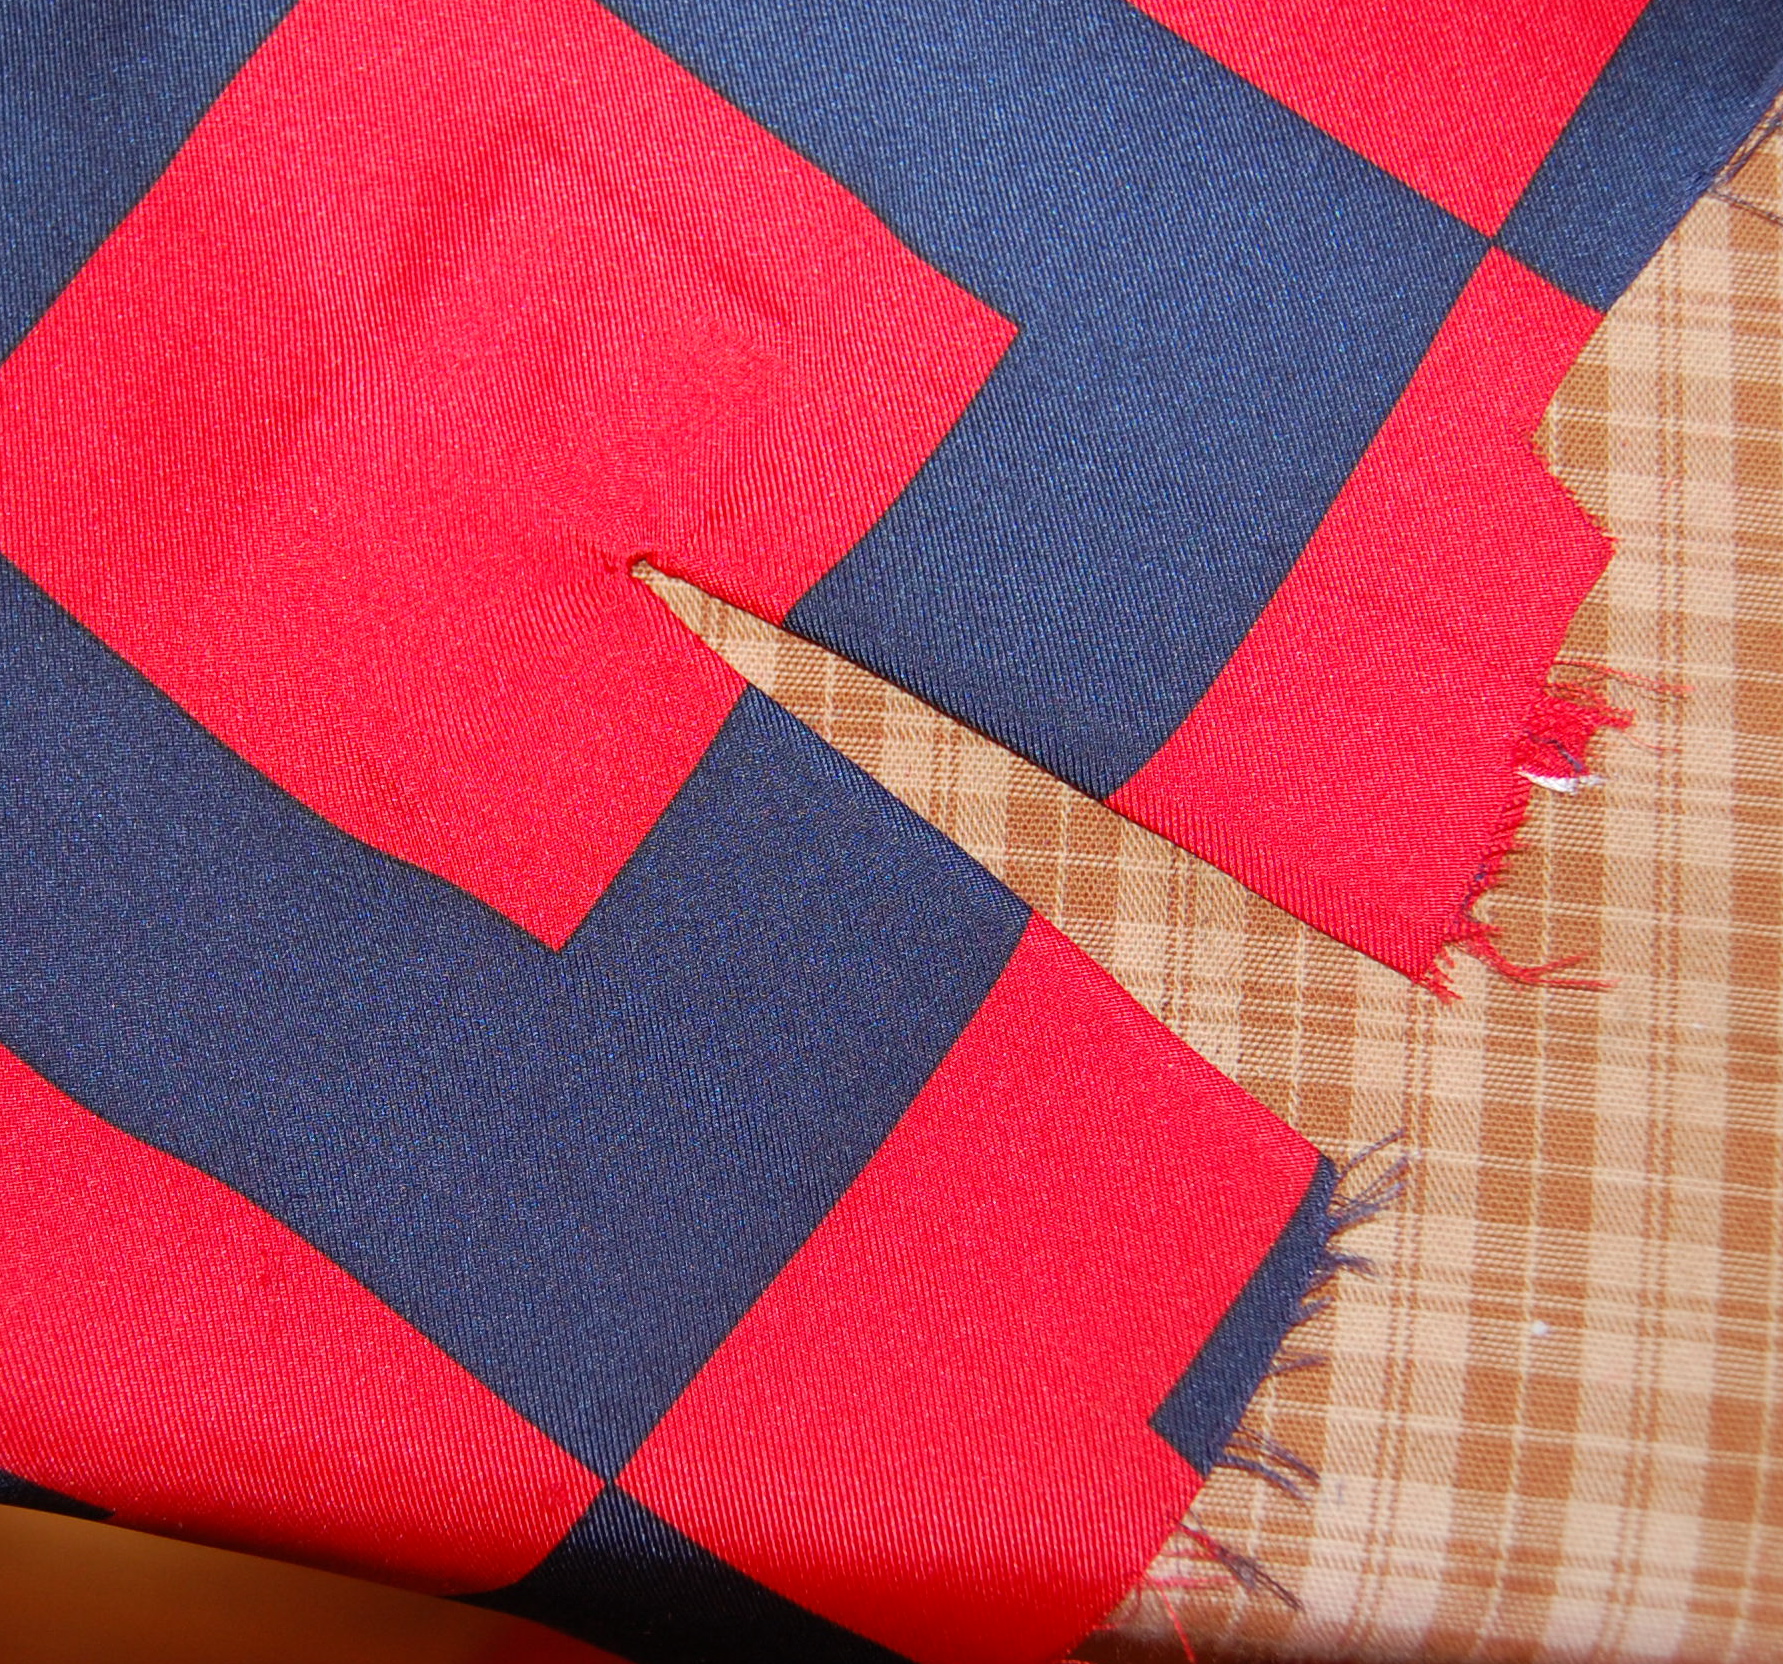
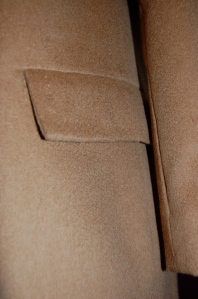
4) the flap pockets, which conceal the openings, again with minimal interruption to the clean and “simple” look.

The concealed opening, with a flash of pretty pocket lining.
I did make a few changes/alterations to the jacket, ensuring a better fit for me in 2014.
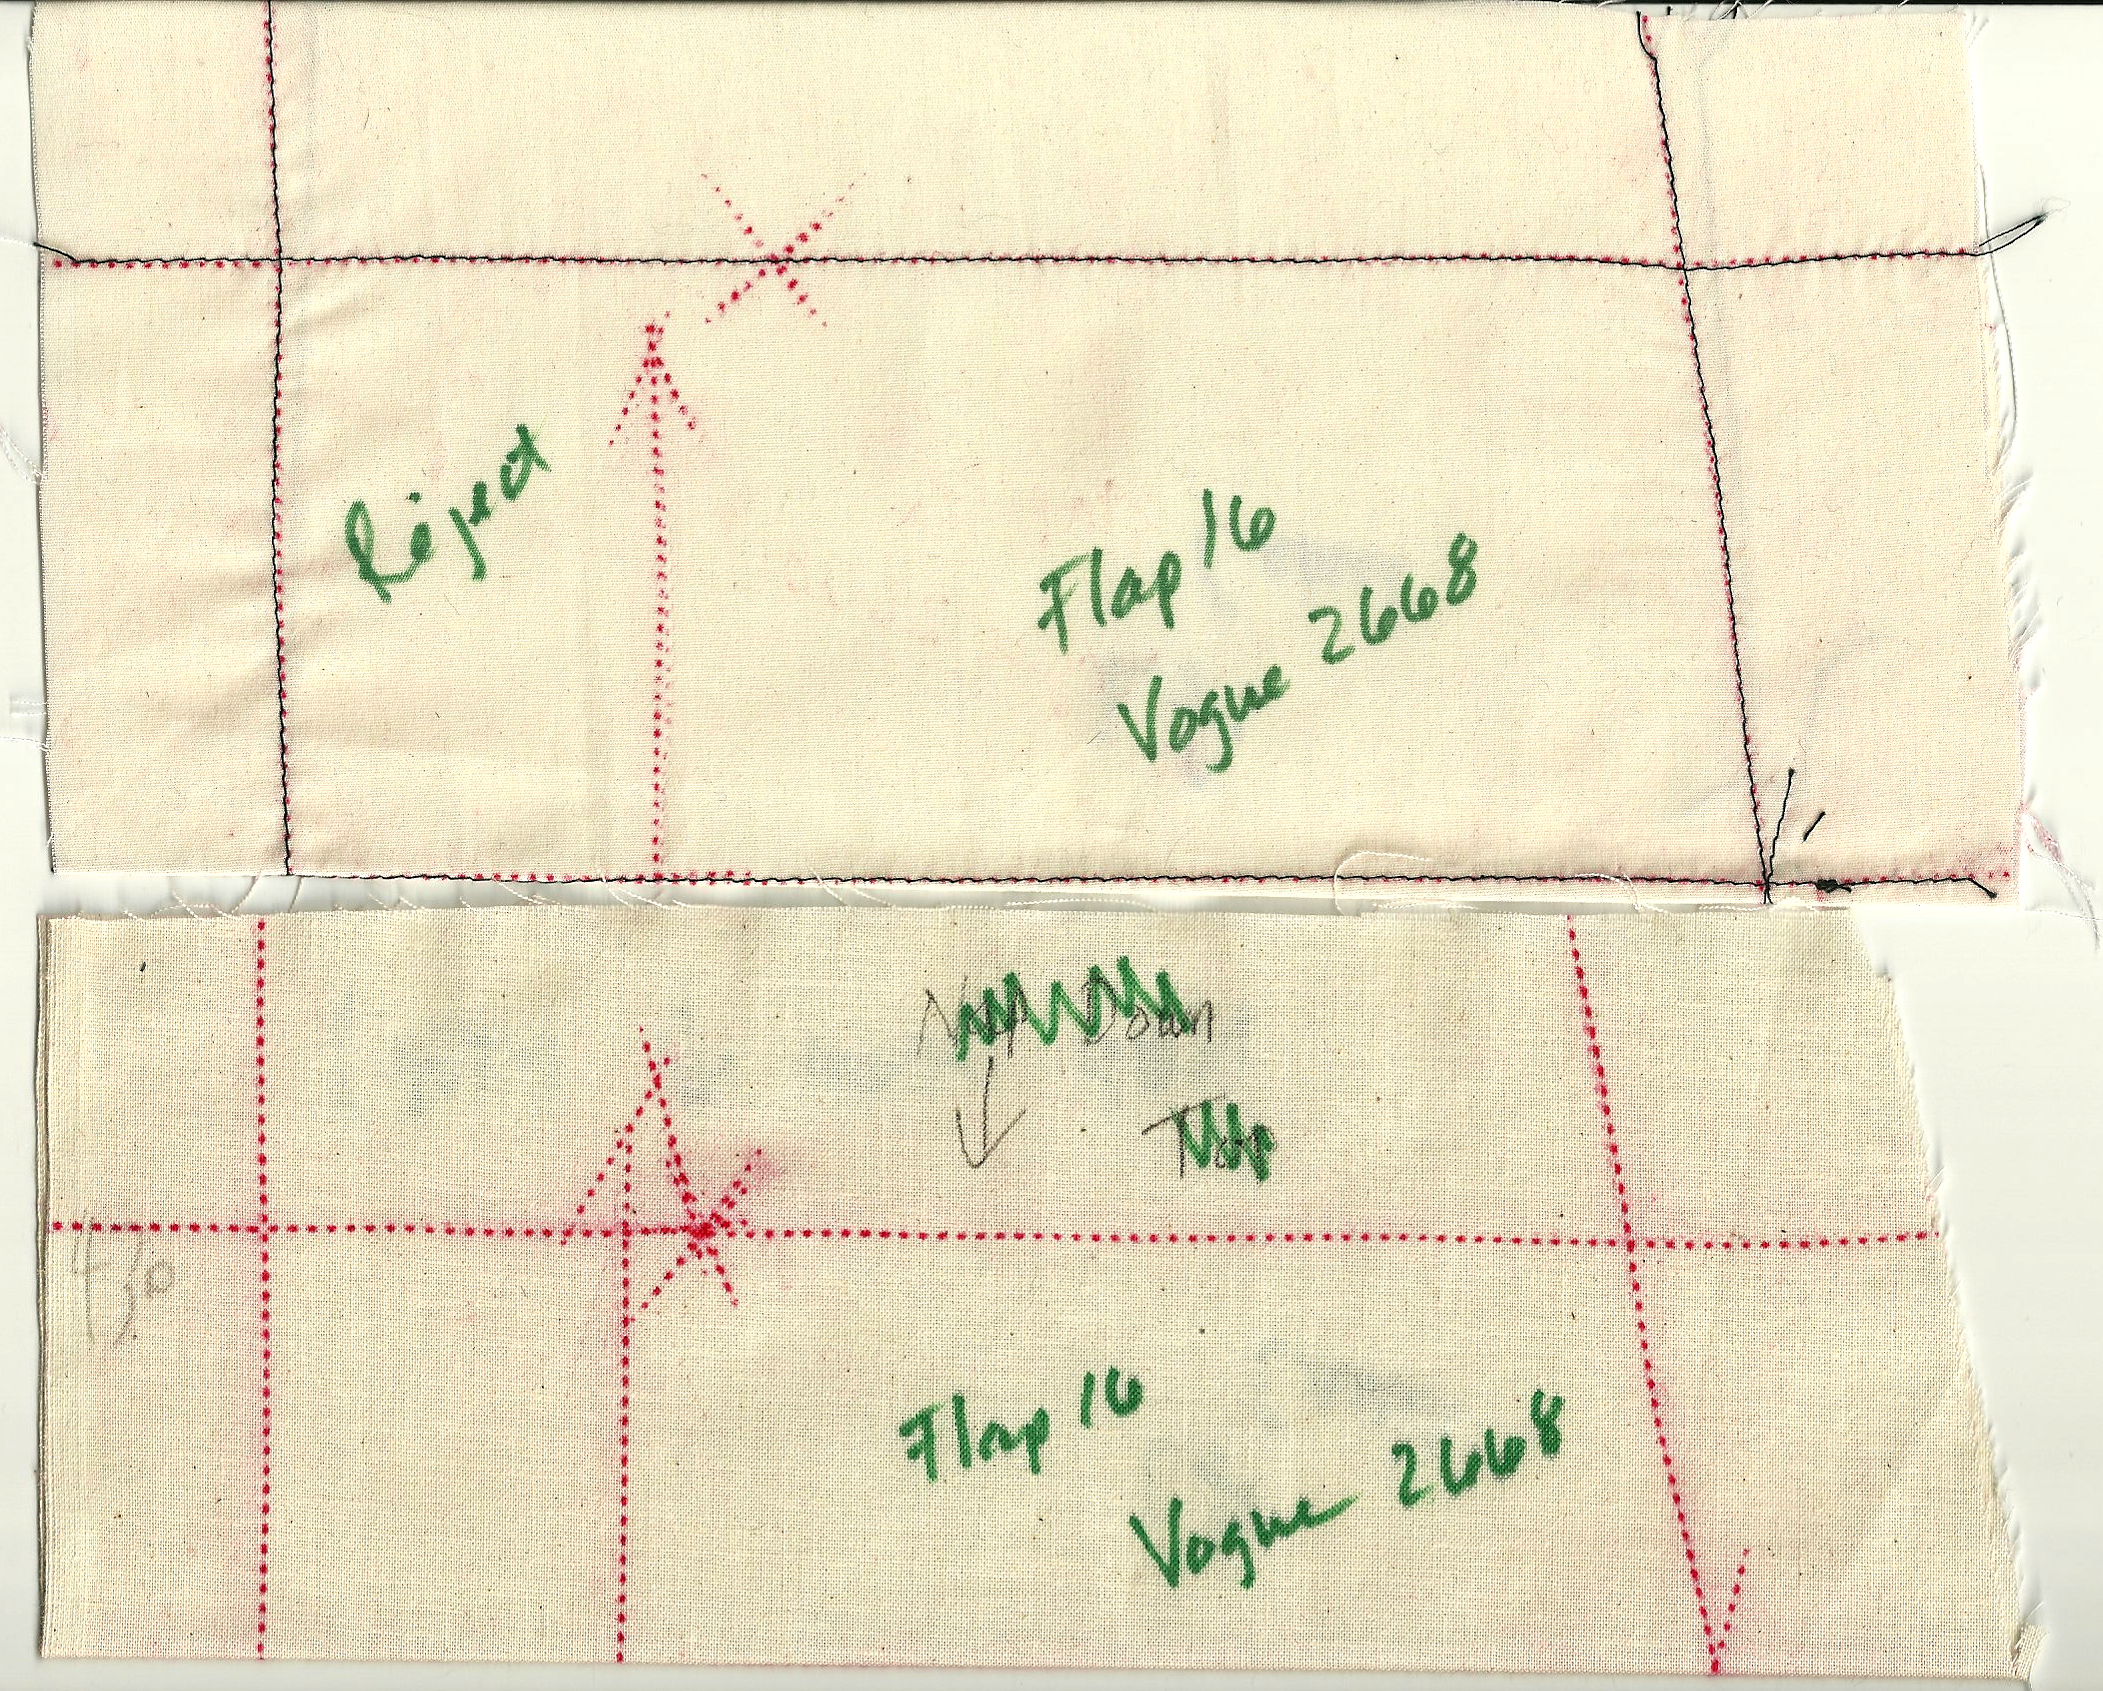
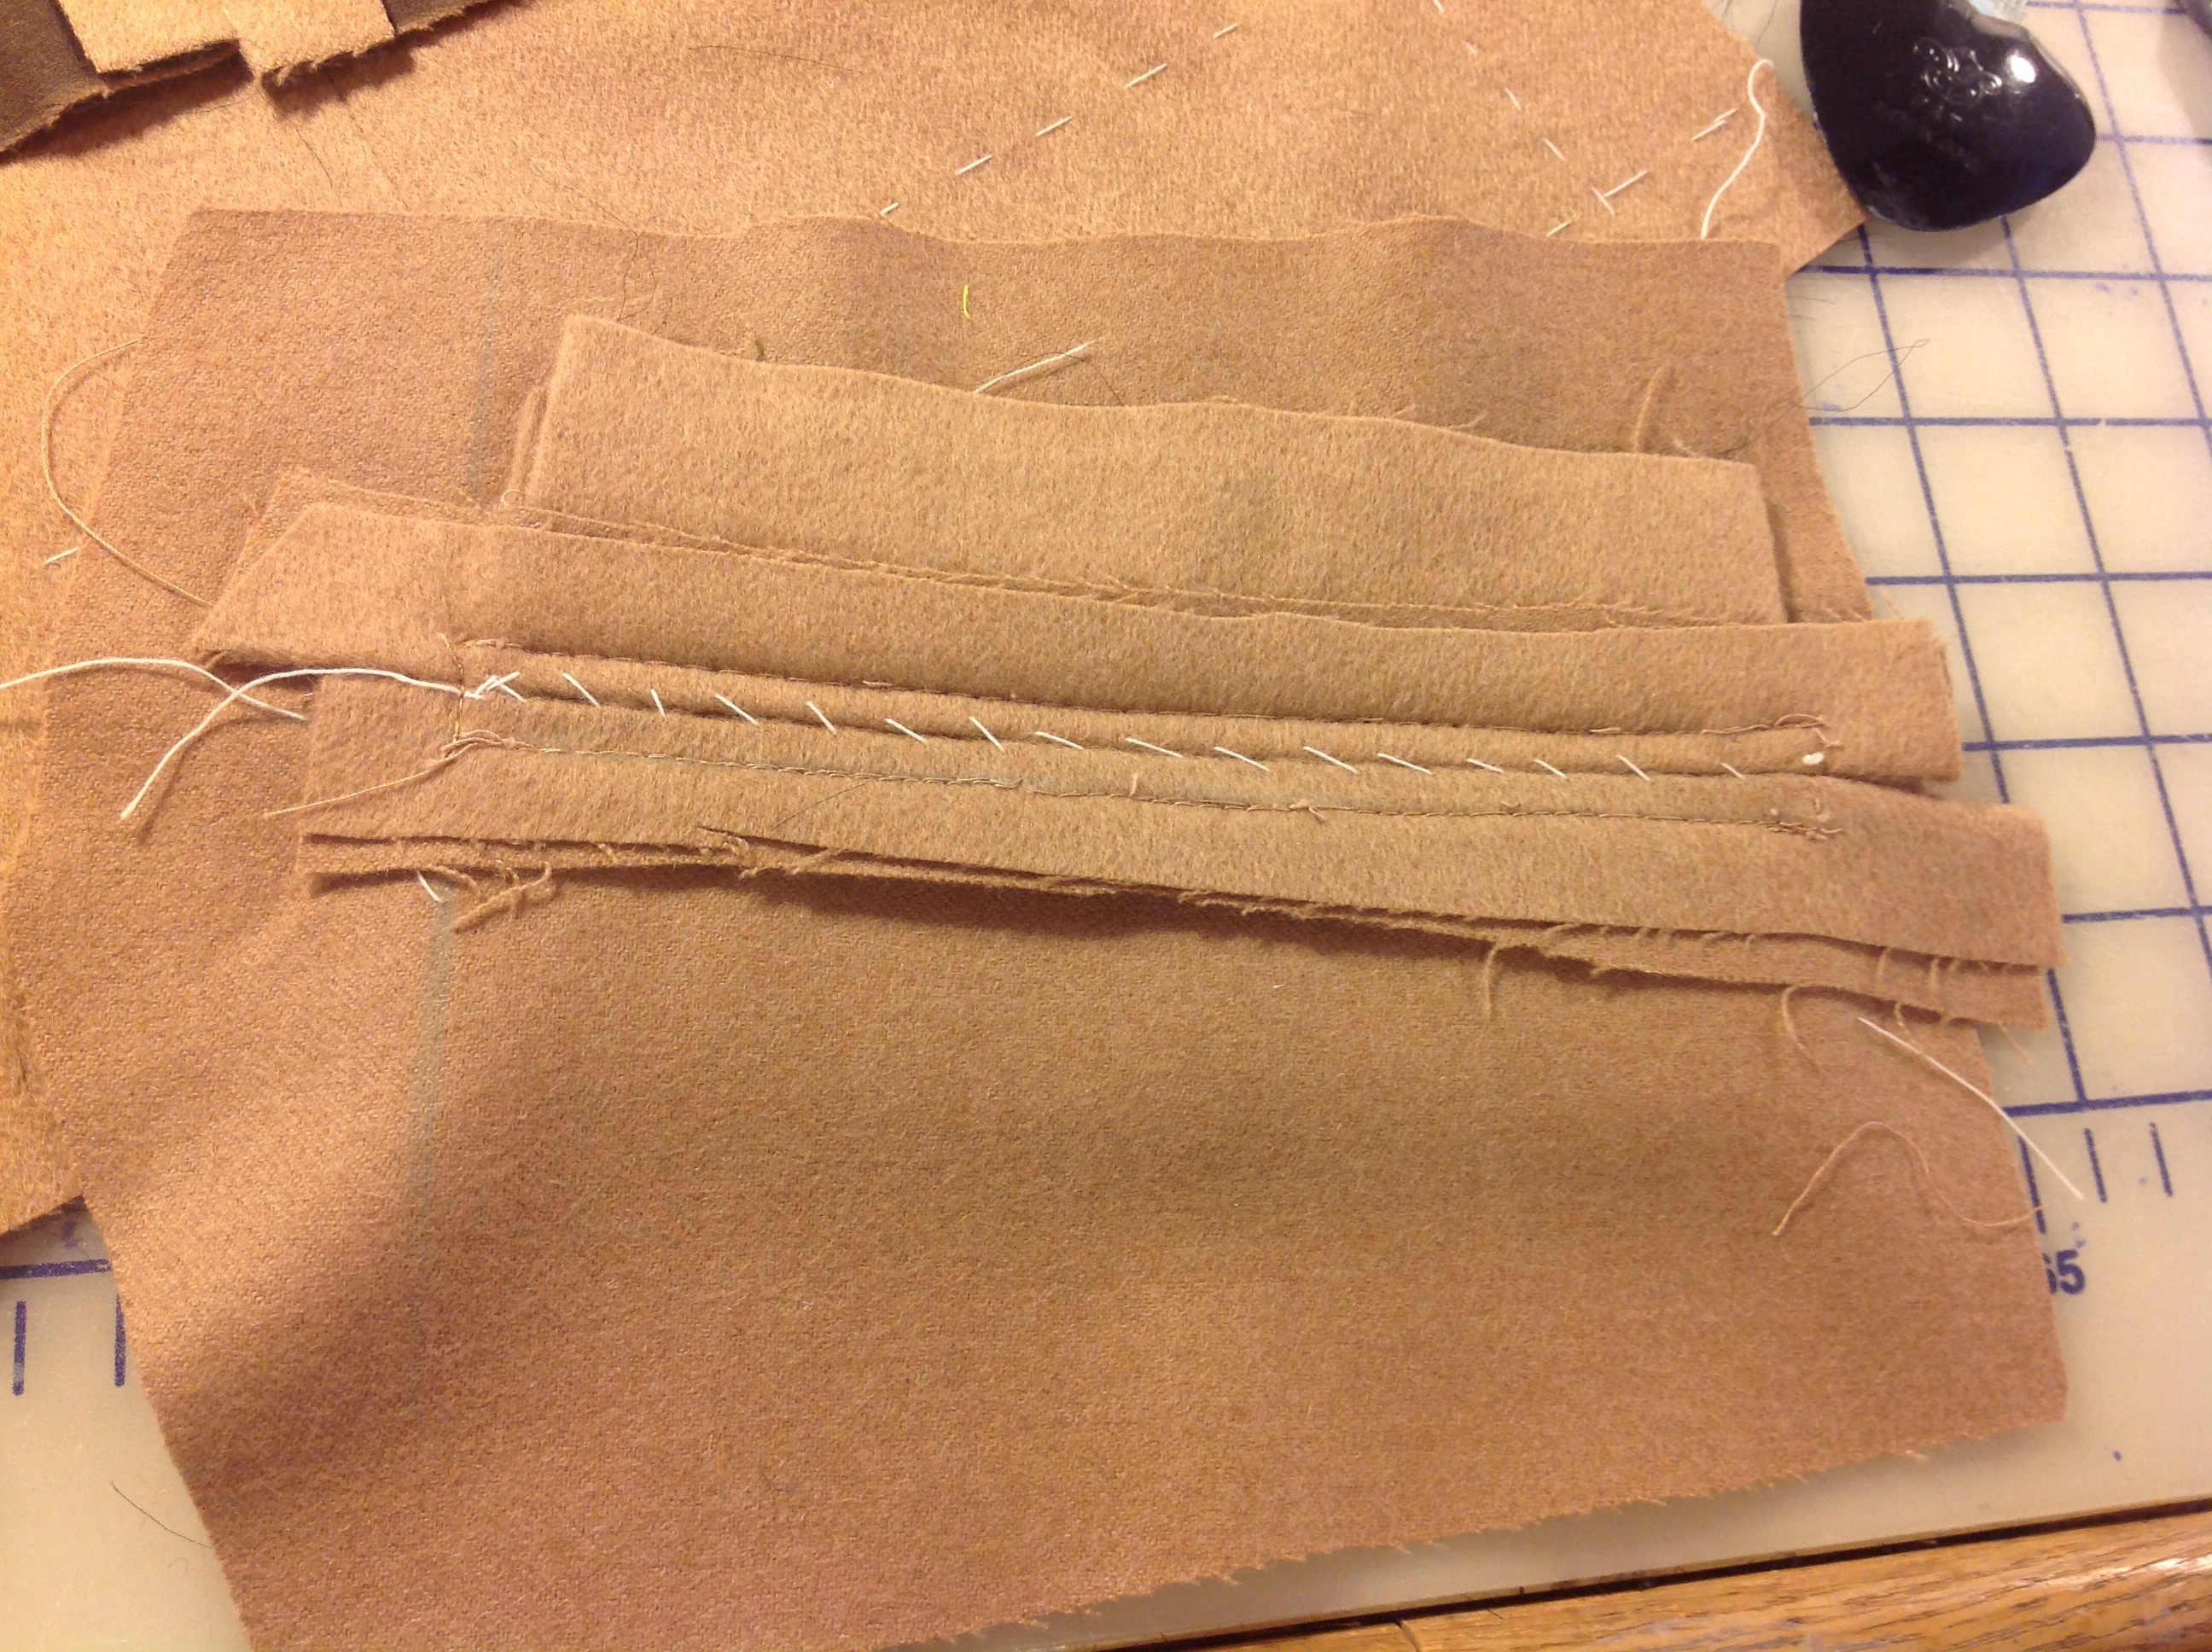
First, with Susan’s assistance, I took some of the volume out of the back seam, as it was just too full for my frame. Second, I added ½ “ to the diameter of each sleeve, as they were just a little too slim for comfort. Doing this allowed me to enlarge the lower armscye, also adding comfort and more flexibility. I felt like I was able to do these alterations without changing the look of the jacket. I also made two “visible” changes, although still in keeping with the design. The original flaps looked a little too “’70s” to me. I reduced the “depth” of them by 7/8″, so that they are more in keeping with modern sensibility.
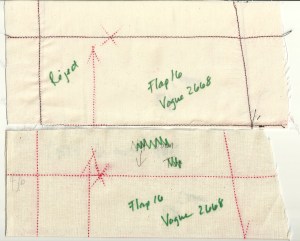
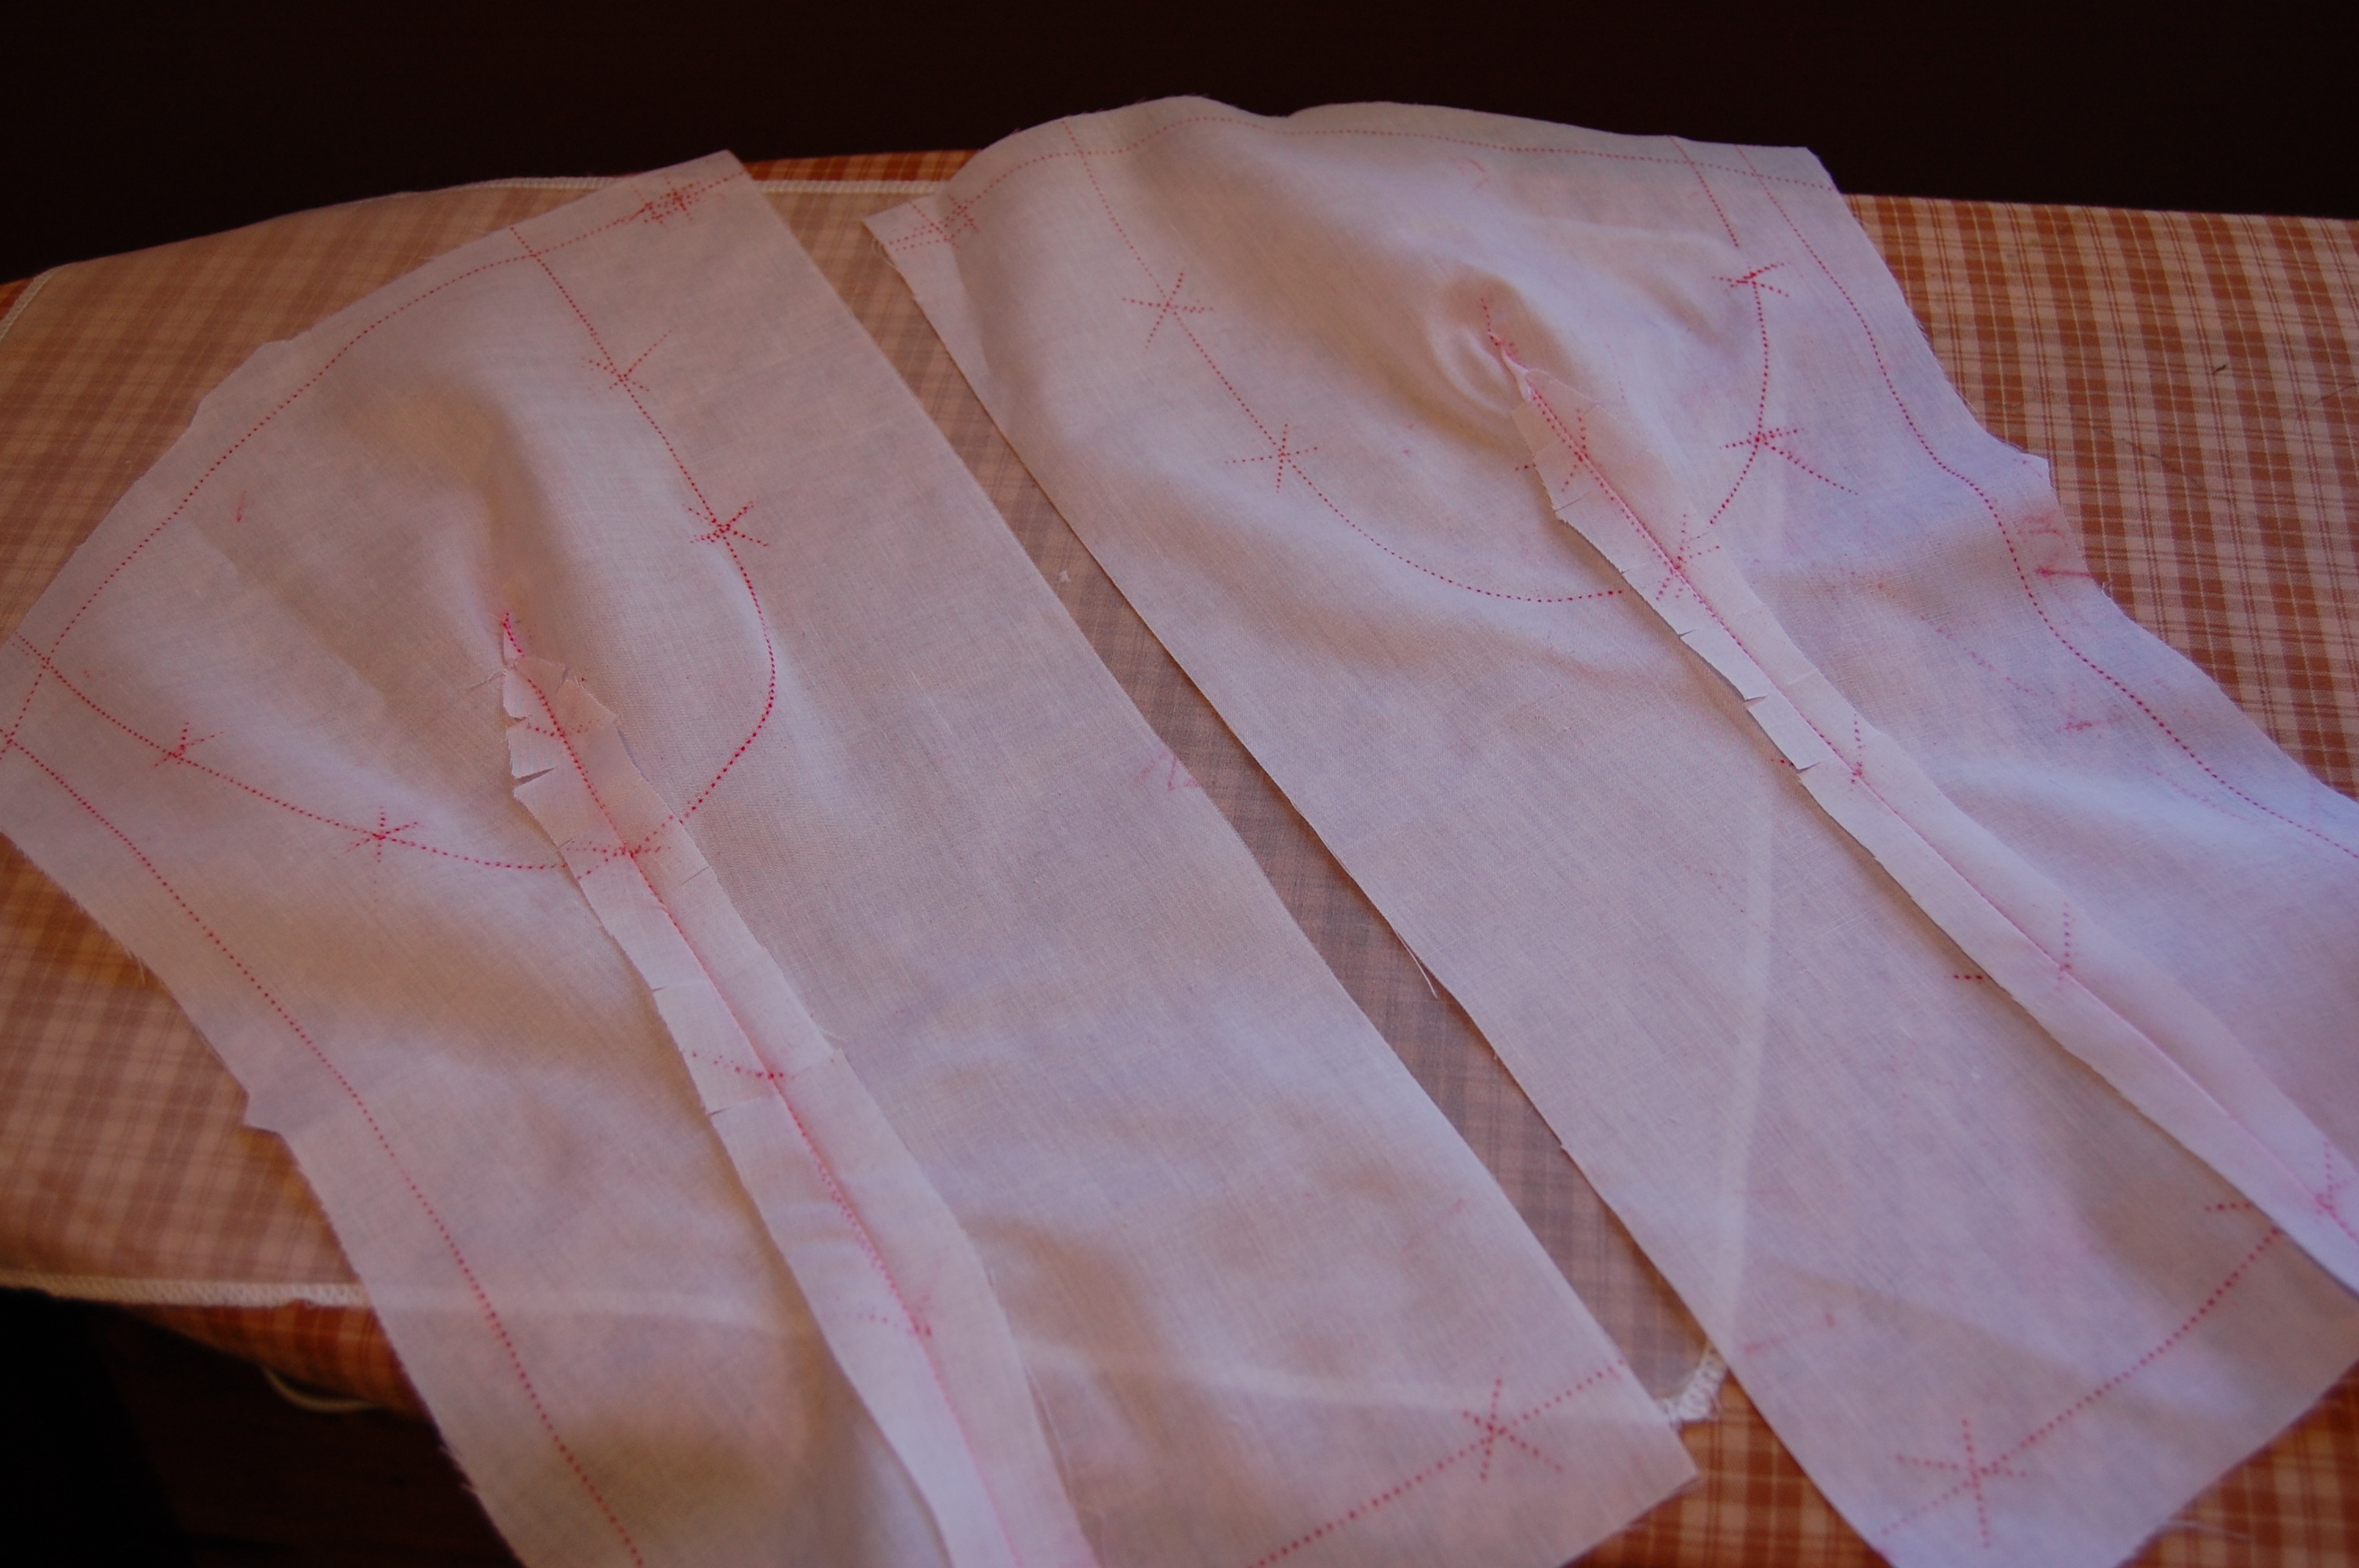
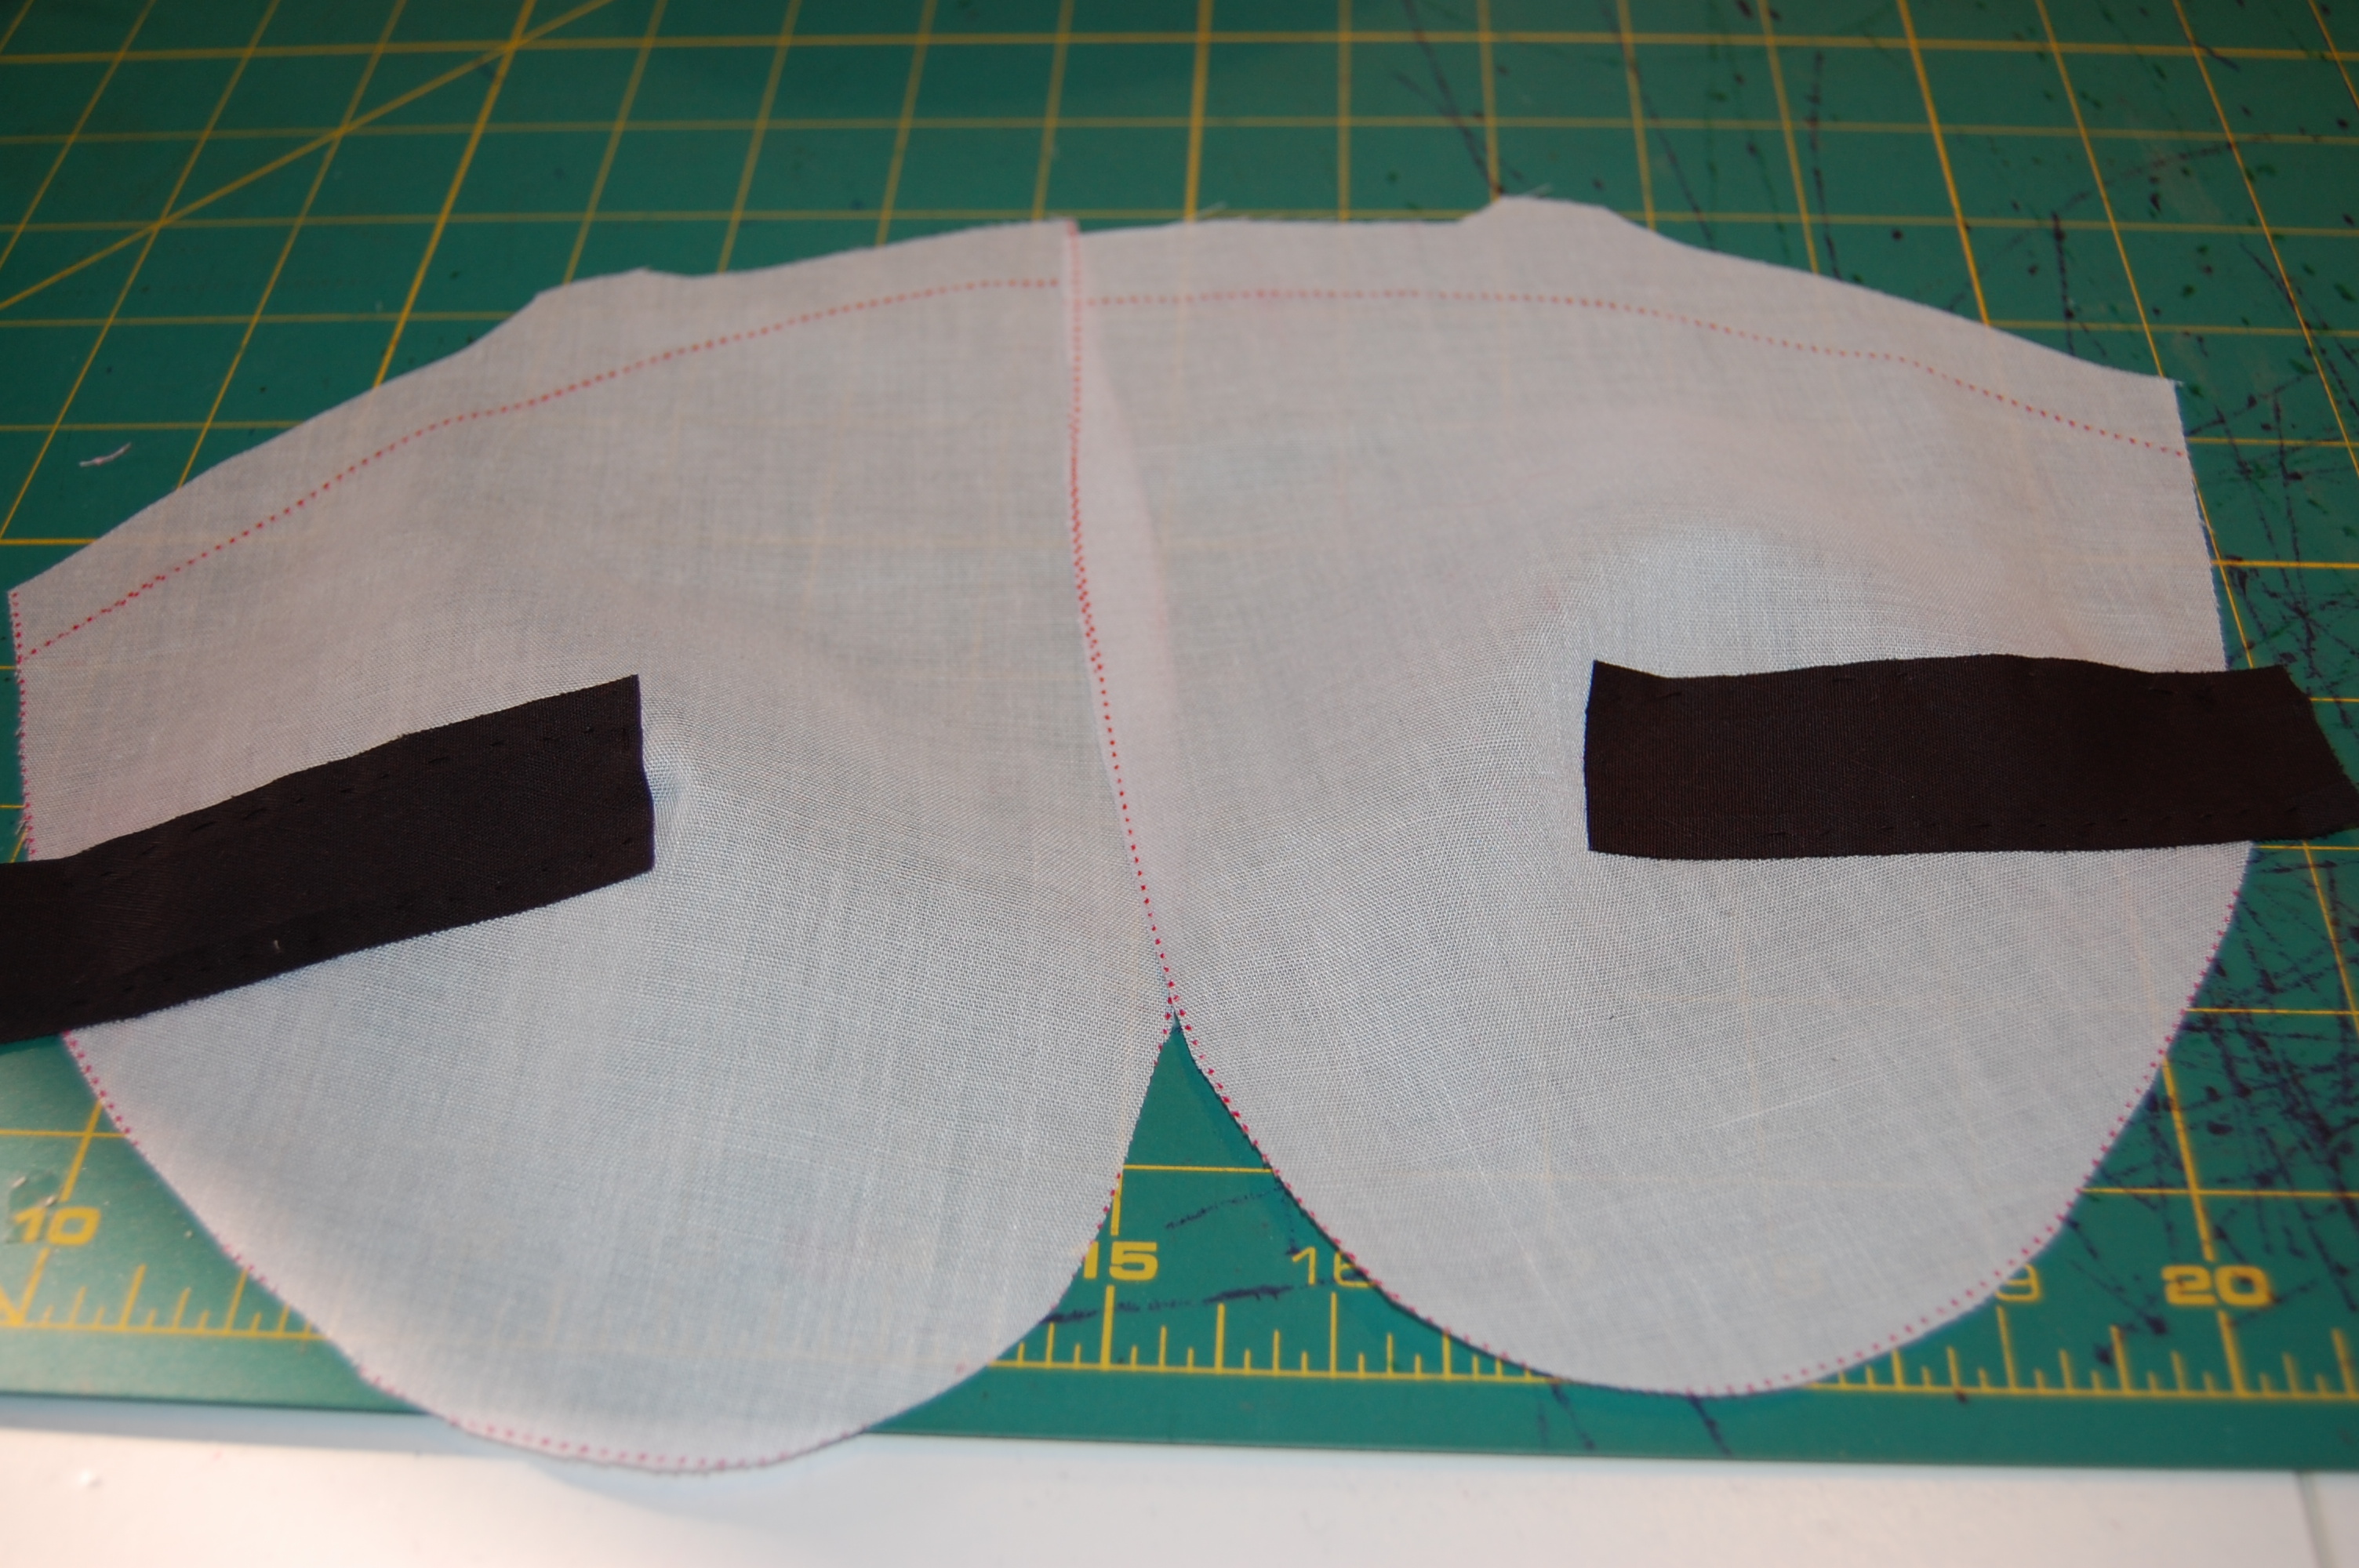
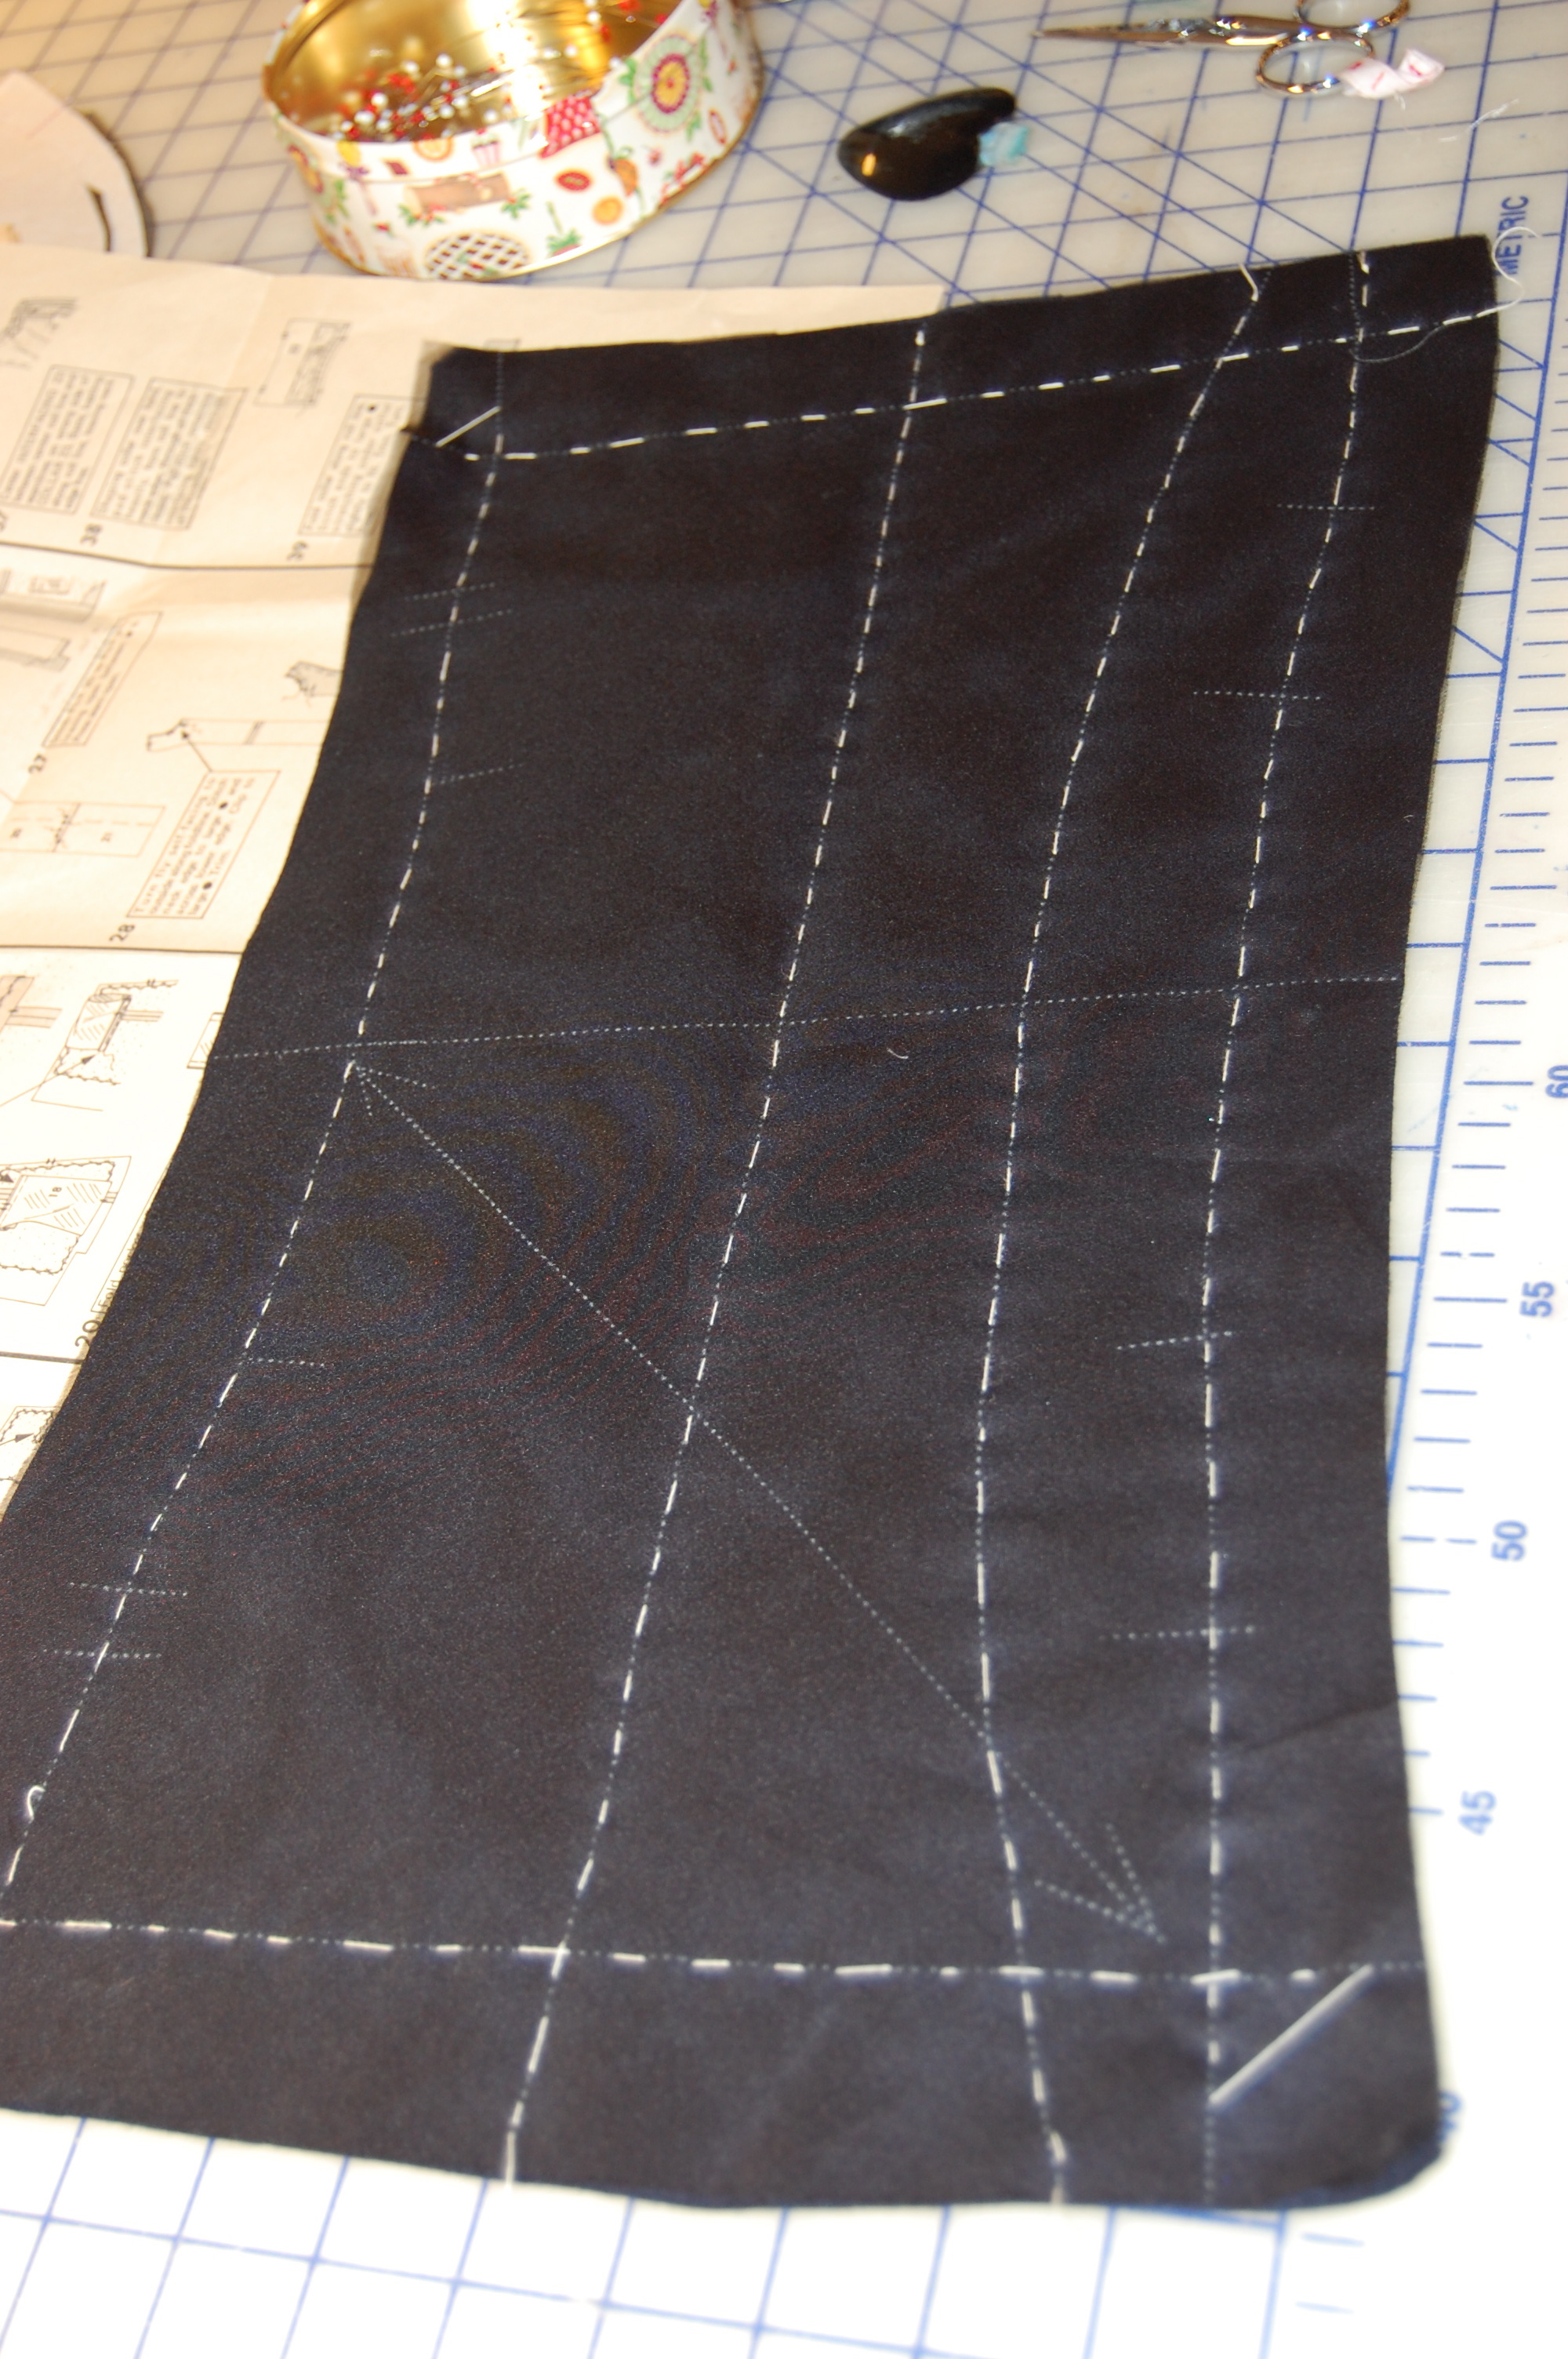
These muslin patterns are folded in half to show the depth of the original flap and the depth of the altered one below.
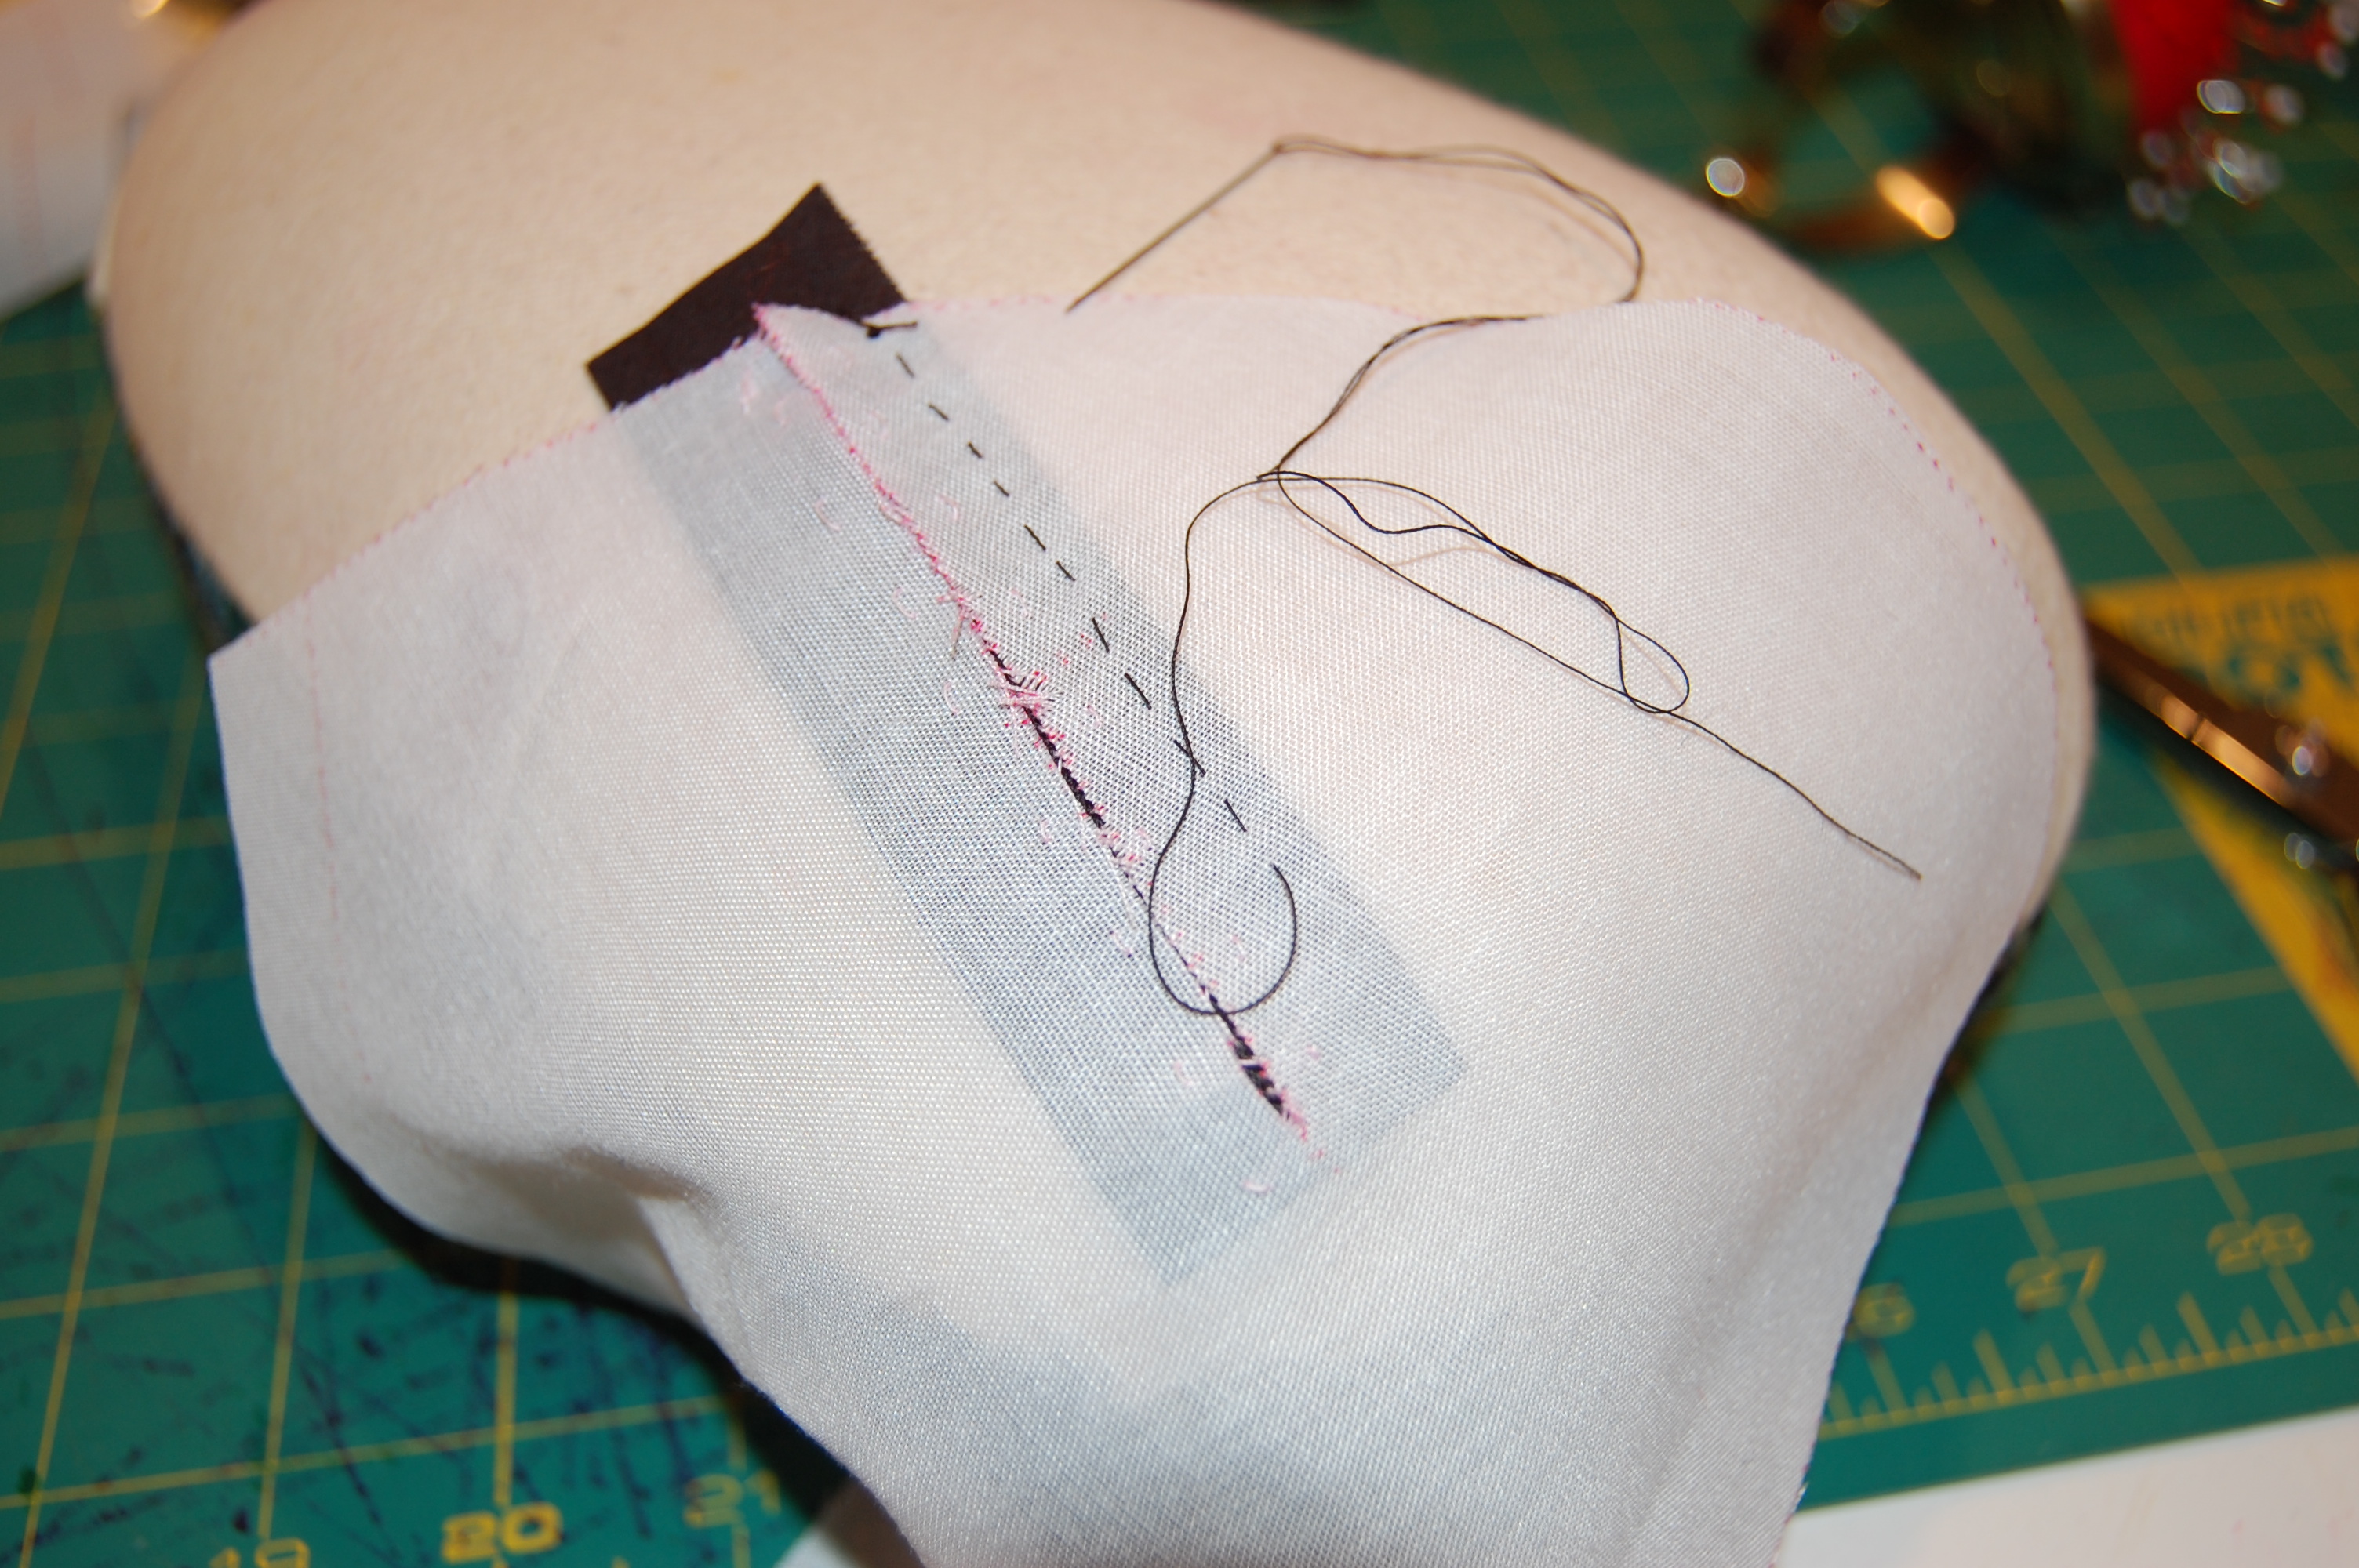
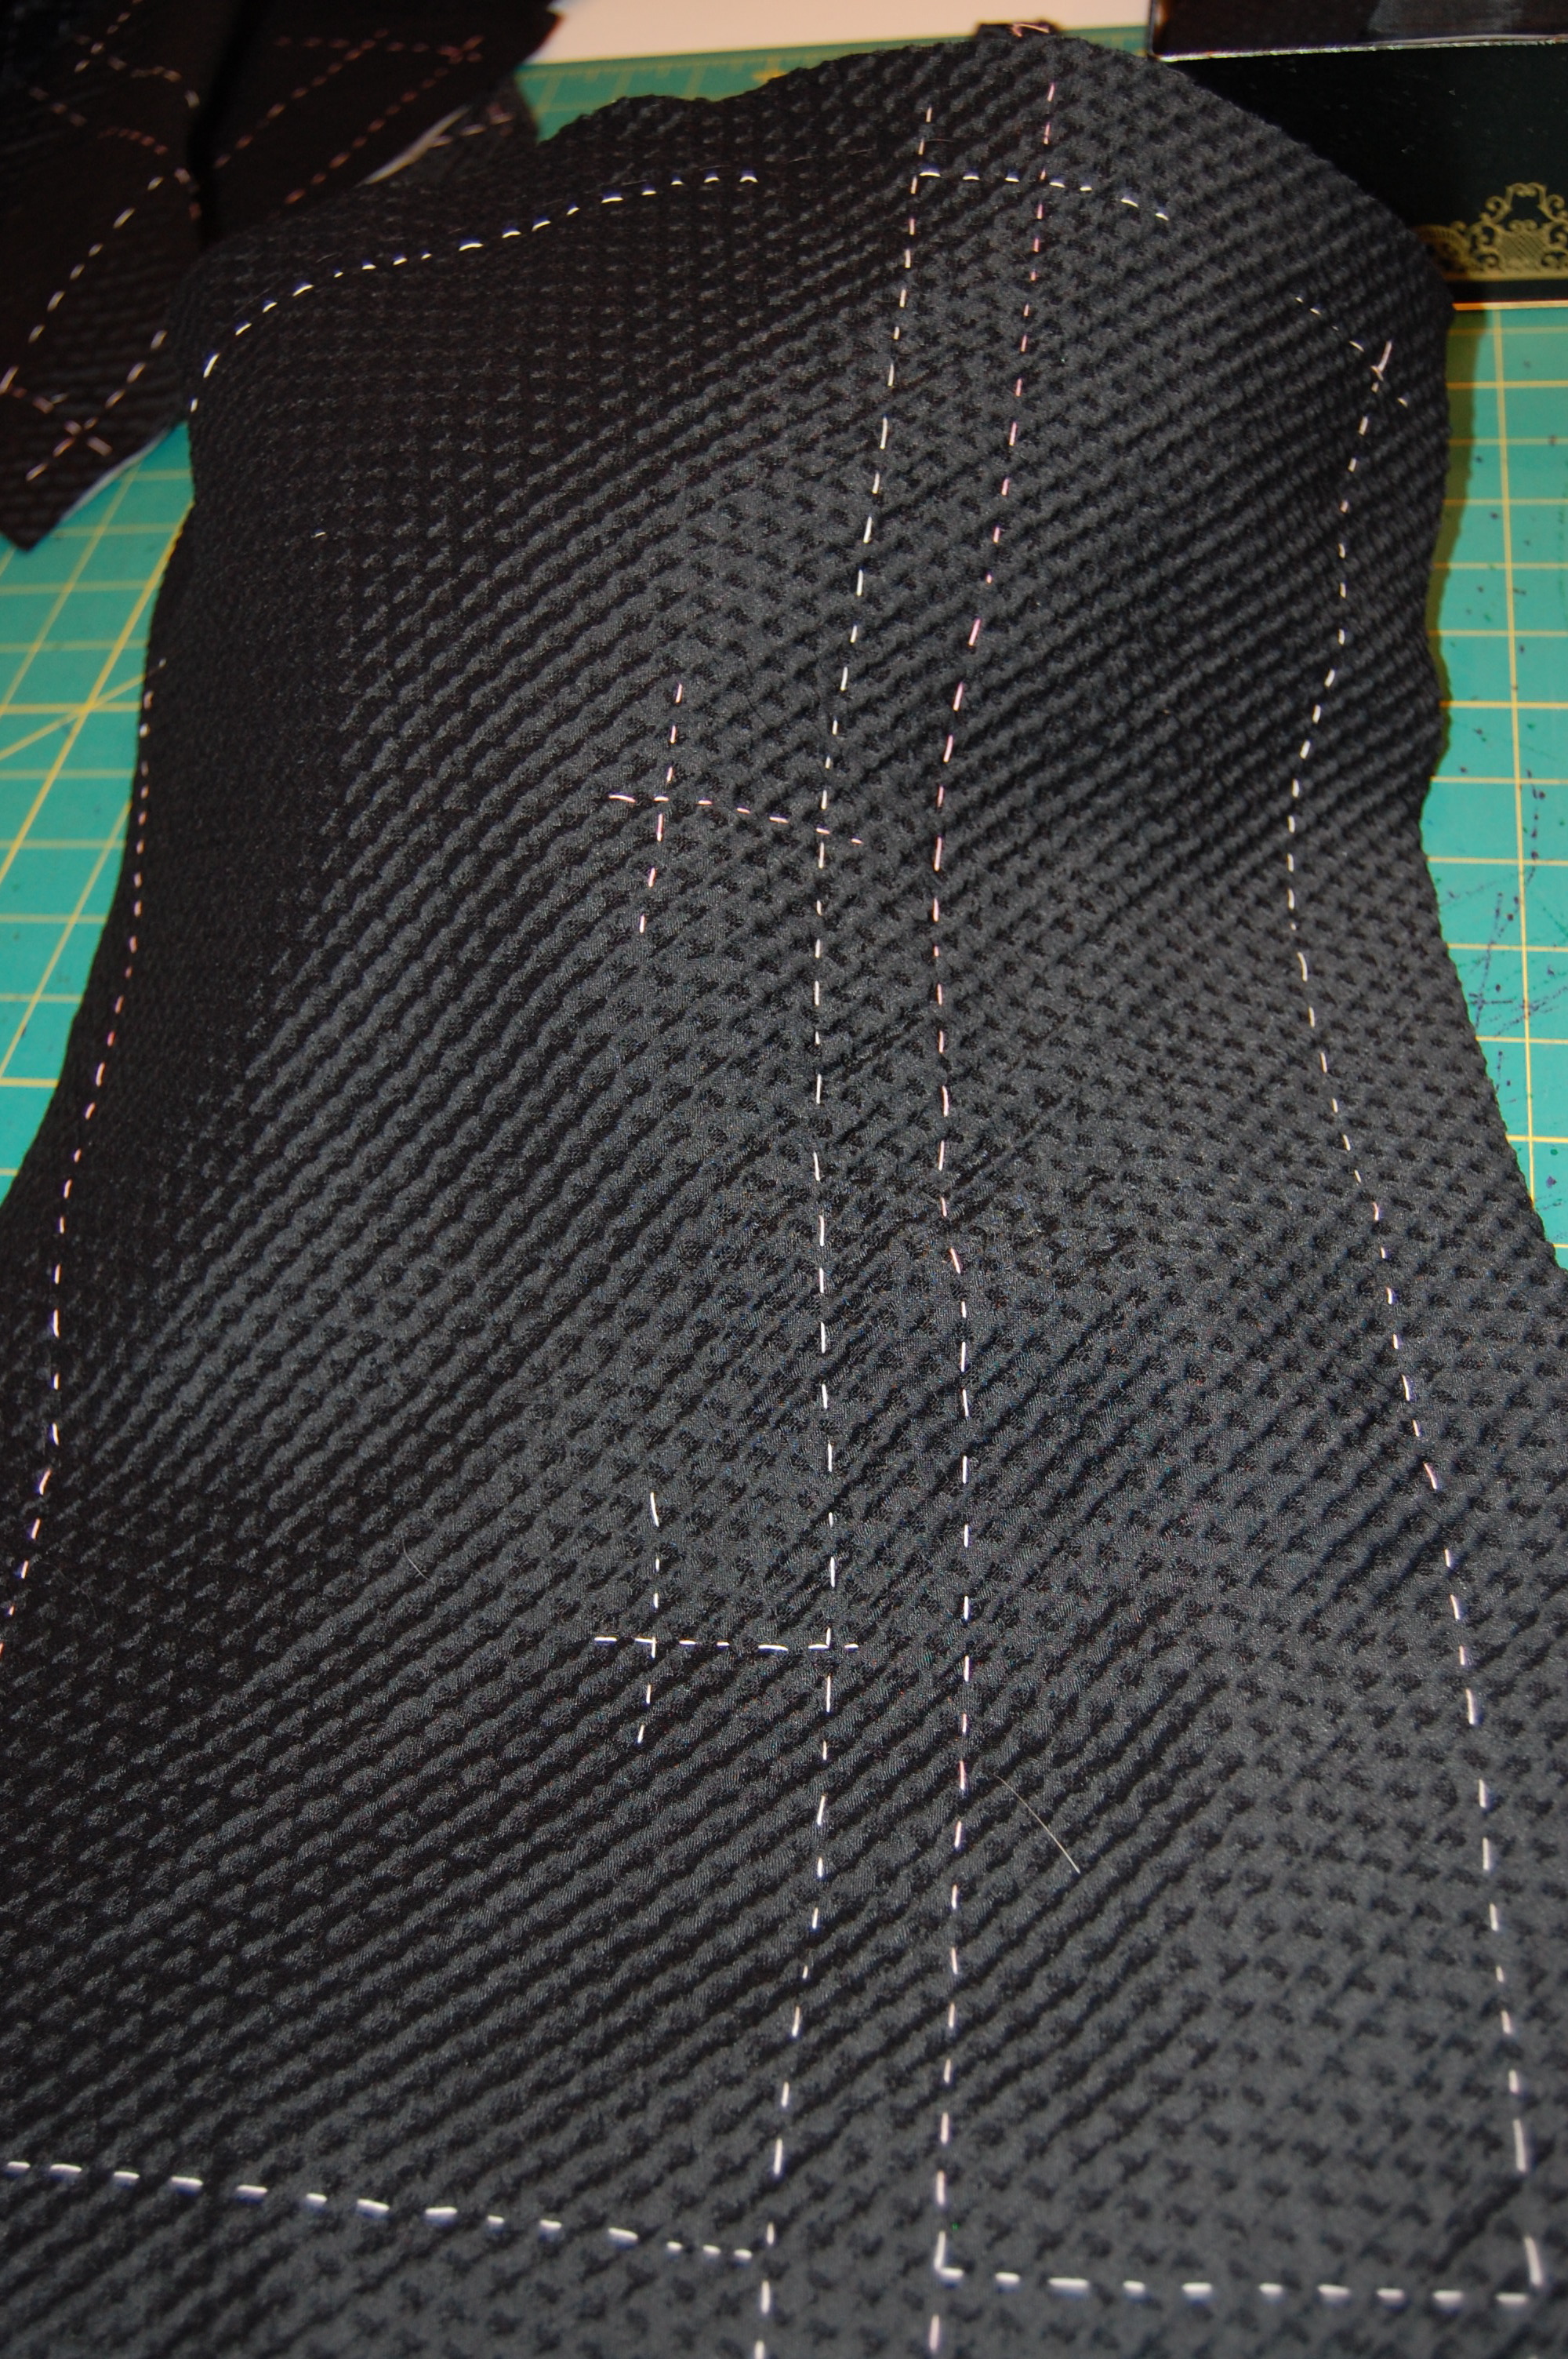
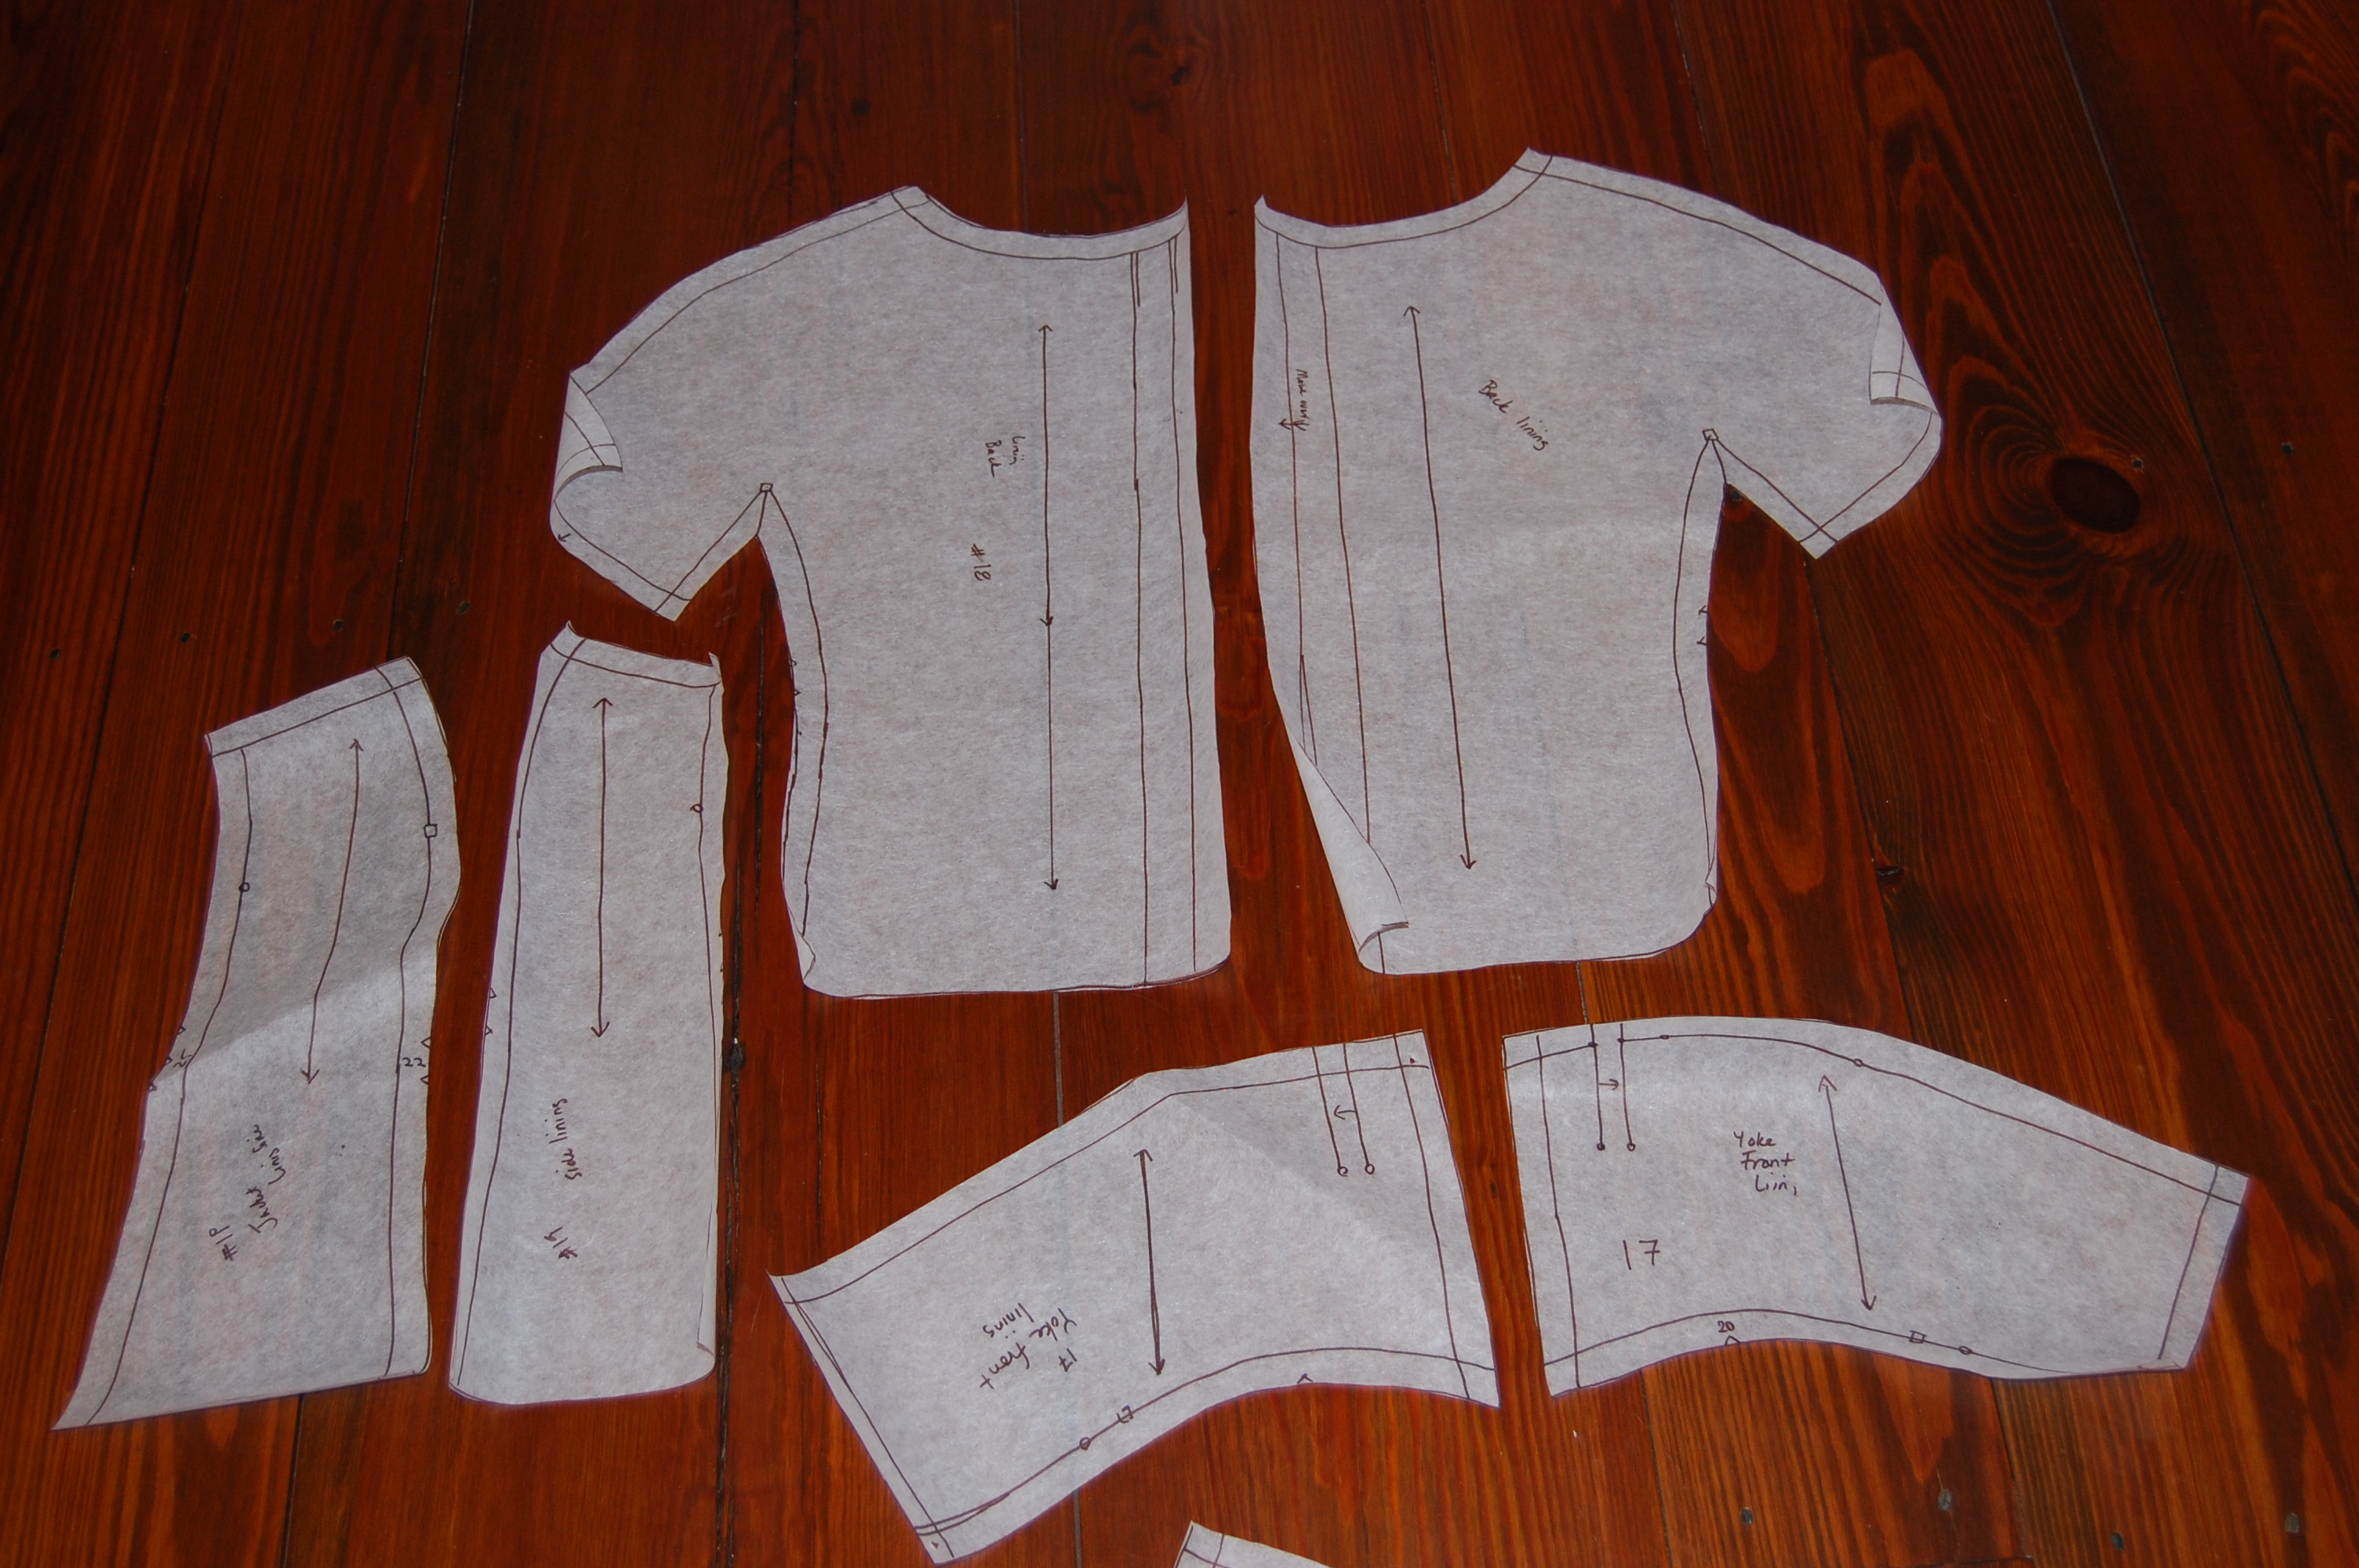
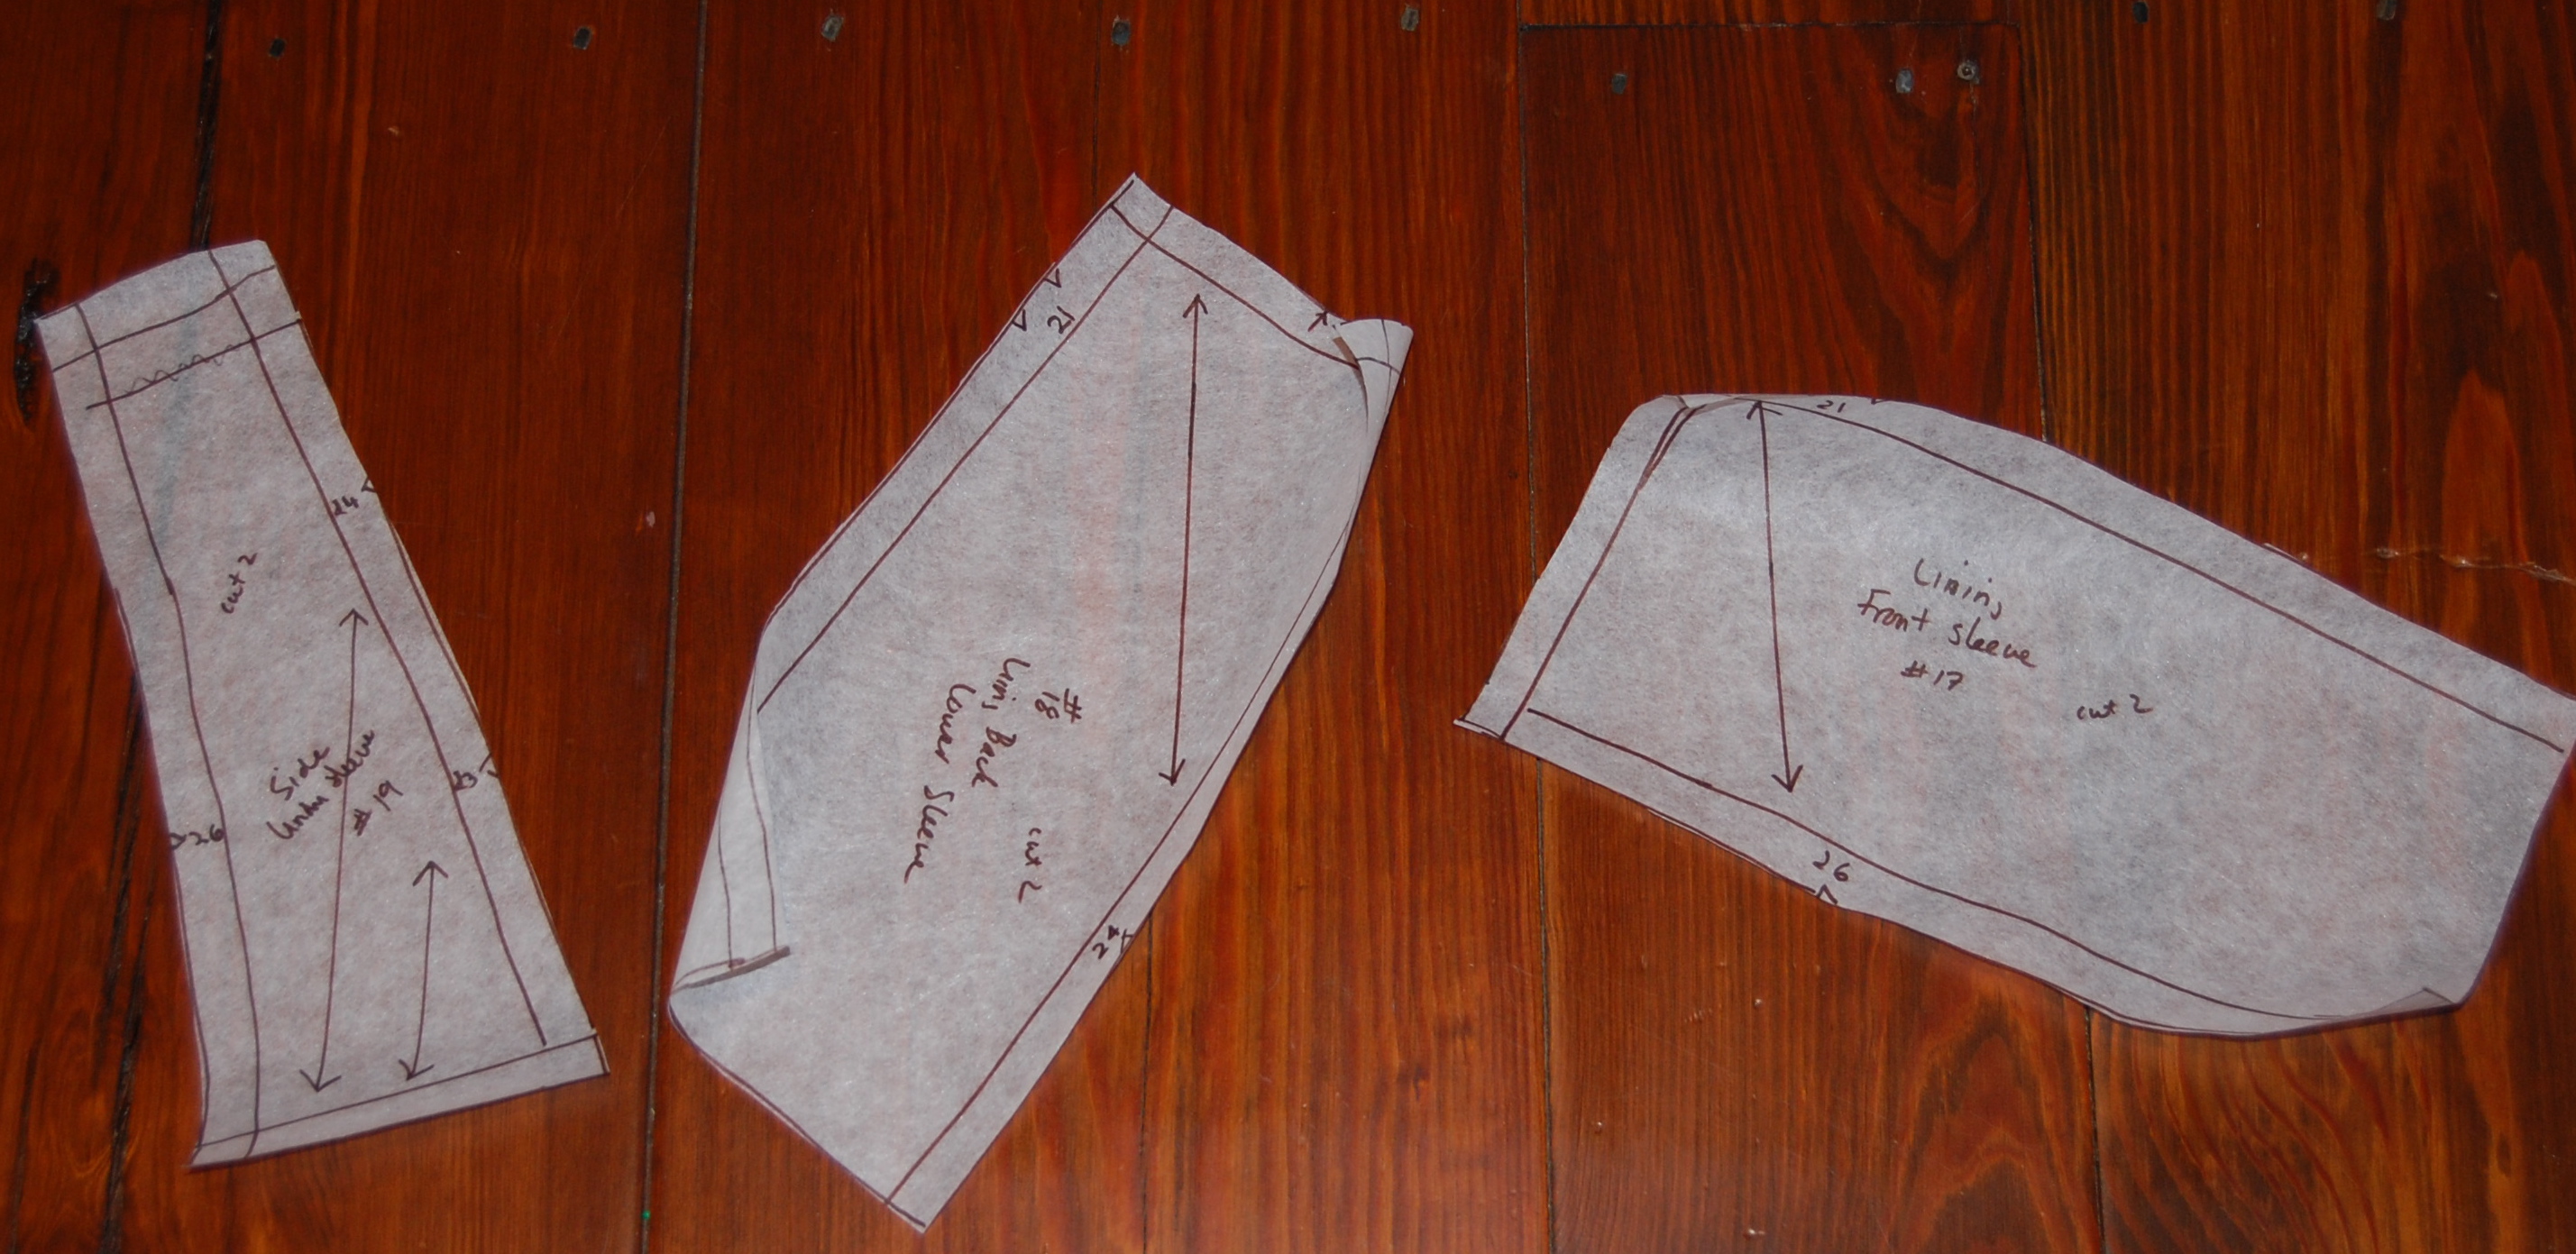
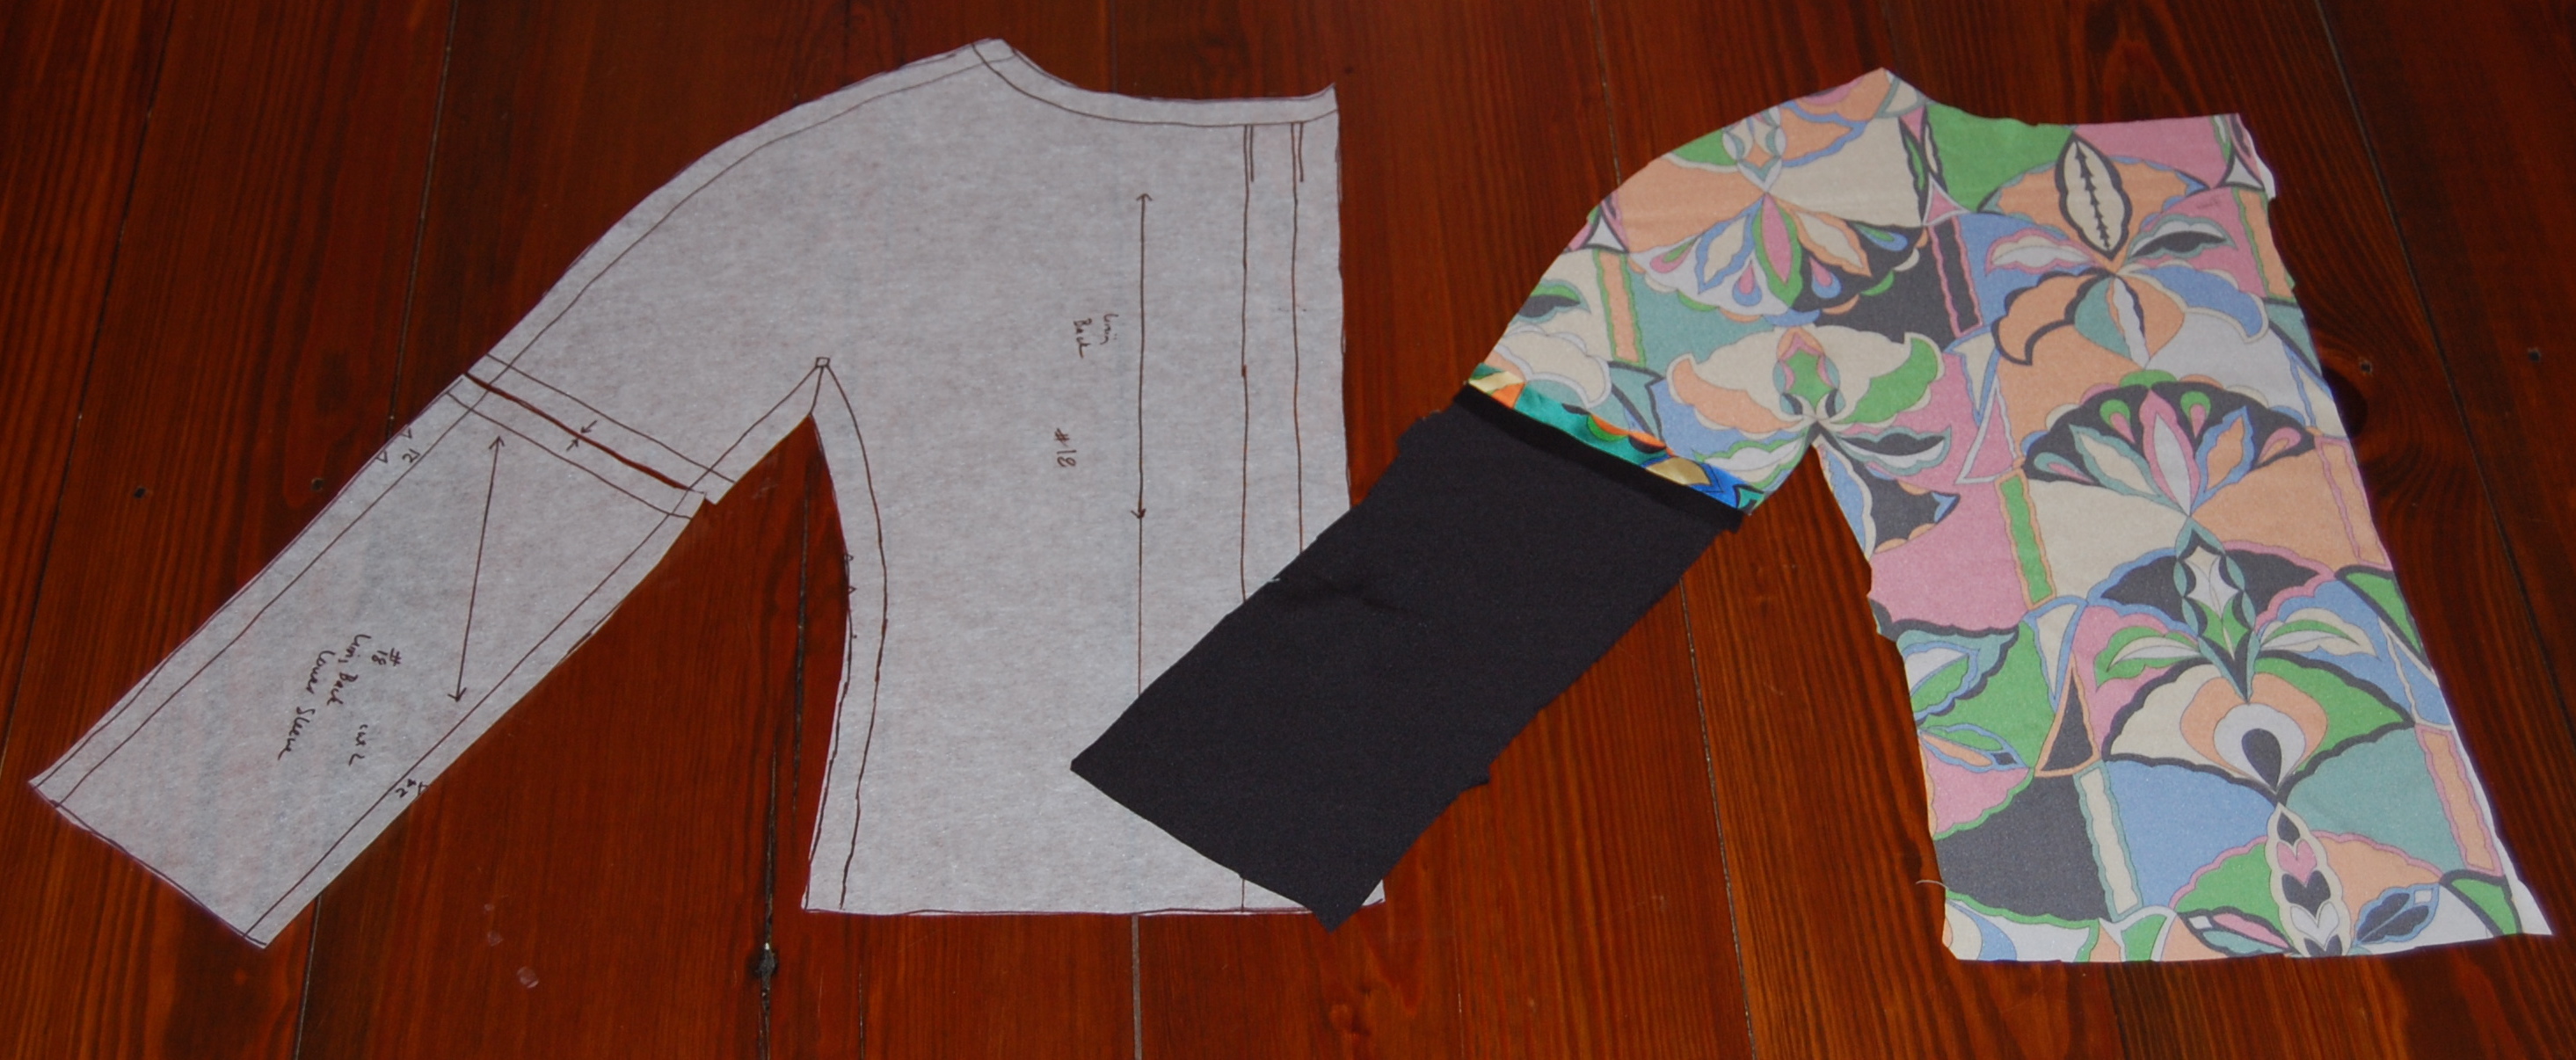
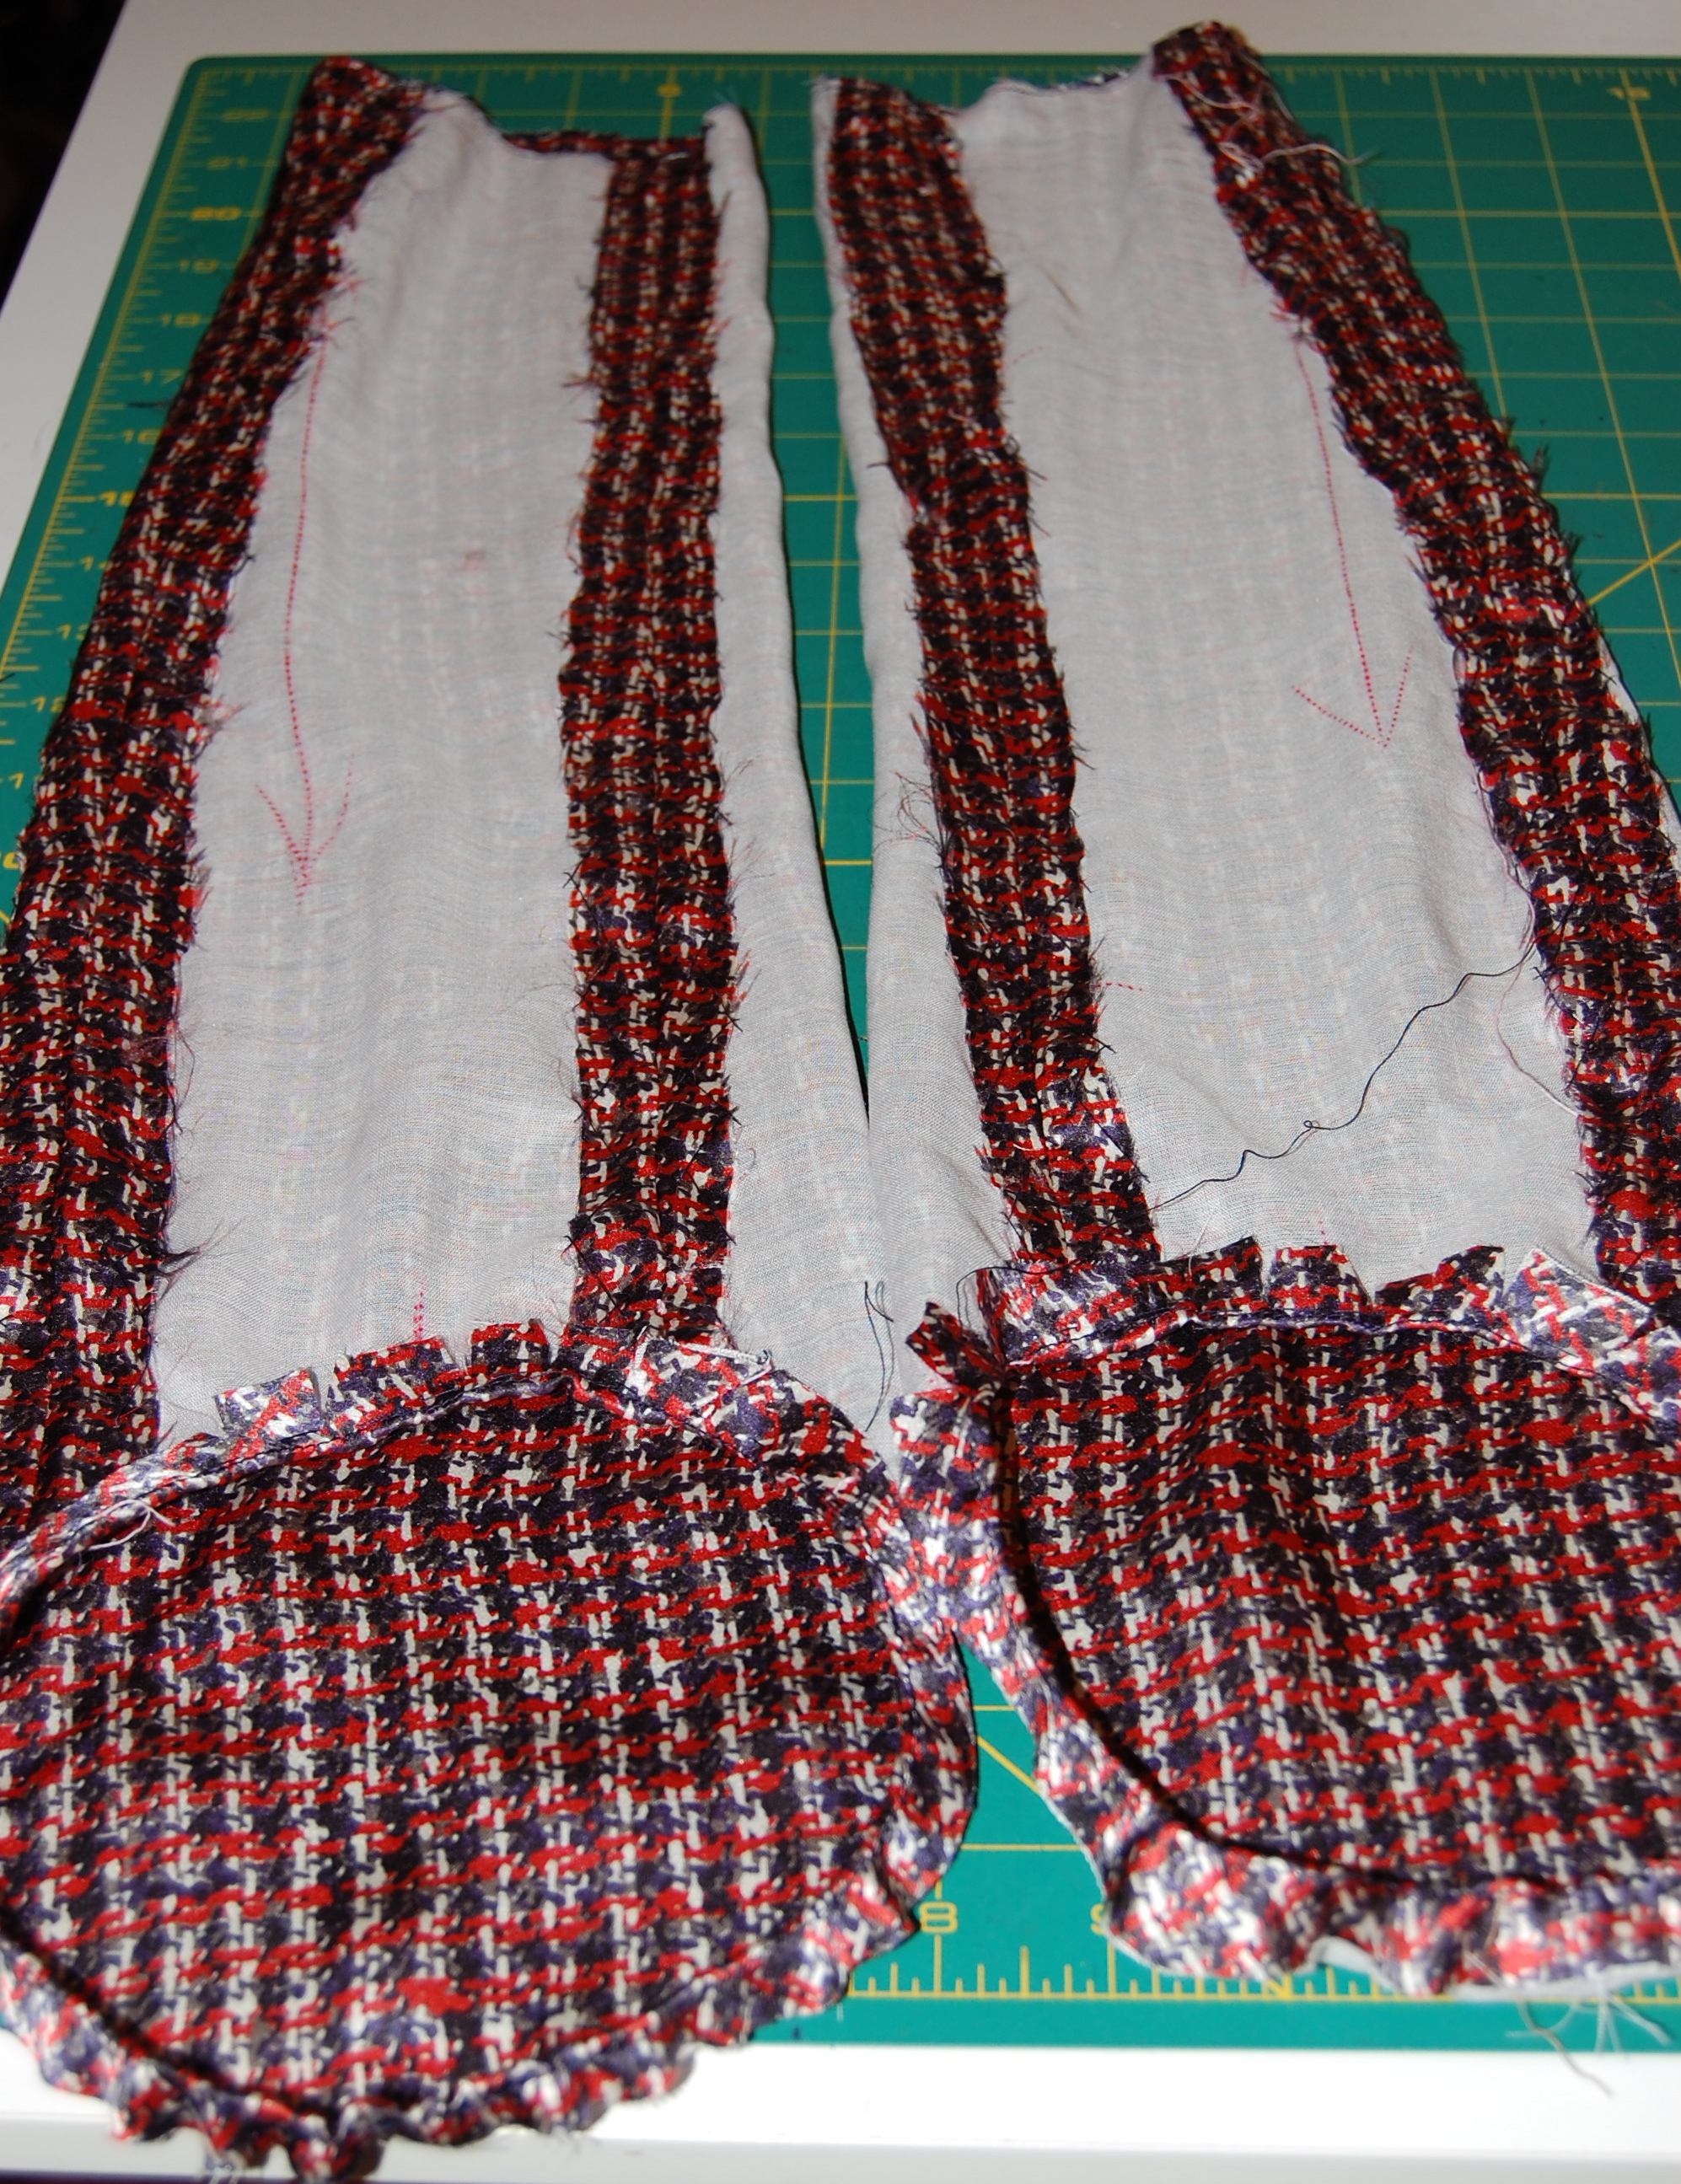
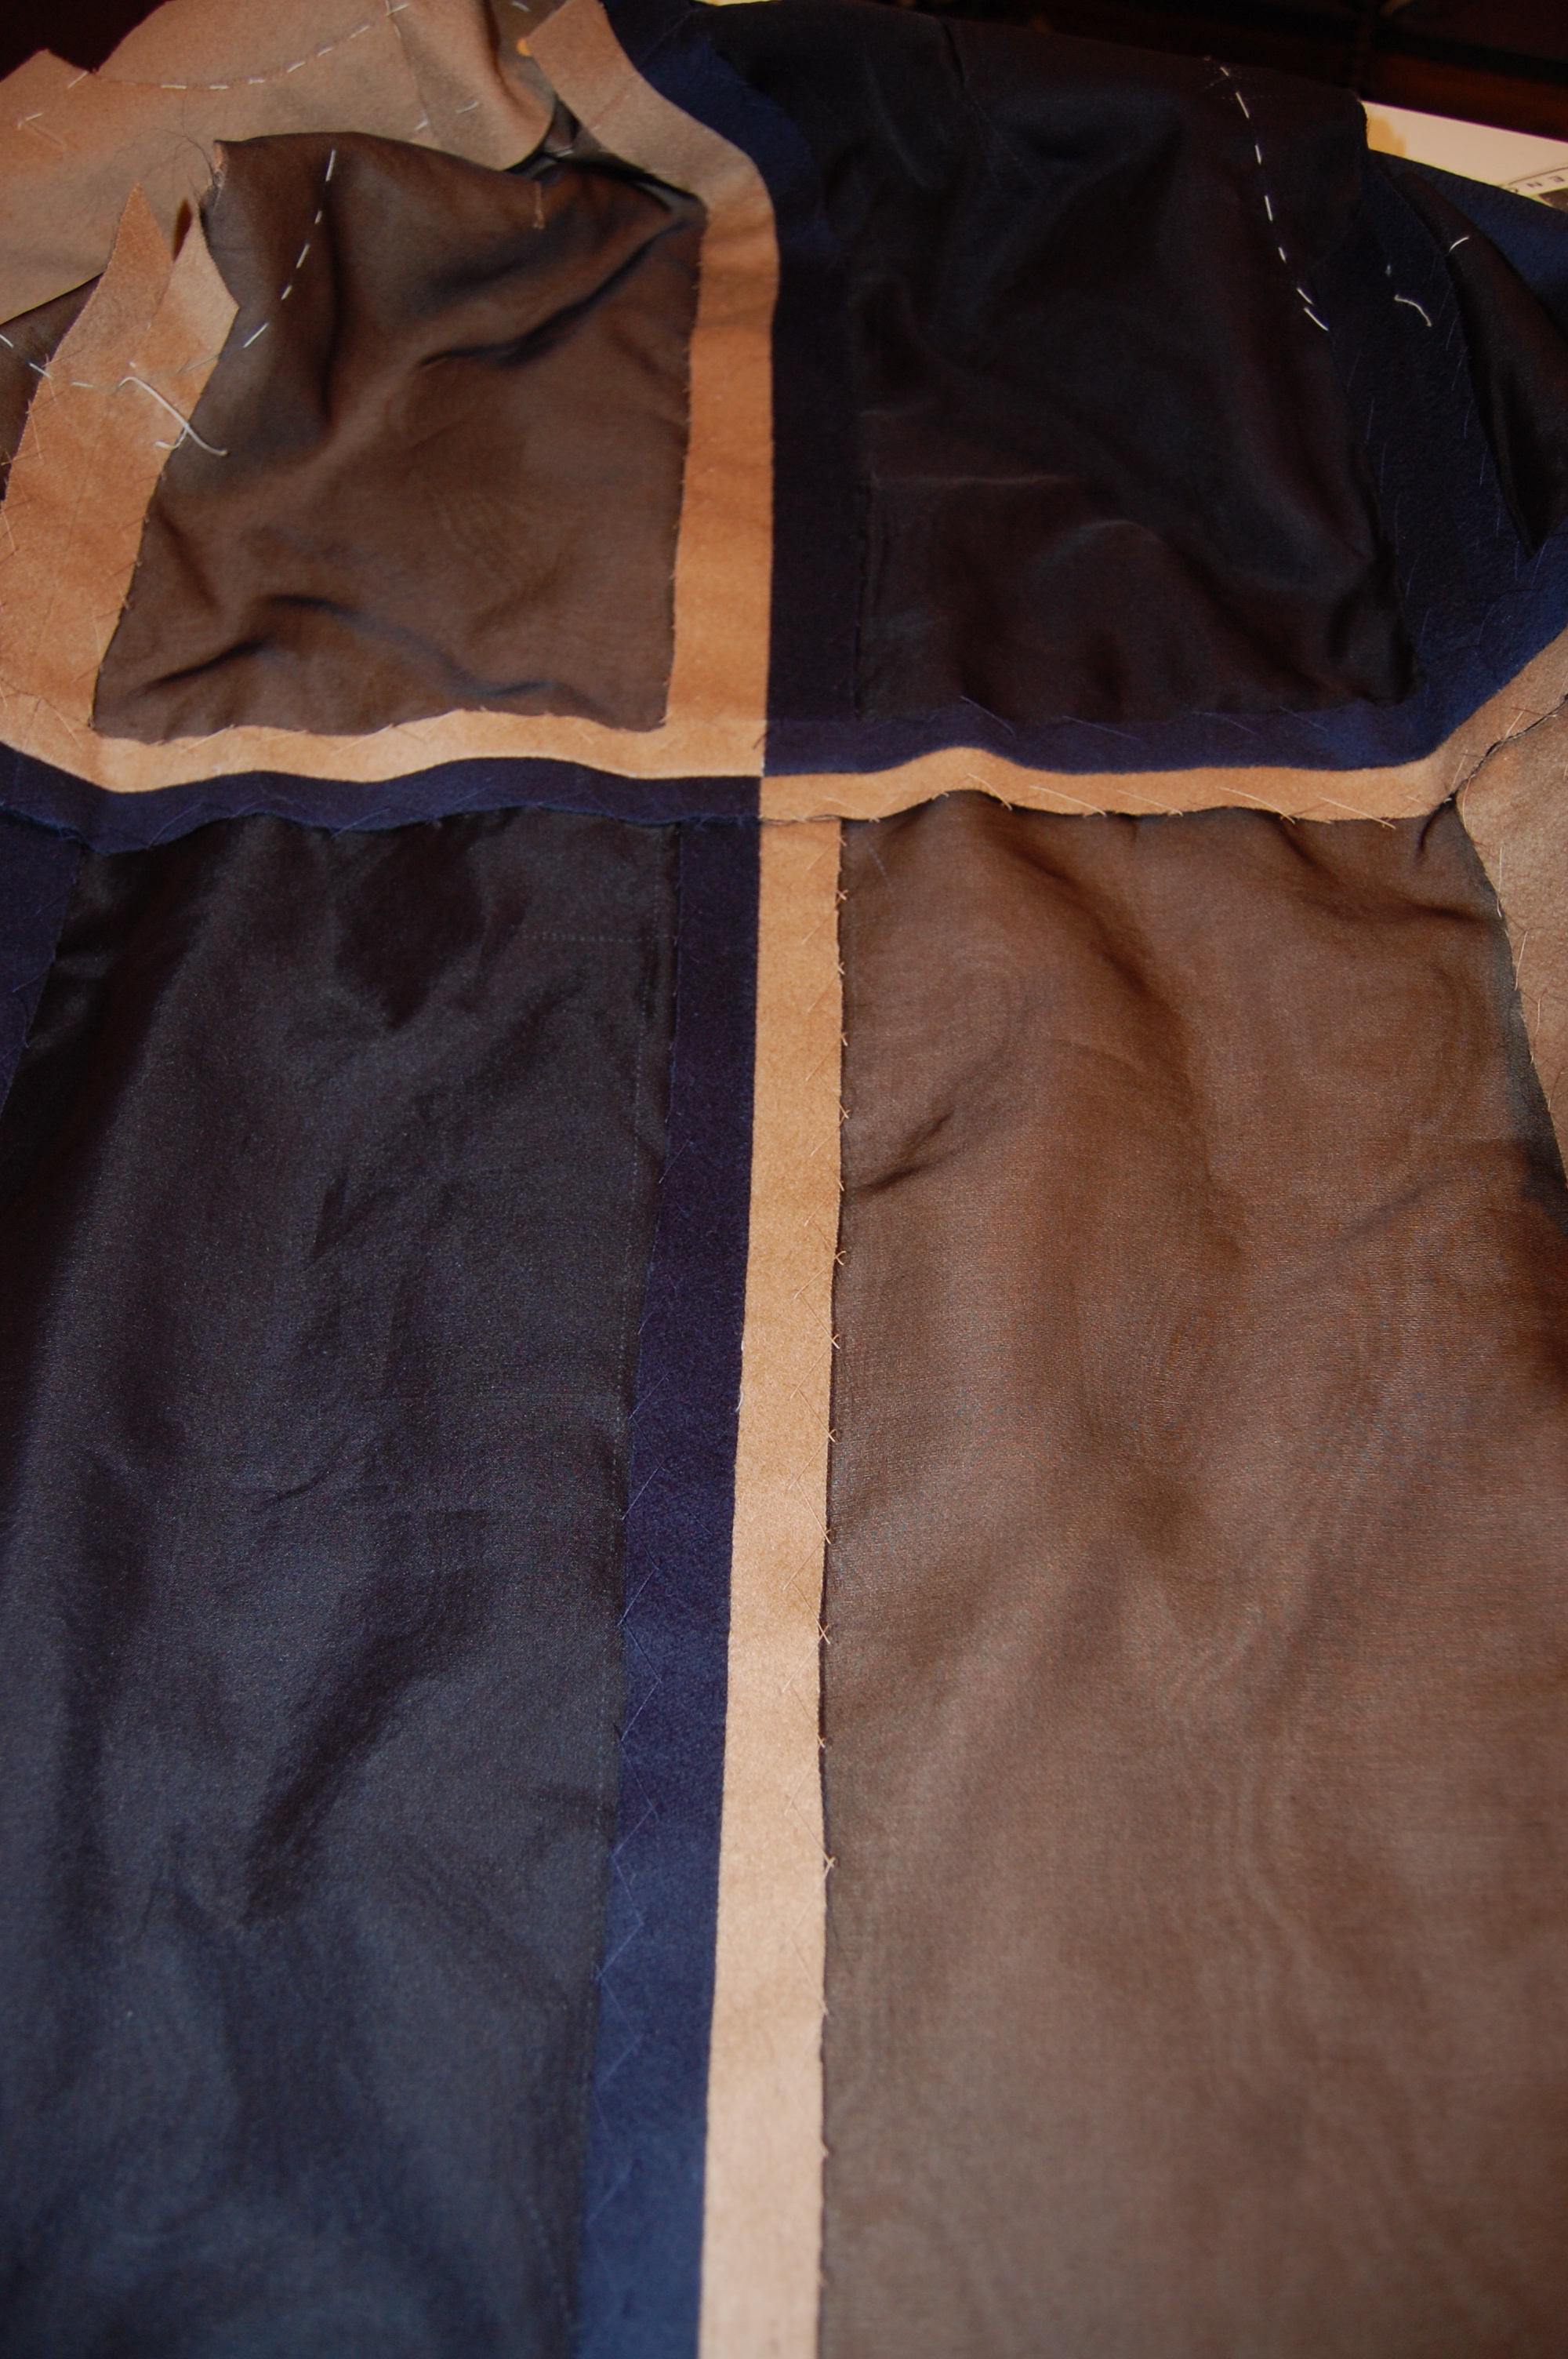
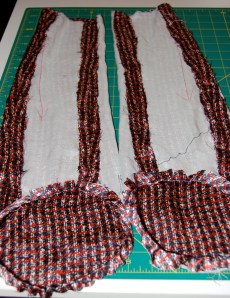
The pattern had separate pieces for the lining, and even the lining followed the blocked design. I had chosen a printed silk charmeuse (at Britex , naturally!) for my lining, which did not need to be block sewn. So, using the muslin I had made for the lining, I cut the “lengths” as one piece, eliminating 16 horizontal seams. I also underlined the silk charmeuse with a very lightweight rayon voile, which made the lining fabric easy to control, and adds another layer of warmth to the overall coat. This photo shows the underlining in the sleeve linings before I sewed them into the coat.
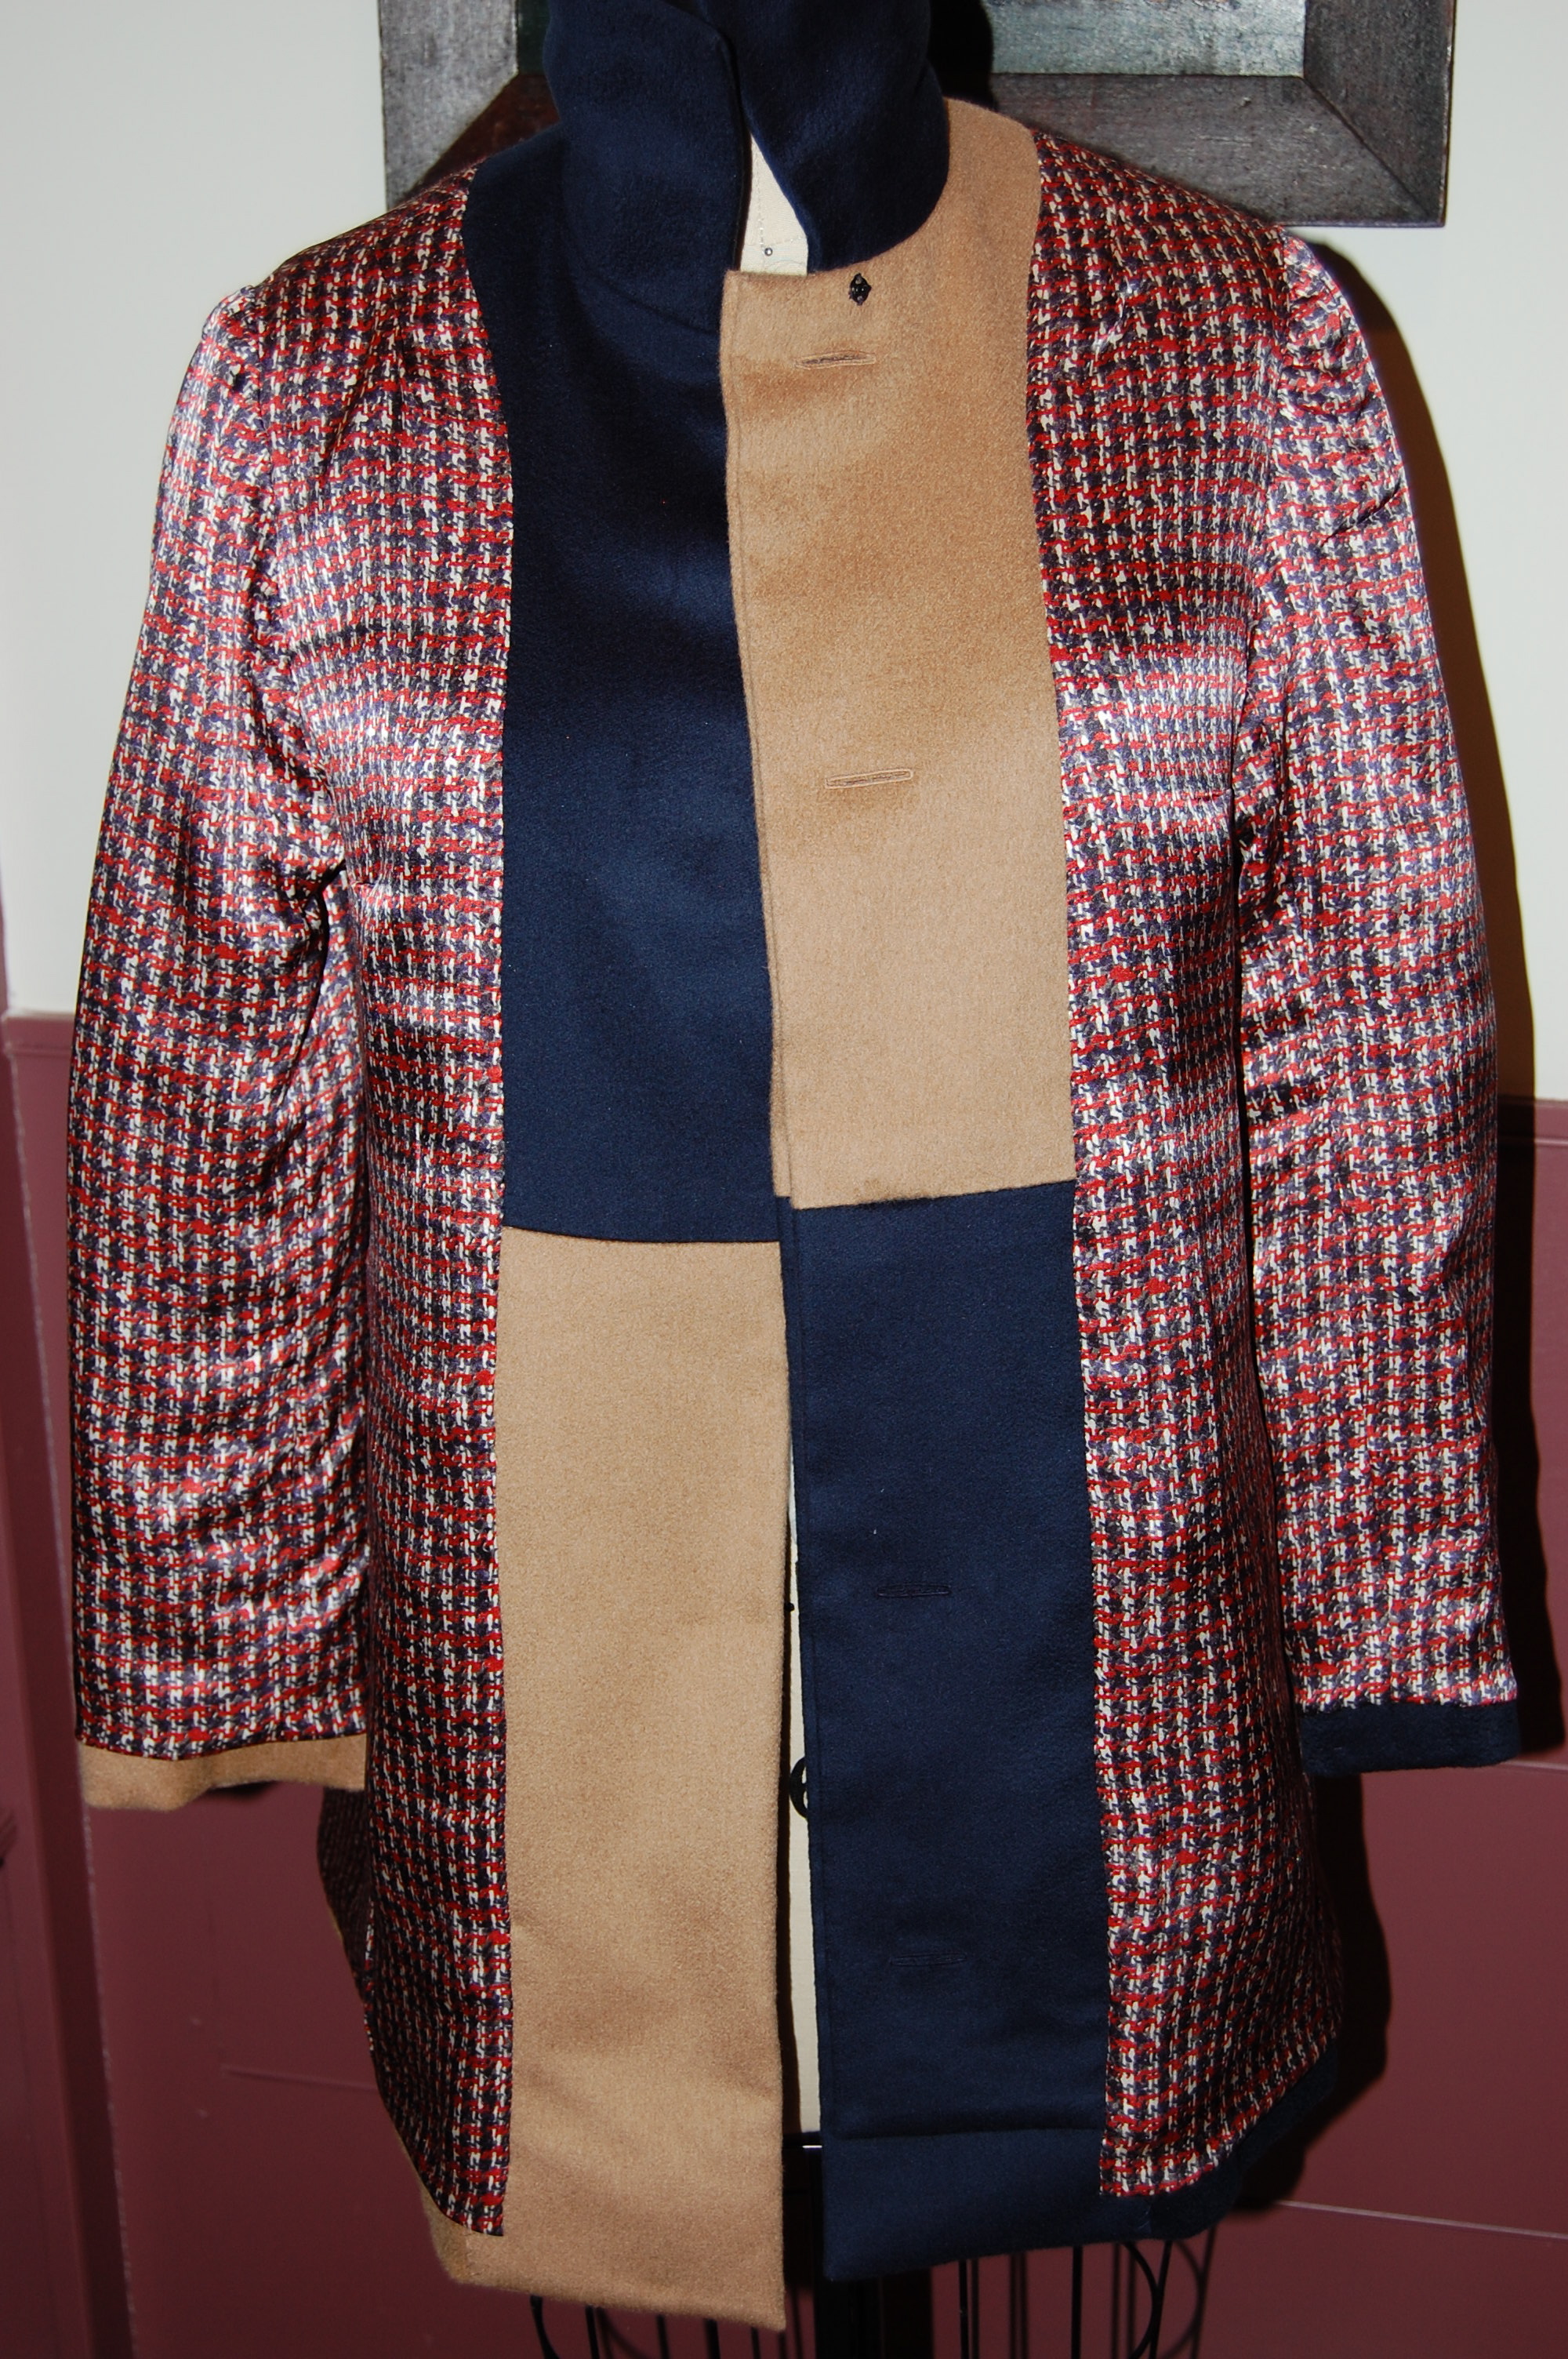
The jacket turned inside out, showing the lining.
The inside back of the coat.
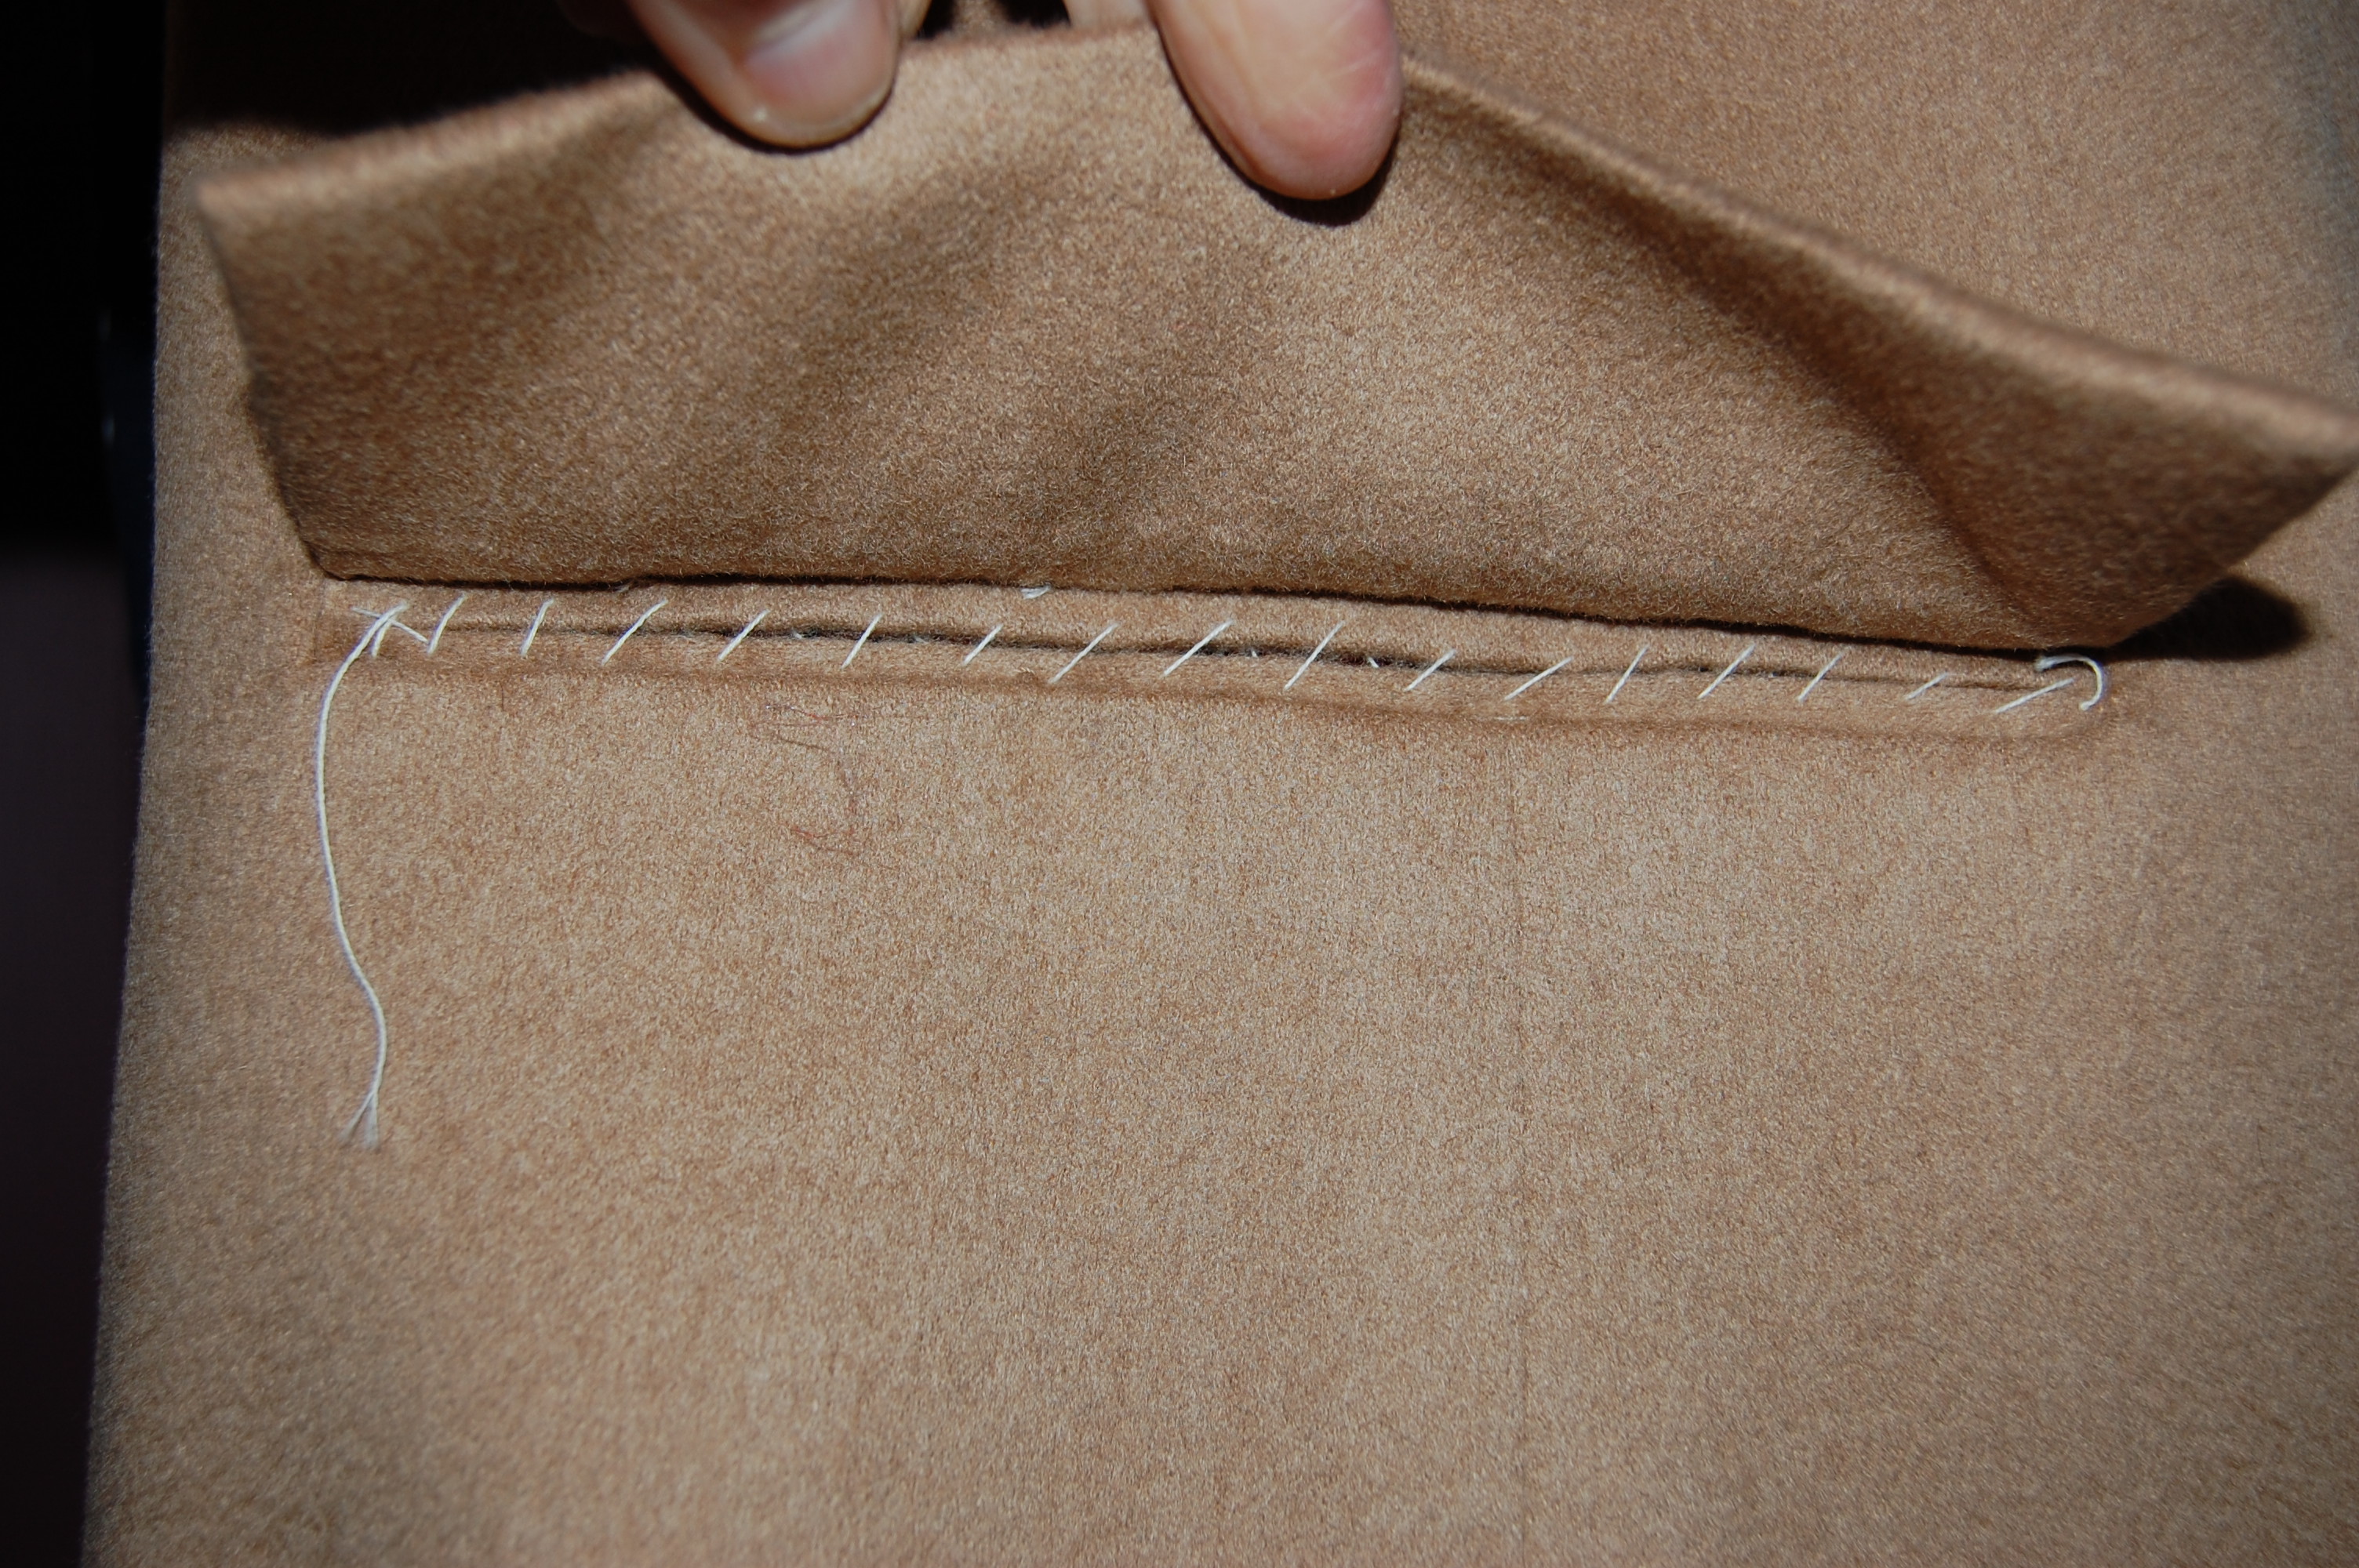
Finally, the pattern called for topstitching the exterior edges of the coat. Due to the nature of my napped fabric, I thought machine topstitching would detract rather than add. But – I wasn’t happy with the thought of no topstitching, either. So I decided to do it by hand. It wasn’t nearly as time-consuming as I thought it would be, and I am happy with the result.
The topstitching is very subtle, but you can see it here on the pocket flap. Click on the photo for a close-up.
One more thing about this pattern. When I received it, the pattern pieces for the pants and sleeveless tunic were cut and had obviously been used (although every piece is intact). The tissue pieces for the coat were still in their factory folds. On the outside of the pattern in the upper right hand corner is the name Georgia Sanders. I guess I’ll always wonder if she had plans to make the jacket, too. I’m so glad she bought this pattern and kept it in such good condition so that it could find its way eventually to me – to help me realize my magnificent obsession from my younger self.