
Never did I imagine that when I last wrote about the progress on this jacket, it would be an entire month before I could declare it “finished.” But such is a fact of life with the construction of one of these jackets. They always seem to take much longer to complete than ever imagined. (I should remind myself that during that month, I also made a wool skirt and I was away twice on short trips, but still…)
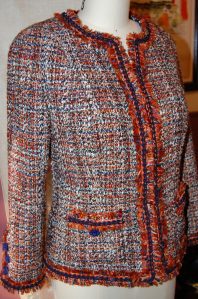
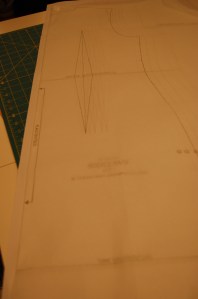
As this is the fifth one I have made, I can safely say that I have developed my own set of tips for working my way through the lengthy construction process. Of course, it all has to start with a pattern which is a perfect fit. Fortunately my muslin pattern is from a Jackets Class I had with Susan Khalje over five years ago. With this pattern, I can go right to my boucle and get started.
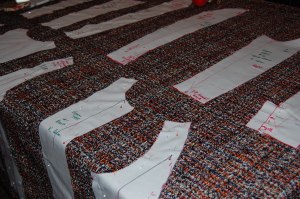
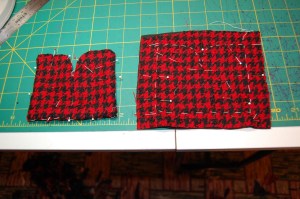
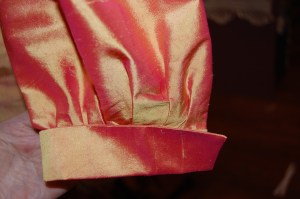
While it is often recommended to cut out just the body of the jacket, minus the sleeves (the variegated weave of which is then checked with the constructed jacket body before cutting them out), I have developed enough confidence that I cut out my sleeves along with the body of the jacket. This allows me to make the sleeves first. For me there are two advantages to doing this: 1) there is a psychological benefit in knowing that the sleeves are lined, linings are fell-stitched in place, trim is on, and the sleeves are as finished as they can be before setting them into the body of the jacket, and 2) I like to trim the sleeves first, as a way of testing the trim I have chosen. If I do not like it, I only have trim on one, or two, sleeves which must be removed. It is also much easier to sew trim on a sleeve which is still separate from the jacket.
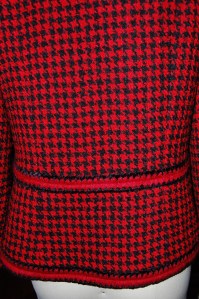
Another tip I have learned is to use my walking foot not only for the channel quilting of the lining and fashion fabric (a must), but also for all the seams. I pin profusely, but the walking foot helps to keep the fabric from slipping, crucial when matching all those lines and plaids prevalent in a typical boucle weave.
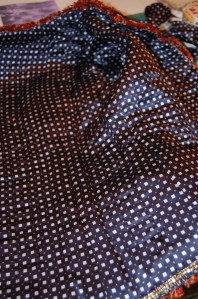
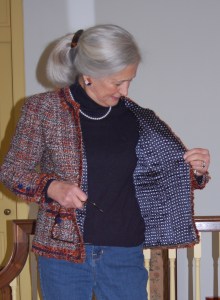
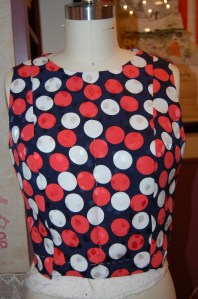
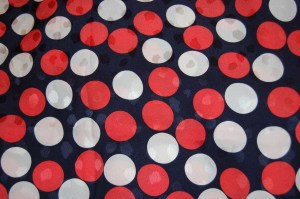
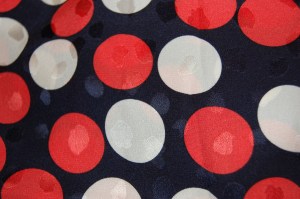
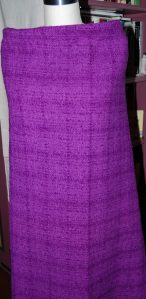
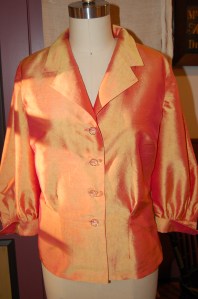
I chose this navy and white silk charmeuse from Britex Fabrics for my lining fabric. The boucle is from Mendel Goldberg Fabrics.
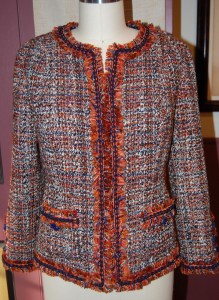
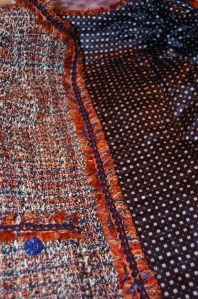
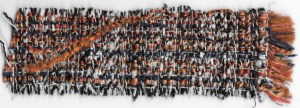
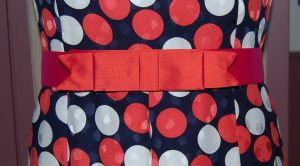
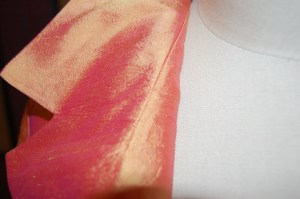
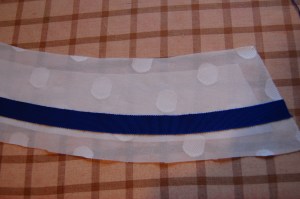
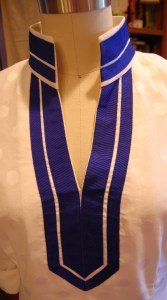
I really went round and round with the trim for this jacket. I knew I wanted to use self-fringe, but I also knew it would need some definition added to it. After trying several colors of velvet and Petersham ribbon in the trough of the fringe, I realized I would have to go to a bright orange as an underlay for the navy twisted braid I wanted to place on top.
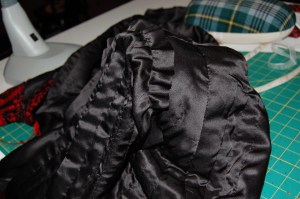
The trim was applied in three steps. Here the fringe is attached as the first step. Not too exciting all by itself.
The next step was to apply this bright orange velvet ribbon, also from Britex. It was really a leap of faith to use this very demonstrative color. It looks fairly garish like this! (I sewed each edge of this ribbon separately, so twice around for this part of the trim.)
But once the navy twisted braid is on, step number three, that bright orange underlay is fine.
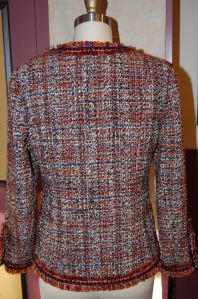
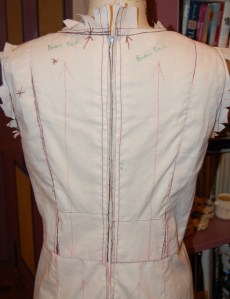
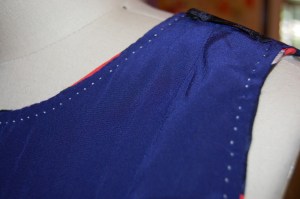
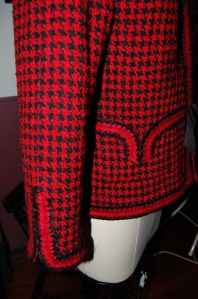
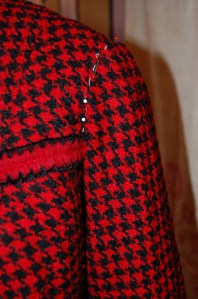
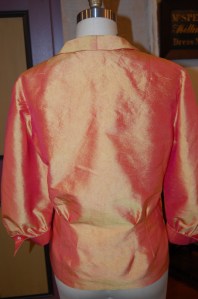
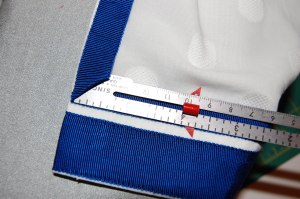
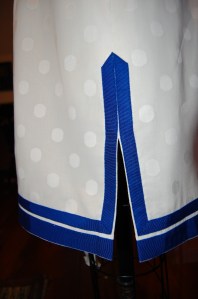
One thing I have done with all my jackets – and this is a tip from Susan Khalje – is to add about 1/2 inch in length to the center back of the jacket, curving it up gently to the side seams. I love the effect that this little bit of extra curve gives to the back of the jacket.
I always wax and iron the thread which I use for applying the trim. It adds strength, but also is easier with which to work. For this jacket, I also carefully ironed each “level” of trim as I applied it.
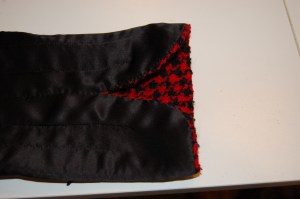
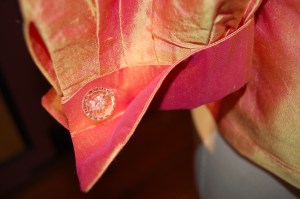
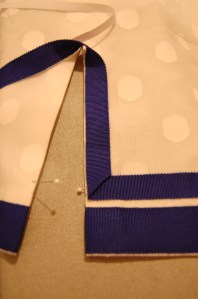
A detail of the right pocket. Of course, and this is preaching to the choir, the pockets absolutely cannot be cut out until the body of the jacket is completed. Their placement is a visual determination which really depends upon the fit and appearance of the finished jacket.
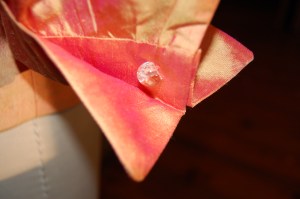
I found these vintage buttons in one of my button boxes. I knew I wanted to use dark blue buttons, and I kind of liked the appearance of these.
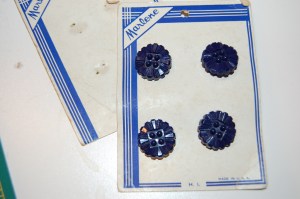
The only hesitation I had is that they are plastic! It seems a bit of a sacrilege to put plastic buttons on one of these jackets, but I actually think they look okay. If I find other navy blue buttons in my future travels, I might switch them at some point. But right now, they work.
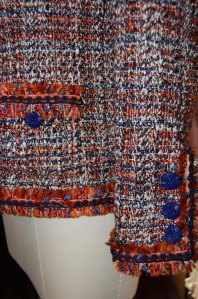
Because I had only 8 buttons, I was limited to two pockets, and three buttons on each sleeve. I probably would not have put four pockets on this jacket anyway, so that was not really a compromise.
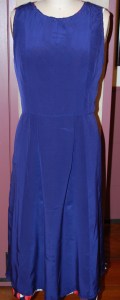
I have enough of the boucle left over to make a simple straight skirt, I think. However, that will not happen this year! I am so ready to move on to my next project. In fact, it may be well over a year before I plunge into another one of these jackets. I have but one other boucle lurking about in my fabric closet right now, and I am content to let it stay there for a while.
It was much too cold for outdoor pictures, so these will have to do!
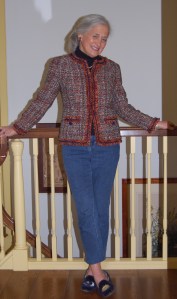
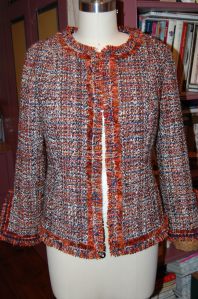
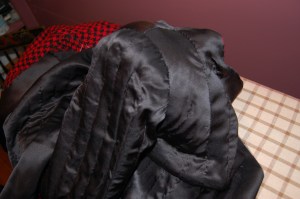
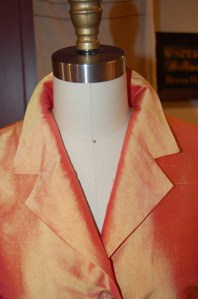
I like the jacket worn closed …

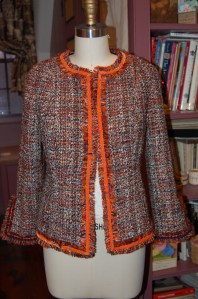
… or open.
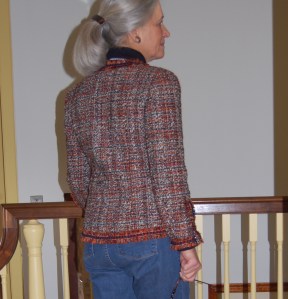
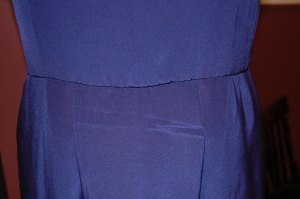
The curve of the back hem is apparent here.
Now it’s time to tiptoe ever so quietly into the lighter shades and fabrics of early Spring, despite the snow that is currently falling. I am so happy to have this jacket in the “finished” column.


A White Blouse
White blouses (or shirts, if you prefer) seem to occupy a niche all to themselves in the annals of fashion. There is something both unpretentious and elegant about a white blouse. A white blouse is almost always noticed and admired, and even the most tailored white blouse has an air of femininity to it.
Here is what Christian Dior had to say about the color white when he wrote The Dictionary of Fashion in 1954: “White is pure and simple and matches with everything. For daytime it has to be used with great care because it must always be really white and immaculate… But nothing gives the impression of good grooming and being well dressed more quickly than spotless white…” (Published again in 2007 by Abrams, New York, New York; page 120).
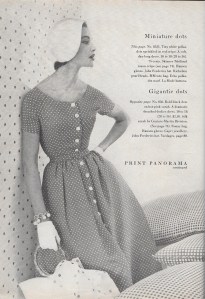
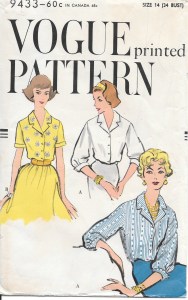
What could be a better example of being well dressed than this white blouse featured in the February/March 1955 Vogue Pattern Book Magazine (page 28)? With its tucks and French cuffs, it is both demure and sophisticated.
Now this is an elegant blouse!
Timeless is another description that could be given to the classic white blouse. Here is one featured in the August/September 1962 Vogue Pattern Book Magazine, page 49. “In suburbia, nothing has as much unstudied elegance as a classic neat, white shirt…”
By the 1970s, collars look like they had overtaken the world, but even with its outsized points, the white blouse gives this velvet suit its focal point:
This is an advertisement for Crompton velvet, featuring a Vogue pattern (Yves St. Laurent evening suit), page XVI of the October/November 1971 Vogue Pattern Book Magazine.
The Wall Street Journal had a full-page feature on The White Shirt in the Weekend Section of March 26-27, 2016. “Always timely and the quickest shortcut to chic,” says the caption. Part of the feature is shown here:
Although the article fixated on RTW white shirts, a small section was absolutely apropos for those of us who make our white shirts. Finding your Match maintains that there is a certain chemistry involved in finding the perfect shirt for oneself, and it emphasized the importance of choosing the right fabric. While cotton is usually the preferred fabric, even it is subject to an appropriate quality and weave. Choosing a pure cotton fabric will necessitate a commitment to laundering and ironing. Quoted from the article, “You can throw it in the machine, but for a finished look, Ms [Carolina] Herrera (who has made the white shirt her style signature) recommends hand-washing with a splash of starch for a crisp finish. The white shirt, remember, is about contradictions – it may be easy, but it has good manners.” (Oh, yes!)
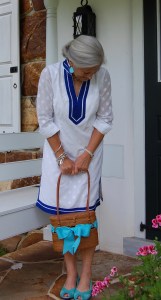
Well, I can’t say I was thinking about chemistry and laundering and manners when I purchased this white cotton shirting fabric from Britex a few years ago.
I just thought it was so lovely with its woven stripe and scalloped detail. I am happy to say it has been brought to fruition as a classic white blouse.
While the woven stripe IS lovely, it presented some definite considerations when I was laying out my pattern. For example, what reveal of the stripe did I want to show on the collar and cuffs. What about the back yoke? How should the buttons line up on the design on the center front? The following pictures detail my decisions as I worked through each component.
I chose to use the plain white band as the center portion of the cuffs.
I chose to position the stripe on the collar in the middle.
I decided to interface the yoke, as the cotton is lightweight, and the facing of the yoke would have shown through without it. I always use a woven, sew-in interfacing when I am making blouses. It works beautifully. I evenly balanced the placement of the stripe on the yoke, with just a slight plain reveal noticeable at the lower edge.
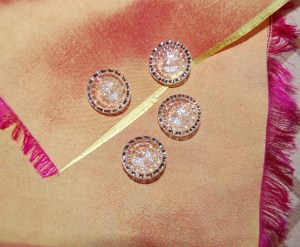
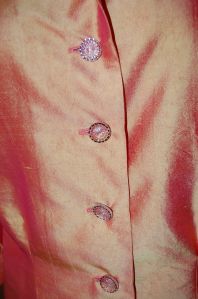
And then, what buttons should I use? It is so easy – and often appropriate – to choose a simple white pearl, two-hole button to accompany this style of shirt. I was prepared to do that until I came across this card of vintage buttons in my collection:
My first thought was, “How perfect! The incised stripes on the buttons mirror the stripe in the cotton. And, to seal the deal, they were also the perfect size, at 3/8”.
I used the same 1970s’ Simplicity pattern (with my many alterations to it) that I used for the two gingham blouses I made over the summer.
It is always satisfying to use a fabric which had been purchased – in the past, shall we say? It reinforces my thought that there is a time for all those lovely pieces of silk, wool, cotton and linen still waiting for their destination. Perhaps it really is about chemistry, after all.
21 Comments
Filed under Blouses, Buttons - choosing the right ones, Fashion commentary, Fashion history, Uncategorized, underlinings, vintage buttons
Tagged as Britex Fabrics, Choosing buttons, fashion sewing, quotes about fashion, sewing, vintage ads for fabrics, Wall Street Journal Fashion coverage, white shirt